Beastlord 1.0 Epic Guide – Claw of the Savage Spirit
Pre-farmable Items: Step 12 Loot 2x Gem of the Void from “reaper” or Xi Xaui mobs in Maiden’s Eye Loot Chunk of Dense Fungal Padding from an ancient shrieker in The Deep Loot Perfect Acrylia Ore from “trap golems” in The Grey
Step 1
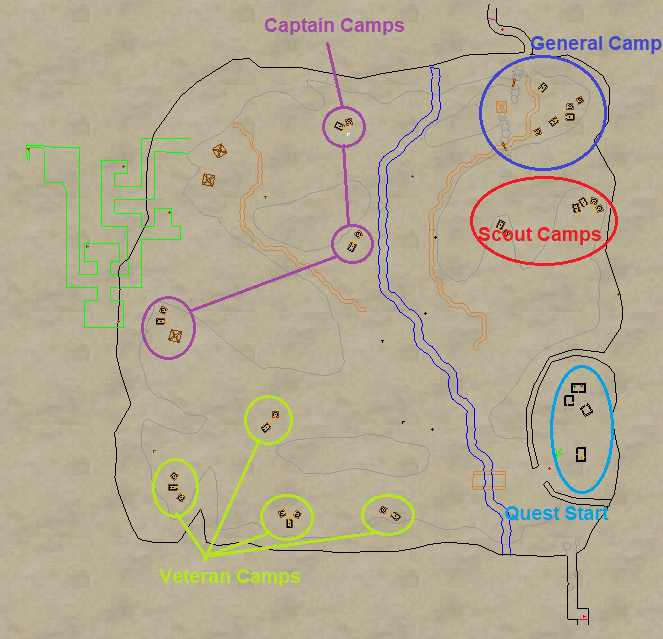
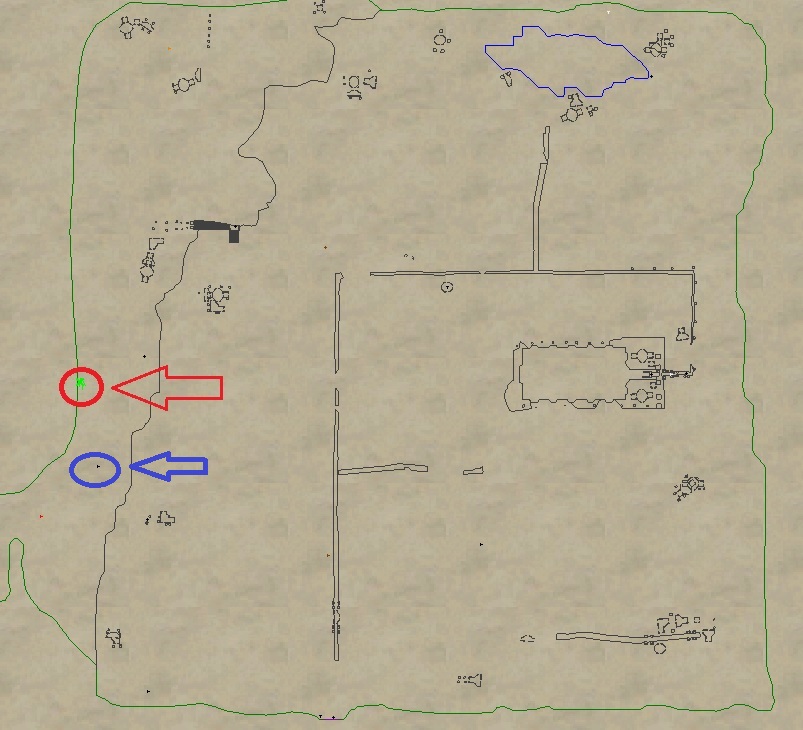
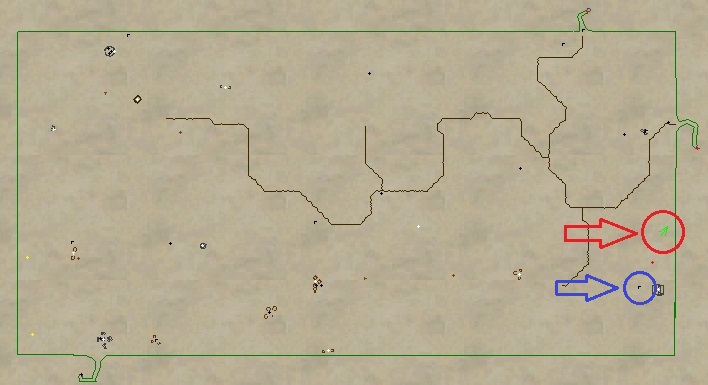
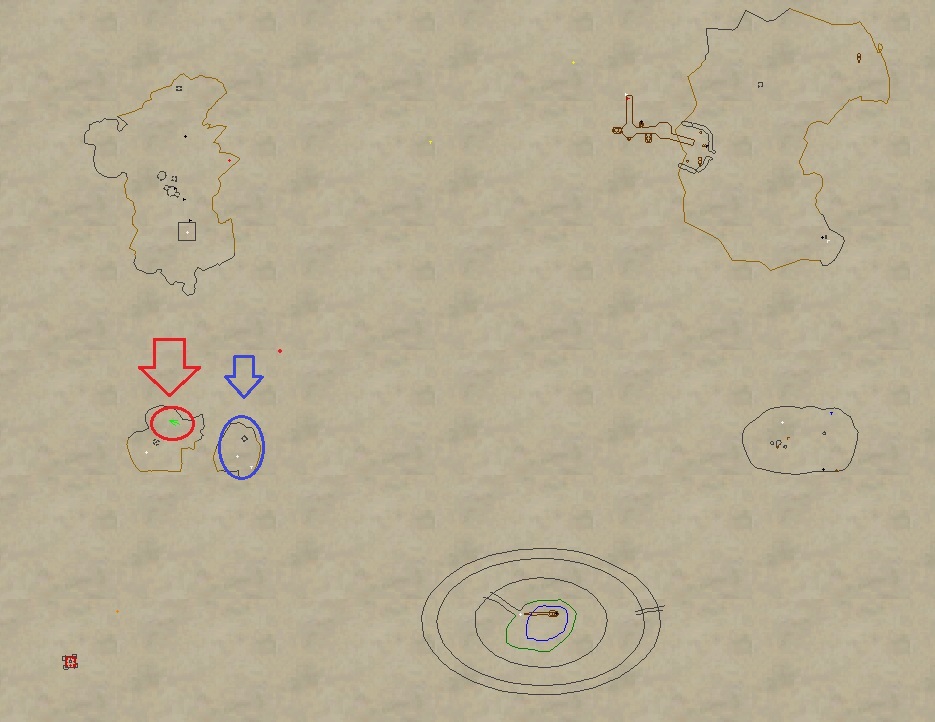
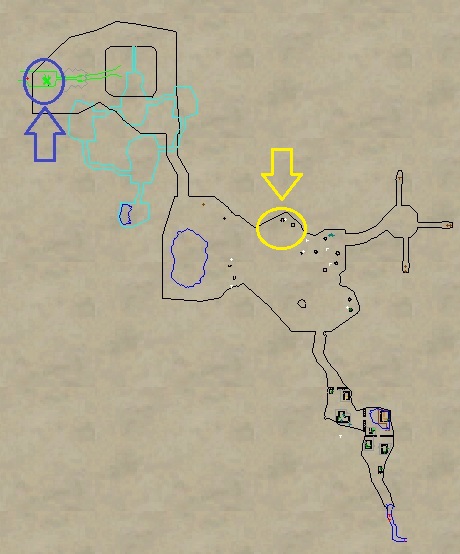
Step 1 is the most tricky part of the entire epic. Go to Grimling Forest. Head to the town area in the Southeast (Light Blue Circle on Map). Grimling Forest has a “War” going on where approx. 10 battles take place across the zone. You can do each of these battles individually, and some of them drop Copper Medal of War, which you’ll need for the Beastlord 1.0. These battles seem to be half broken so don’t expect to get a Copper Medal of War right away. You may have to repeat these quests several times.
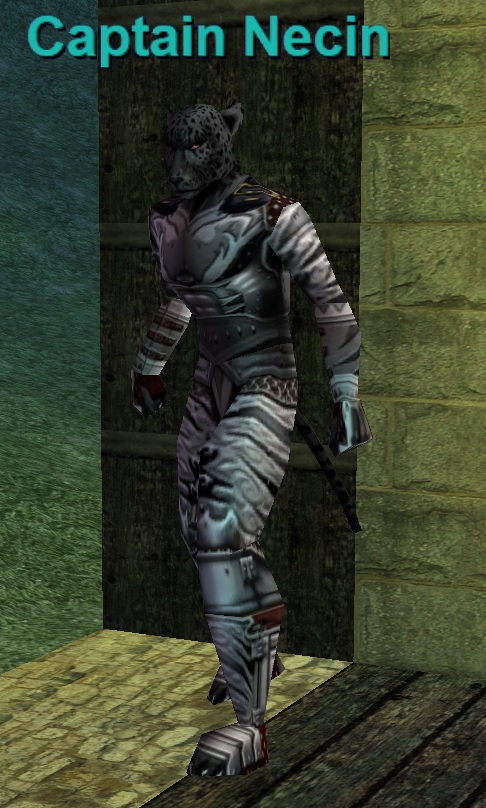
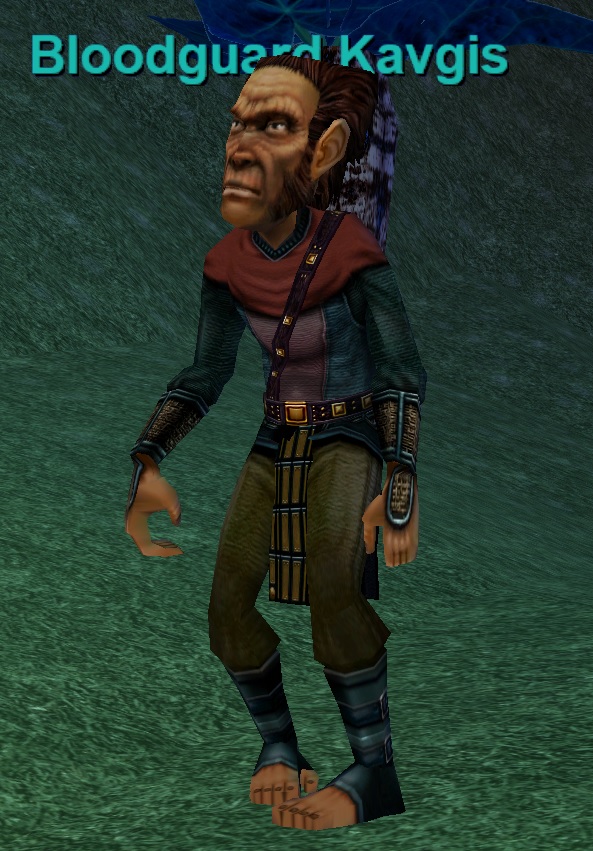
First, speak to Captain Necin, he should offer to take you to a camp. Follow his dialogue and say “ready to go“. He will then walk off to one of the 10 camps. Follow him. Upon arrival say “ready to fight” then kill all of the mobs at the camp. You may get a named to spawn (Bloodguard Kavgis in my case). If you do, kill it and you may get Copper Medal of War. If you don’t, don’t be surprised. Repeat this process until you get one.
You can also speak to other NPC’s in the town and they will take you to various battles as well. I have personally only used Captain Necin. It also has been said that it can drop from the trash (not confirmed).
Step 2
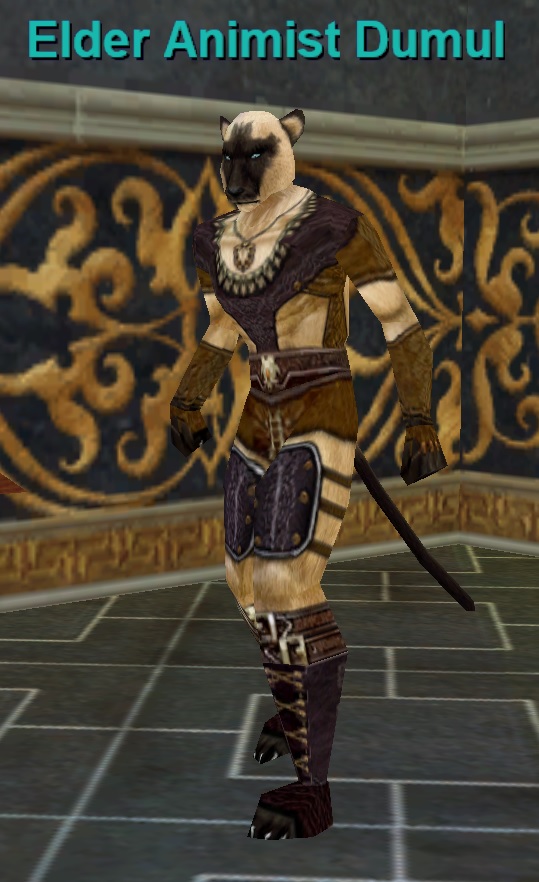
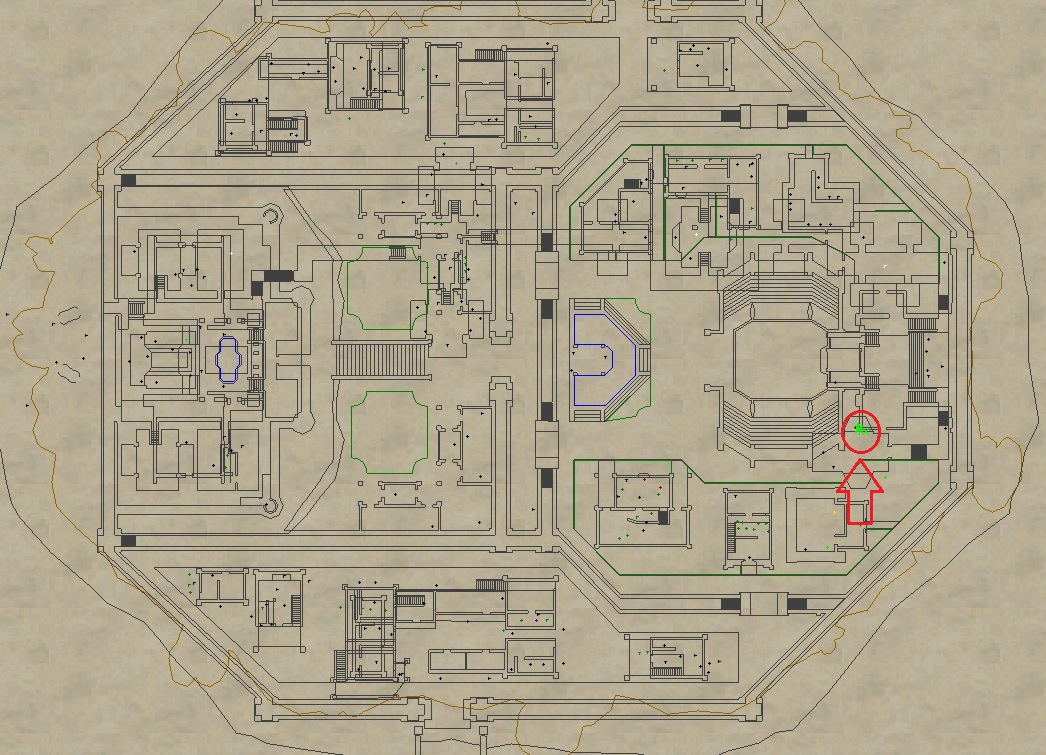
Go to Shar Vhal and find Elder Animist Dumul (+310, +100). To find him, you can use “Find” on Elder Animist Sahdi who is right next to him. Give Elder Animist Dumul Copper Medal of Warto receiveOfficial Seal of the Khati Sha andCarved Wooden Chest (6-slot container).
Step 3
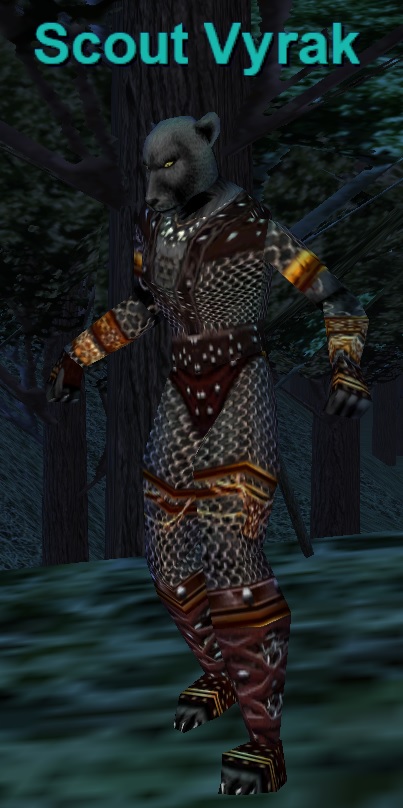
Go to Emerald Jungle and find Scout Vyrak (+230, +4200). Give him Official Seal of the Khati Sha to spawn TheSpirit of Rage. Kill it and loot Totem of the Gorilla. Give Totem of the Gorilla to Scout Vyrak to receive Wrapped Gorilla Totem.
Step 4
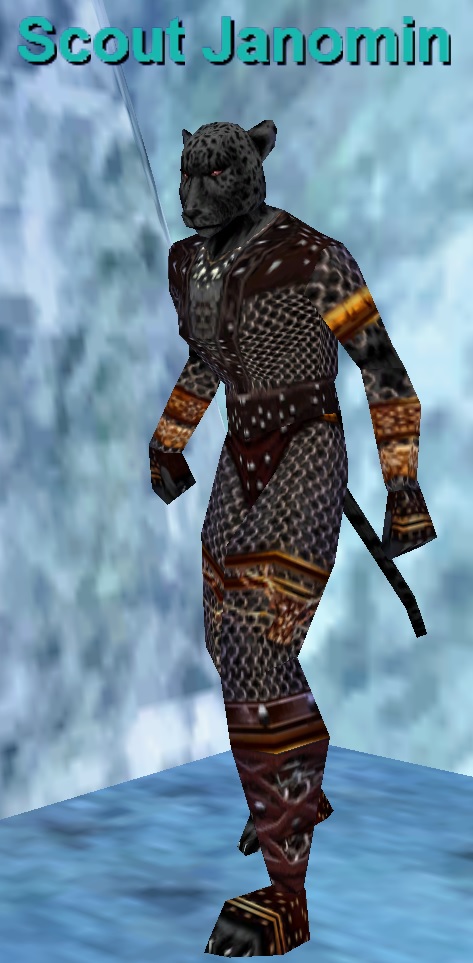
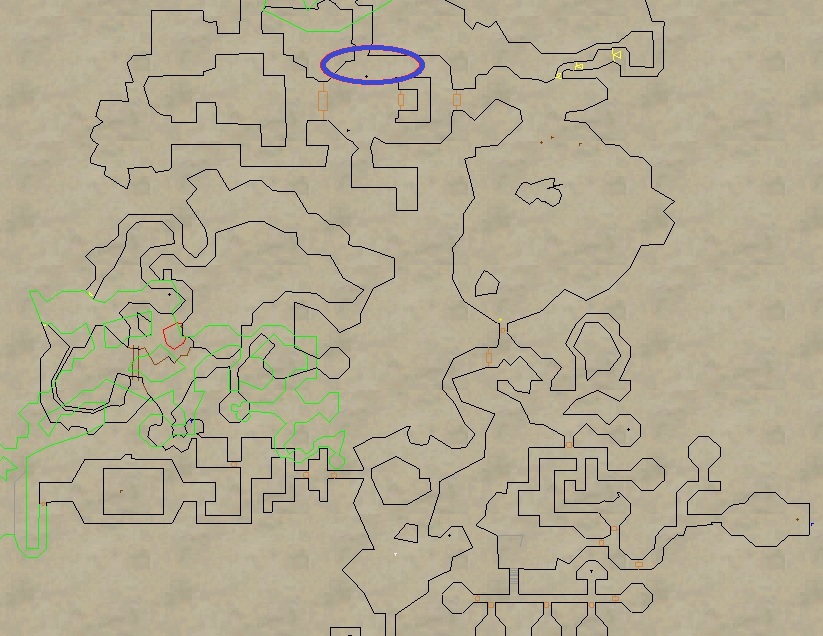
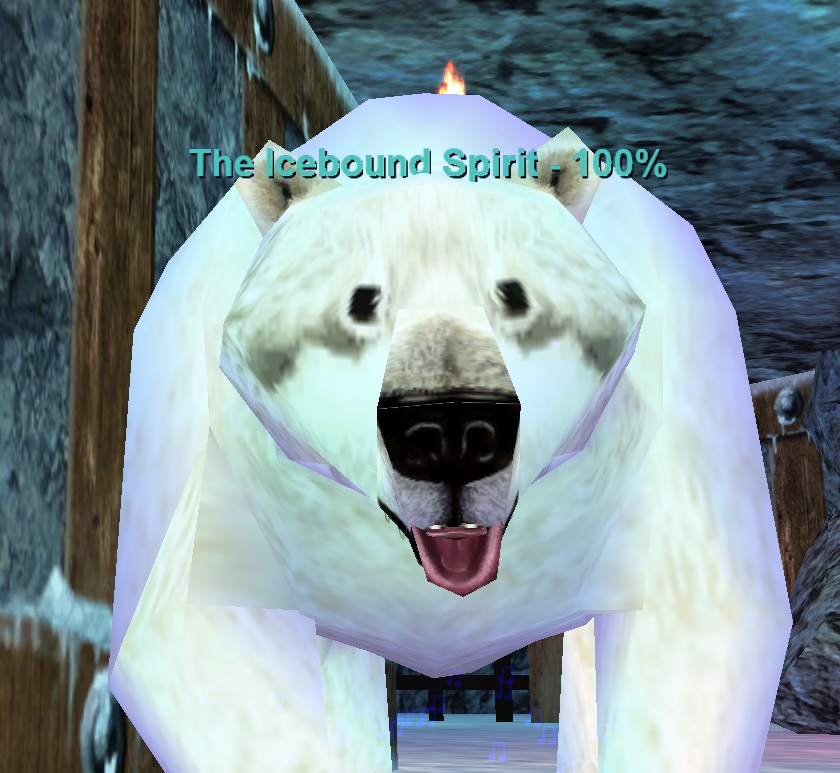
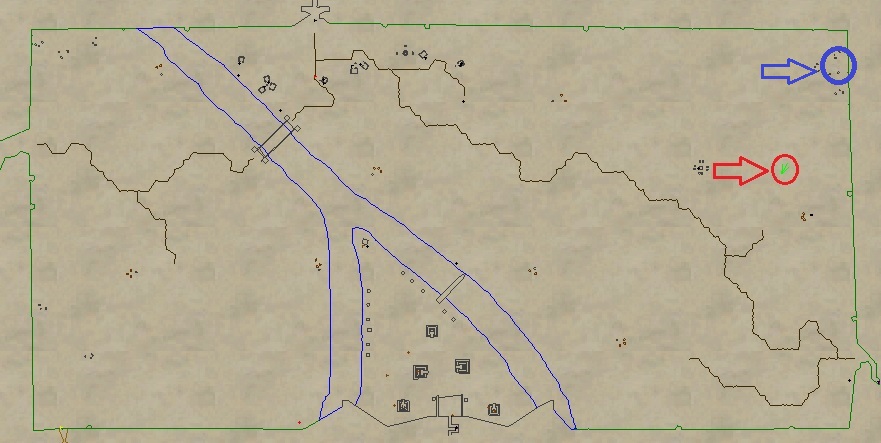
Go to Permafrost and find ScoutJanomin. Give him Official Seal of the Khati Sha to spawn The Icebound Spirit. Kill it and loot Totem of the Ice Bear. Give Totem of the Ice Bear to Scout Janomin to receive Wrapped Ice Bear Totem.
Step 5
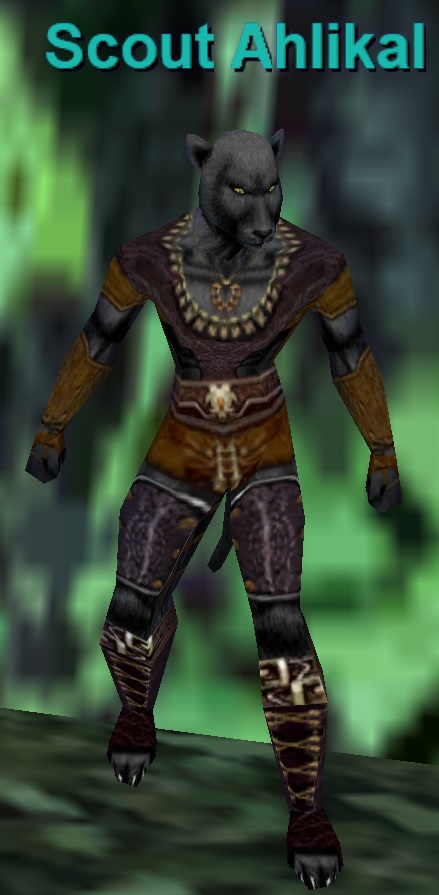
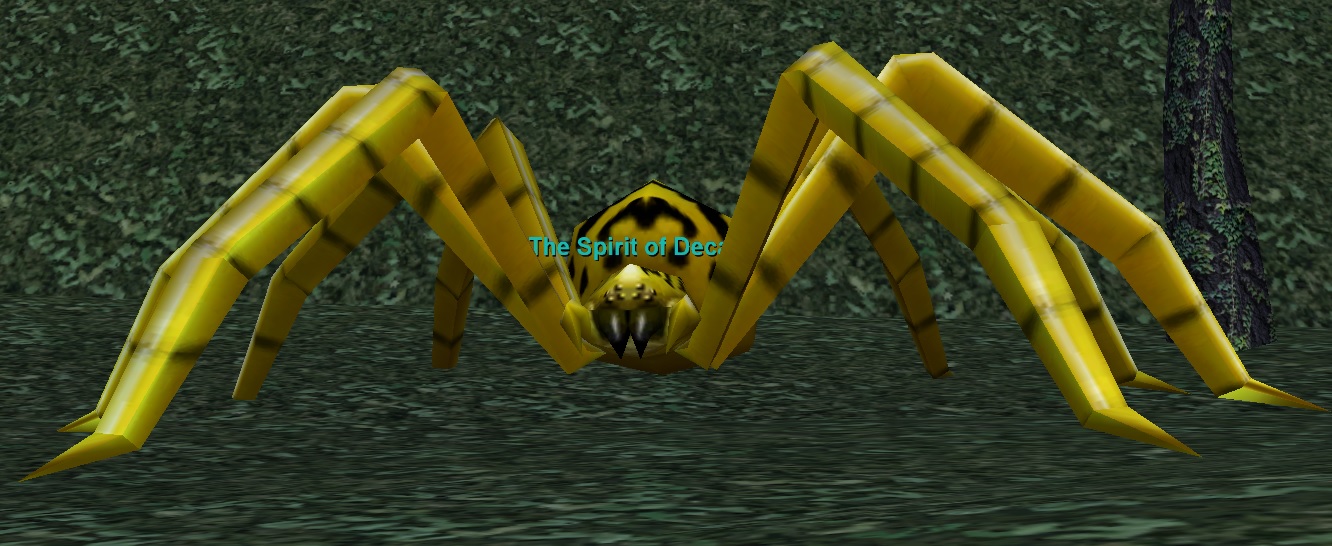
Go to Feerrott and find ScoutAhlikal (estimated 24 hour respawn). Give him Official Seal of the Khati Sha to spawn The Spirit of Decay. Kill it and loot Totem of the Spider. Give Totem of the Spider to Scout Ahlikal to receive Wrapped Spider Totem.
Step 6
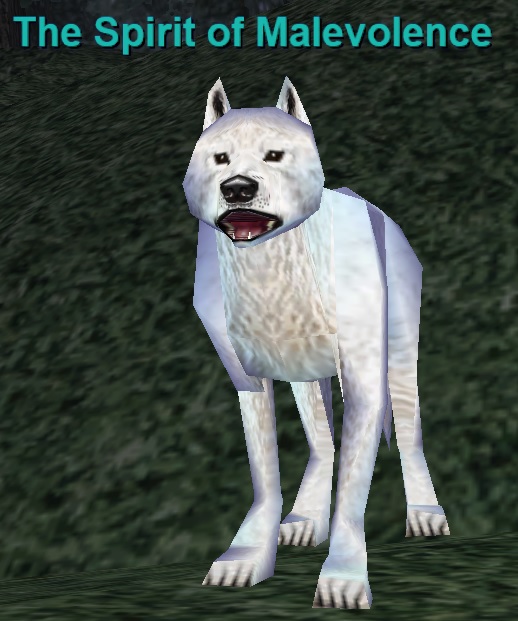
Go to Lesser Faydark and find ScoutRahjiq (estimated 24 hour respawn). Give him Official Seal of the Khati Sha to spawn The Spirit of Malevolence. Kill it and loot Totem of the Wolf. Give Totem of the Wolf to Scout Rahjiq to receive Wrapped Wolf Totem.
Step 7
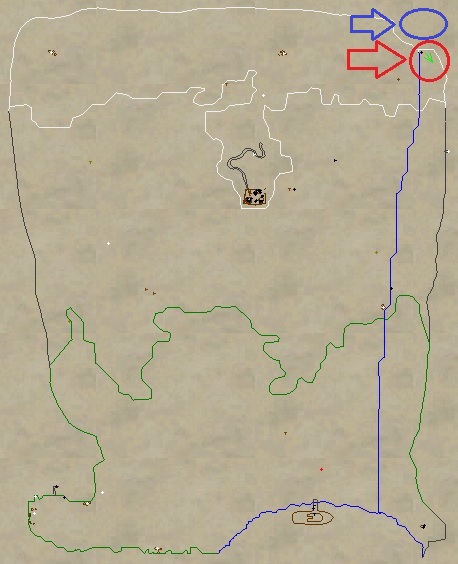
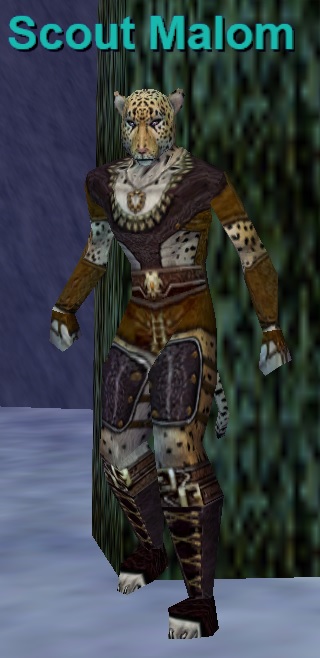
Go to Stonebrunt Mountains and find ScoutMalom (estimated 24 hour respawn). Give him Official Seal of the Khati Sha to spawn The Spirit of Torment. The Spirit is up above the waterfall, off the map. Levitate helps to climb the wall. Kill it and loot Totem of the Watcher. Give Totem of the Watcher to Scout Malom to receive Wrapped Watcher Totem.
Step 8
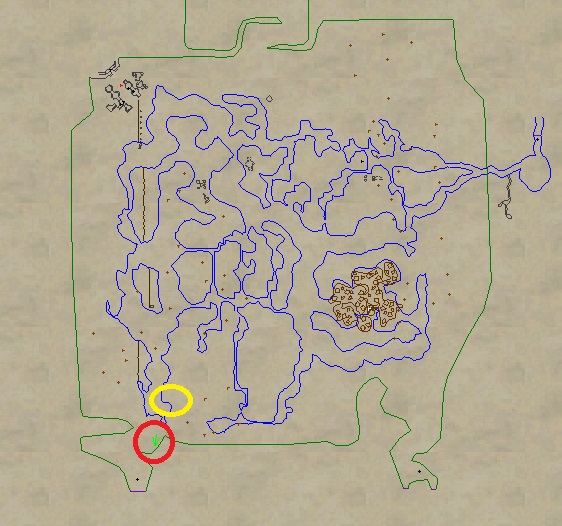
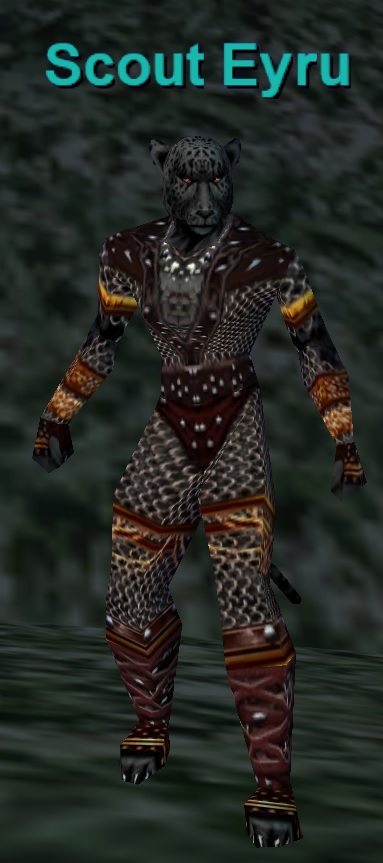
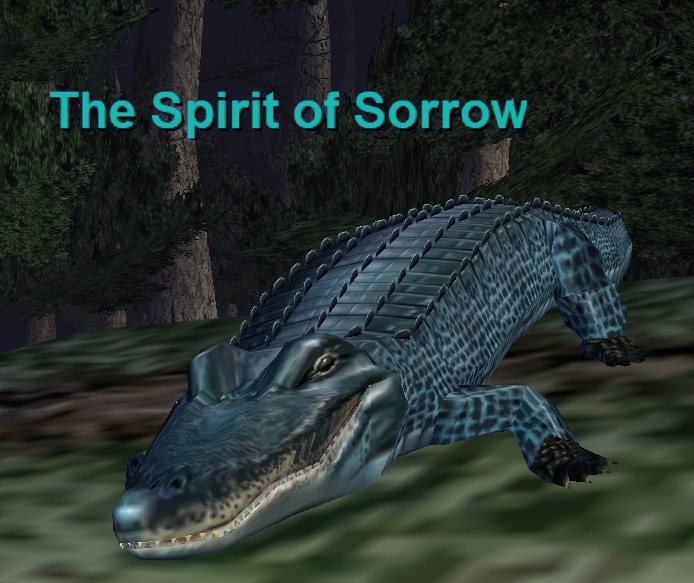
Go to Swamp of No Hope and find ScoutEyru (estimated 24 hour respawn). Give him Official Seal of the Khati Sha to spawn The Spirit of Sorrow. Kill it and loot Totem of the Alligator. Give Totem of the Alligator to Scout Eyru to receive Wrapped Alligator Totem.
Step 9
Combine the following in Carved Wooden Chestto createSealed Box of Totems:
GiveSealed Box of Totems to Elder Animist Dumul in Shar Vahl to receiveSeal of Elder Dumul. To find him, you can use “Find” on Elder Animist Sahdi who is right next to him.
Step 10
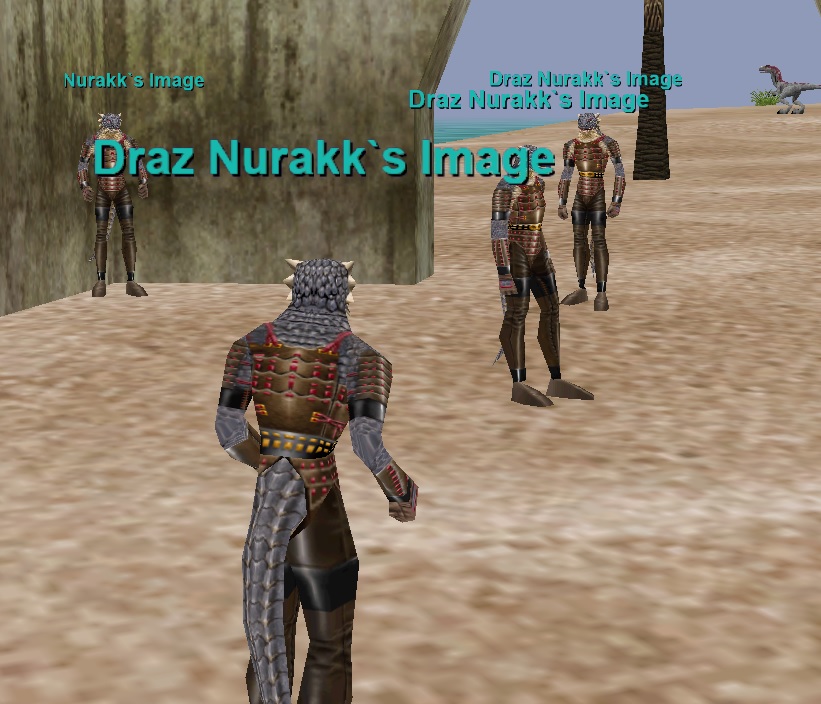
Go to Timorous Deep. Zone in from the Butcherblock dock. Give Seal of Elder Dumul to Scout Sihmoj. He will give you Black Silk Sack (6-slot conatiner). This will also spawn 6 “Images” on the neighboring island to the East. Take a couple groups in era to be safe. Kill them all and loot 6Shards of Broken Glass. Combine them in the Black Silk Sack to create Sack of Broken Glass. Give Sack of Broken Glass to Scout Sihmoj. He will hand it back and despawn.
Step 11
– Go back to Shar Vhal. Give Sack of Broken Glass to Elder Animist Dumul to receive Note for Historian Qua.
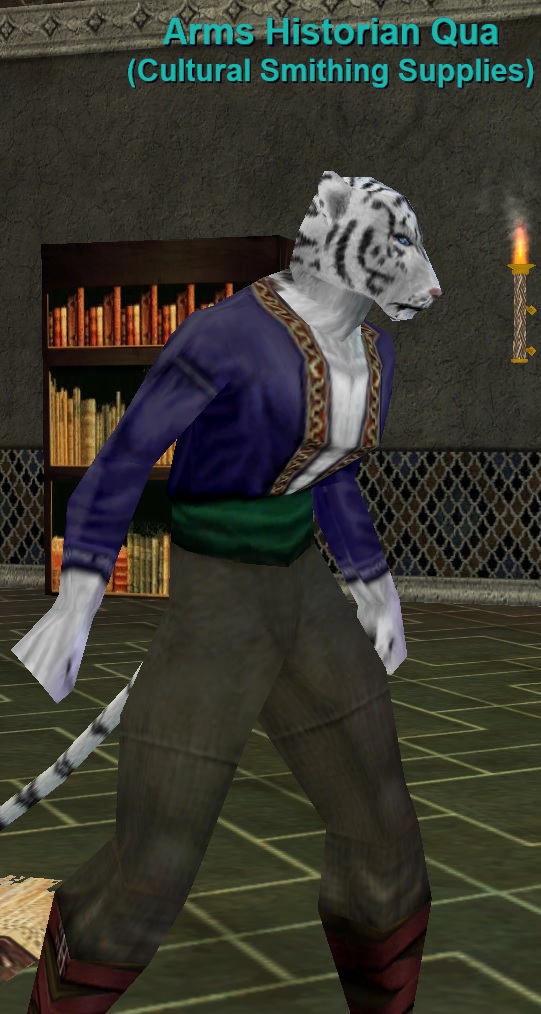
– Still in Shar Vhal, find Arms Historian Qua (you can use “Find” to locate him). Give him Note for Historian Qua to receive Qua’s Receipt.
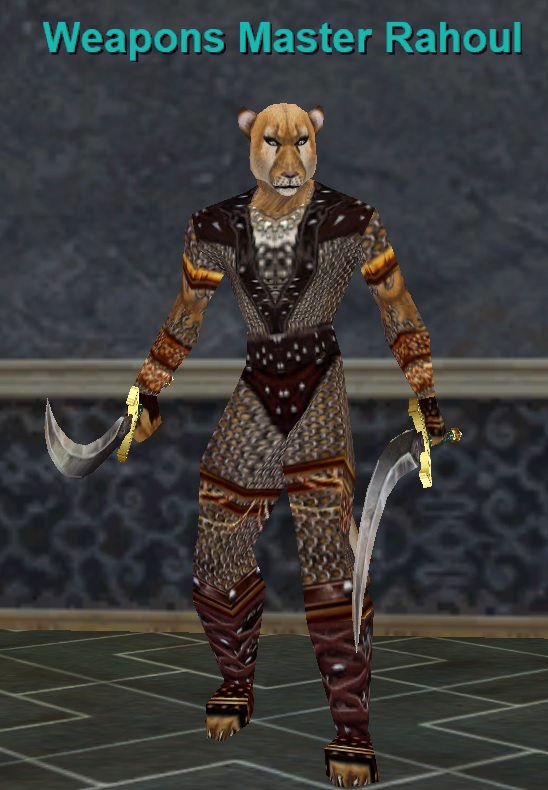
– Still in Shar Vhal, you’ll also need to find Weapons Master Rahoul. Give himQua’s Receipt to receiveRahoul’s Collection Box (4 slot container).
Step 12
Obtain the following 4 items:
2x Gem of the Void – Drops from Xi Xaui or “death” model mobs in Maiden’s Eye. They spawn and roam all over the place. Also may drop from Xin Thall Centien (not confirmed). Uncommon Drop. Get two.
1x Chunk of Dense Fungal Padding – Drops from an ancient shrieker in The Deep. Uncommon Drop.
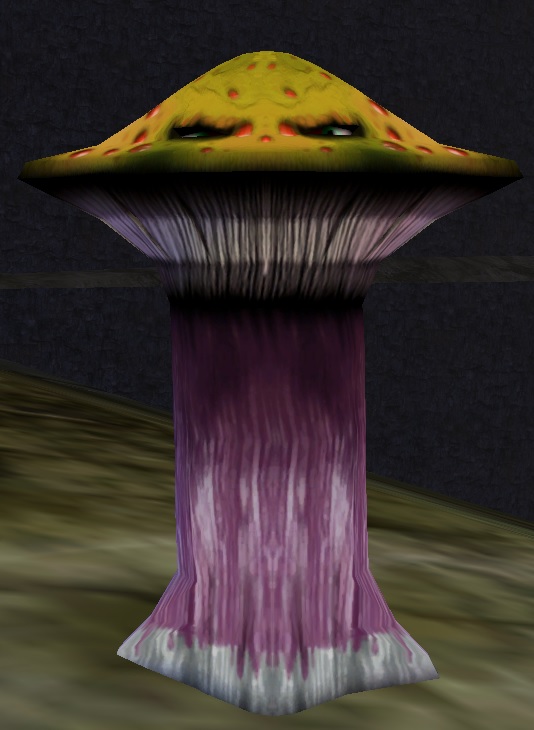
1x Perfect Acrylia Ore – Drops from Golems (such as a bolder fiend) that spawn from traps in The Grey. Only trap golems will drop the ore.Uncommon Drop.
Combine the four items inRahoul’s Collection Box to create Sealed Collection Box.
Step 13
– Go back to Shar Vahl. Give Sealed Collection Box to Weapons Master Rahoul. Receive 2xJagged Claw of Rending.
– Go back to Elder Animist Dumul, give him2xJagged Claw of Rending. He will hand them back and also give you Khati Sha Seal of War and Acrylia Gilded Box(4 slot container).
Step 14
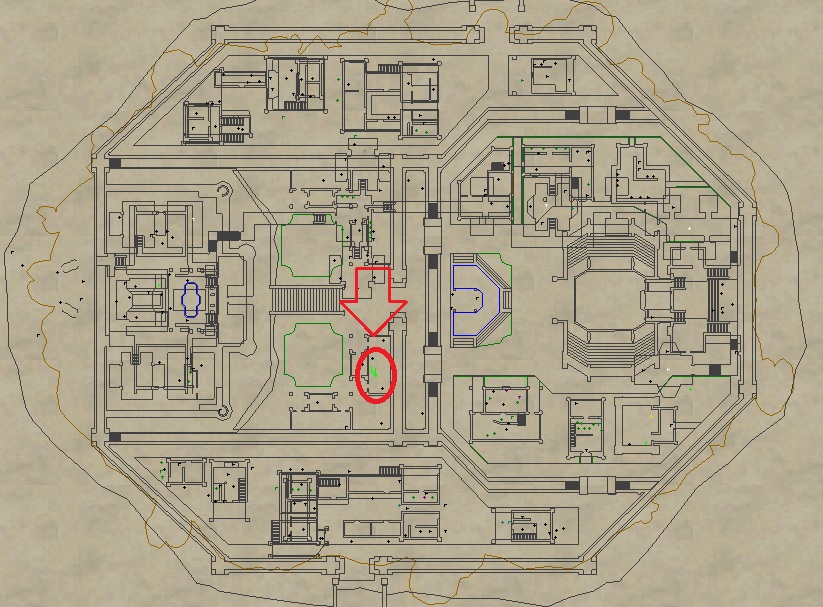
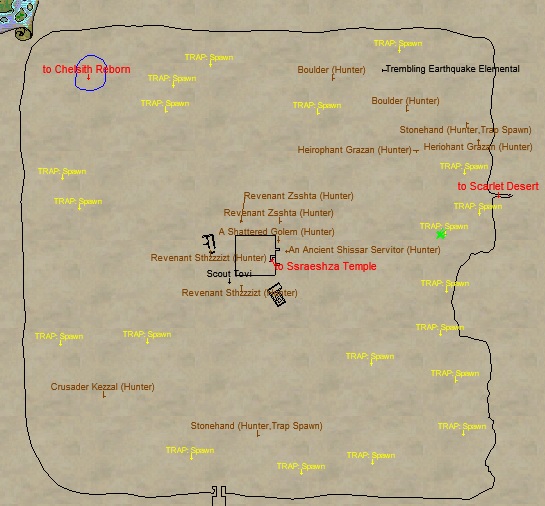
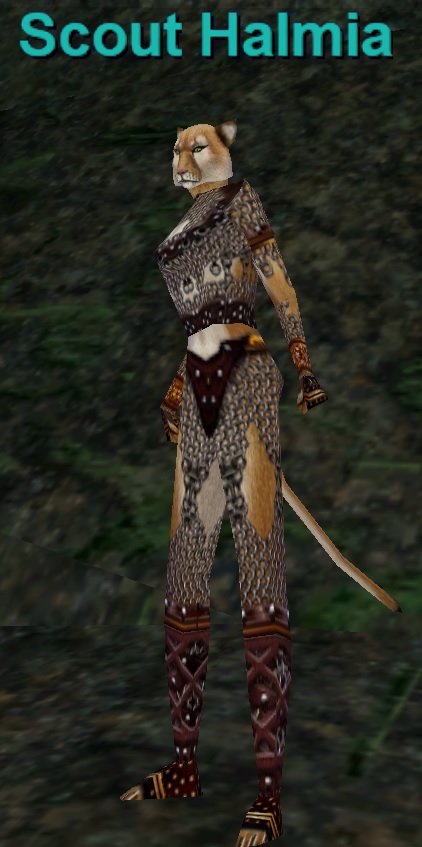
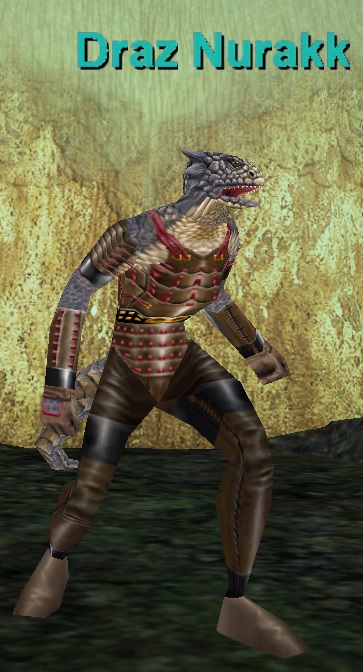
Go to Fungus Grove and locate Scout Halmia near the Twilight Sea portal zone line. Give her Khati Sha Seal of War. This will spawn Draz Nurakk (+640, -10). He is immune to melee, but you can useJagged Claw of Rendingas bane weapons. He is level 55. Bring a couple of groups in era to be safe. Kill him and loot Draz Nurakk’s Head
Step 15
Combine 2xJagged Claw of Rending, Khati Sha Seal of War, Draz Nurakk’s Head in Acrylia Gilded Box to create Sealed Gilded Wooden Chest.
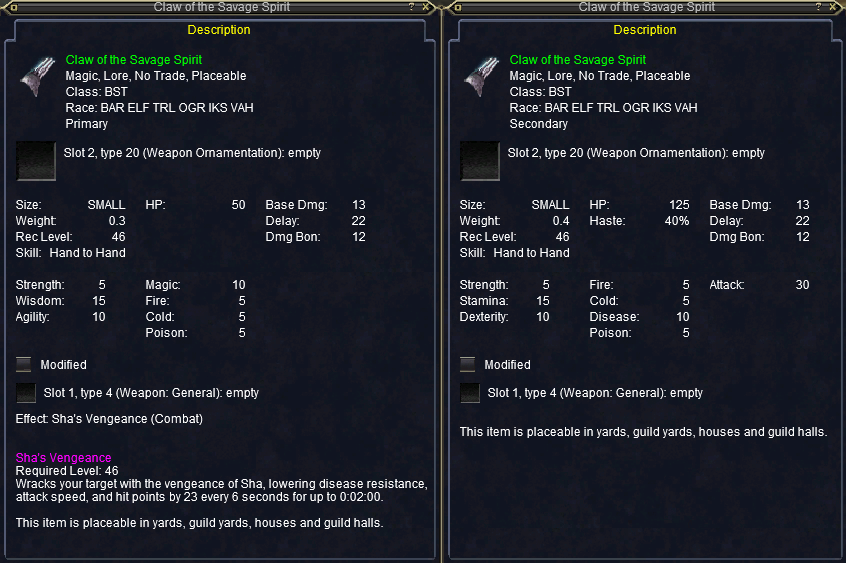
Give Sealed Gilded Wooden Chest to Elder Animist Dumul in Shar Vahl to receive your 1.0 Epic: 2x Claw of the Savage Spirit!