![]()
Staff of Everliving Brambles

To begin this quest you must have completed the Druid 1.5 Epic Quest.
The following steps are pre-lootable (assuming OoW is unlocked):
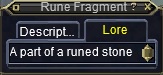
Step 1 – Forage 2x Rune Fragments from Barindu or Qinimi
Step 8 – Obtain a Clump of Refined Ancient Taelosian Clay
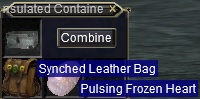
Step 10 – Loot Pulsing Frozen Heart from “Experiment” mobs in Velketor’s
Step 13 – Loot Globe of Discordant Energy from Anguish
Step 1
Go to Barindu, Hanging Gardens or Qinimi, Court of Nihilia and forage ![]()


Step 2
Go to Qinimi, Court of Nihilia and locate a broken ritesdancer (-300, -1000). Say “rune fragments” to receive a third ![]()
**I received the ![]()
![]()


Be careful when interacting with this NPC as other Nihil NPC’s in the room may aggro if your faction is too low (possibly aggros even at dubious based on a report I received, but this is unconfirmed by me personally). Have someone use pacify if needed. **


Step 3
1) Now that you have ![]()

2) Hail him, after a few seconds you’ll receive ![]()

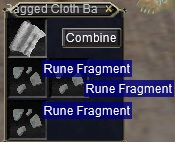
3) Combine ![]()
![]()
![]()

4) Give ![]()
![]()


Step 4
Go to Nedaria’s Landing and locate Historian Finrazel (+1080, +1500). Give him ![]()
![]()


Step 5
Kill four bosses in various zones. These can be done in any order:
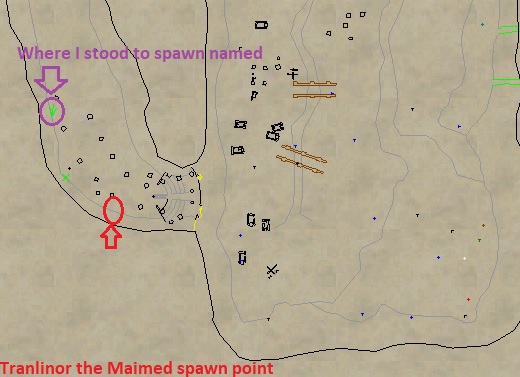
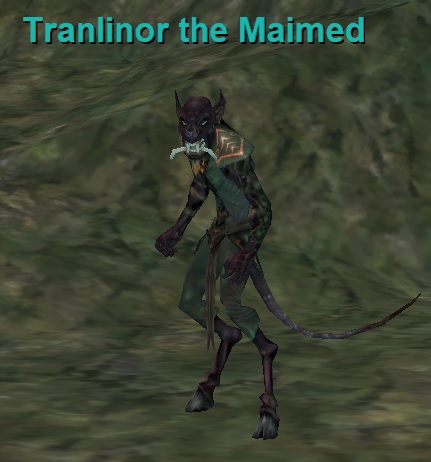
1) Dranik’s Scar
Spawn Tranlinor the Maimed (-865, +1080) — see map for spawn info. This is a small group mob. Kill him. Loot ![]()


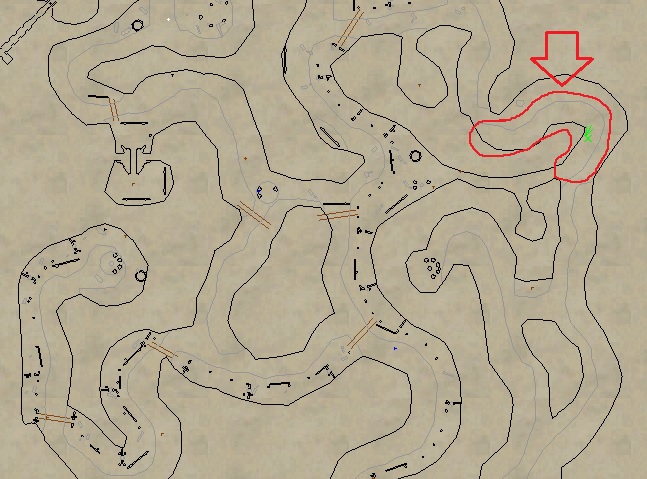
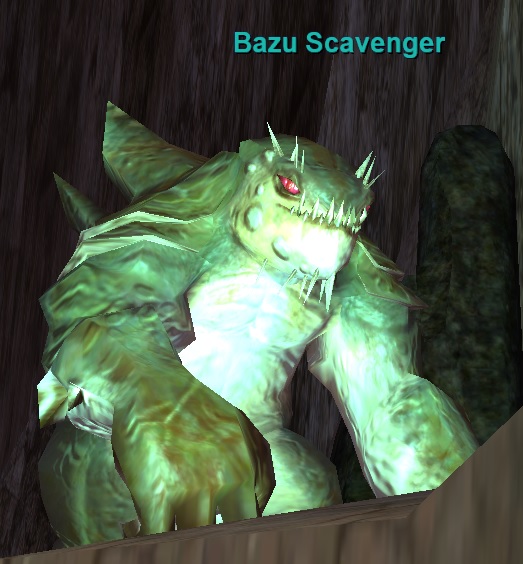
2) Nobles Causeway
Kill Bazu Scavenger. See map for spawn point. This is a group level mob (or easier). Loot ![]()


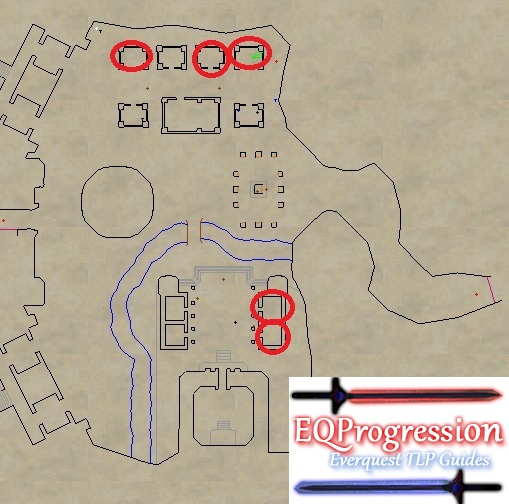
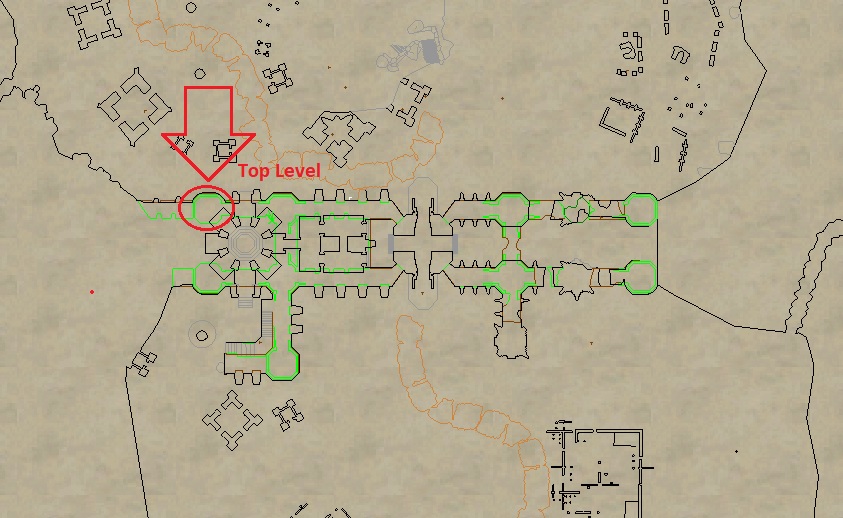
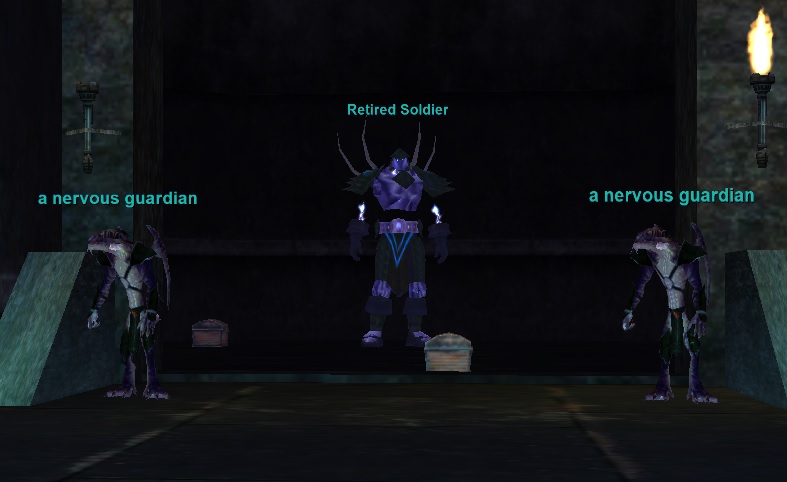
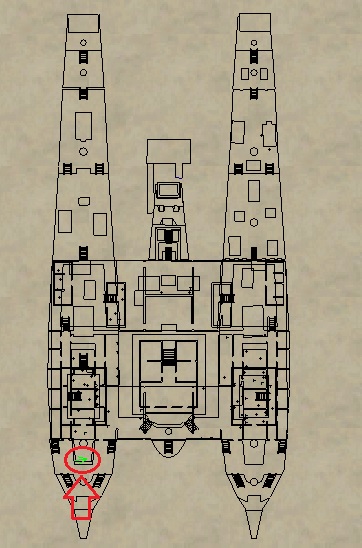
3) Wall of Slaughter
Bring a few groups for this one. From the Port-in area head west. Stay at the top of the building (see map). When you get close to the Red Circle some mobs will spawn. Retired Soldier and 2x a nervous guardian. Kill the 2x a nervous guardian and Retired Soldier will turn into Lightning Lord. Kill Lightning Lord. He spawns adds during the fight. You can either kill them or burn down Lightning Lord. You’ll also get a chest with bonus loot. Loot ![]()


4) Qinimi, Court of Nihilia
Bring a raid for this. At the Red Circle on the map an event will spawn once you get near. Three NPC’s will spawn:
Spiritlord Body
Spiritlord Mind
Mastruq Commander Gorlakt
Clear the trash outside the temple. Kill both Spiritlords first then kill Mastruq Commander Gorlakt. He hits for around 3,000 and rampages. Loot ![]()


Step 6
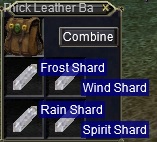
Combine the following in ![]()
![]()
![]()
![]()
![]()
![]()


Step 7
1) Go back to Abysmal Sea to Reyfin Malakwa (+225, +285). Give him ![]()
![]()

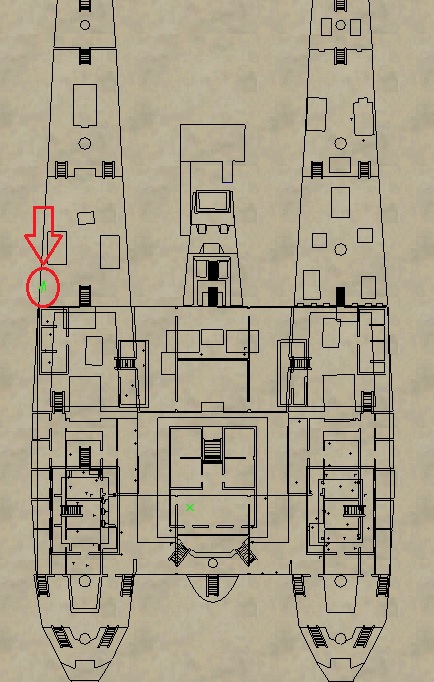
2) While still in Abysmal Sea locate Silanda Leafdew. She is on the Shipdeck (see map). Give her ![]()
![]()


Step 8
Obtain a ![]()

1) First farm a ![]()


2) Now go to Abysmal Sea and find Hiloan O’Yviania (use Find) . Give him ![]()
![]()
Step 9
Use a Kiln to combine ![]()
![]()
![]()

Step 10
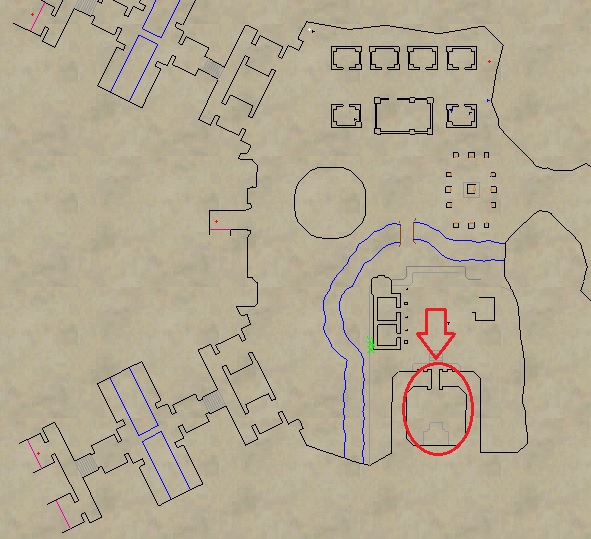
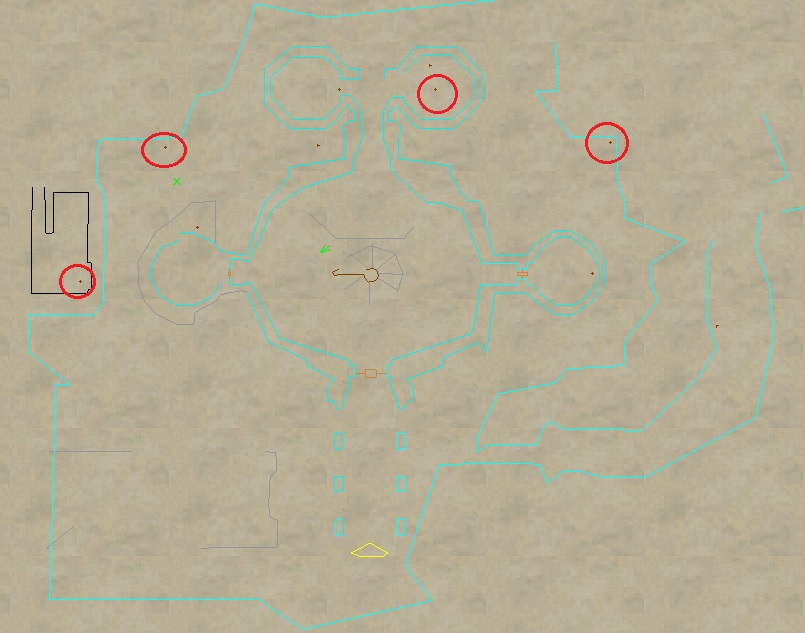
This is soloable but would be easier with a 2 players. Go to Velketor’s Labyrinth. You’ll need to camp the area in and around Velketor’s Castle. See map for Placeholder locations. PH’s look like ice golem type mobs. You’re looking for one of these named mobs to spawn:
Failed Experiment Beza
Failed Experiment Izah
Velketor’s Experiment Lena
Velketor’s Experiment Uzah
They can be rare so be patient.
These mobs drop ![]()


Step 11
Combine ![]()
![]()
![]()
![]()
![]()


Step 12
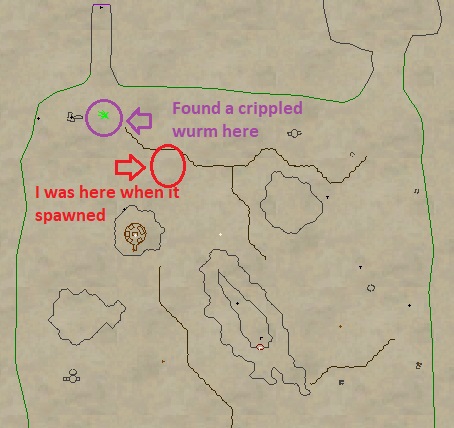
Go to Burning Woods with a group. You’re looking for a crippled wurm. Go to the Red Circle on the map and watch tracking. This mob is supposedly easy but I got kicked for 4,000 so I would take a group. Immune to melee damage. Loot ![]()


Step 13
Raid Anguish, the Fallen Palace and obtain a ![]()

Drops from the following events:
Keldovan the Harrier/Jelvan (only one of the two based on who you kill last)
Warden Hanvar/Ture (only one of the two based on who you kill last)
Arch Magus Vangl
Overlord Mata Muram
**Stay in zone for Step 14.**
Step 14 – The Final Combines
1) Go to the raid instance Anguish, the Fallen Palace (if not already there). This combine can only be done in this zone.
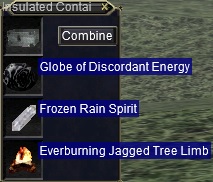
2) Combine the following into ![]()
![]()

![]()
![]()
![]()

You’ll also get ![]()
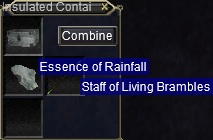
3) Combine your ![]()
![]()
![]()
![]()


Join Discord
![]()

Subscribe to YouTube!


![]()