LDoN – Miragul’s Menagerie: Folly of Miragul’s Ambition Guide
Request in: Everfrost
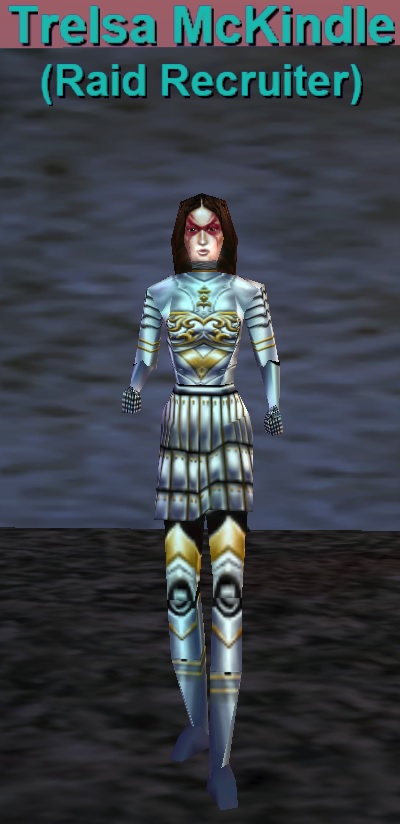
Request NPC: Trelsa McKindle
Zone in: Everfrost
Difficulty: Hard
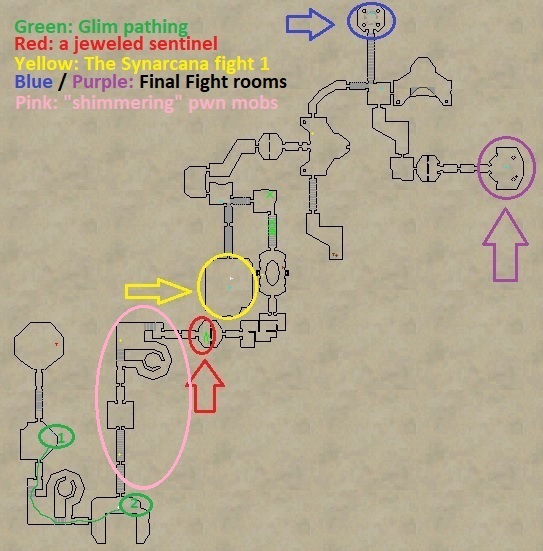
Use the Map below as reference for the rest of the guide. Right click and view image to enlarge.
Step 1
A Rogue with Shroud of Stealth with either Pick Pocket leveled up or who is geared enough to solo a level 59 golem that is moderately hard in difficulty needs to be brought to this raid. This is a requirement.
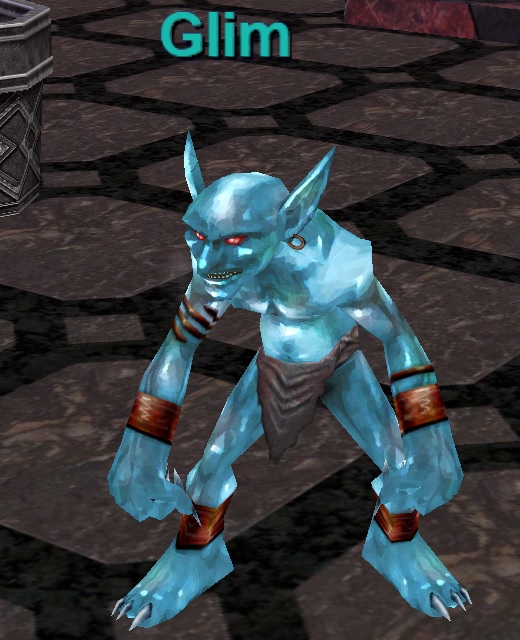
You will first want to notice the green path on the map. This is where the NPC Glim paths. He will start in Green Circle 1 and path to Green Circle 2 as your raid clears trash. Glim is the turn-in NPC for the first step of the dungeon.
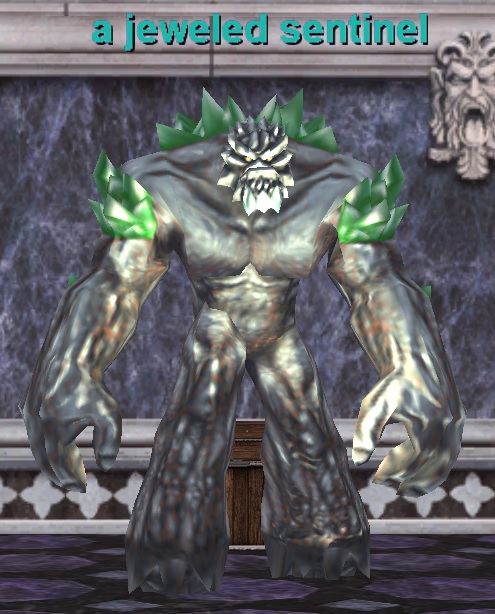
Immediately upon zoning in your Rogue needs to Shroud of Stealth to the Red Circle on the map. Here you will find the NPC a jeweled sentinel.
The reason a rogue must stealth ahead is because all mobs between Green Circle 2 and Red Circle Harm Touch and hit extremely hard (3500 damage). They will wipe your raid (in era) if you try to clear it.
Your Rogue should either kill a jeweled sentinel (bring a HoT potion and use your disc if necessary) or pick pocket it. The drop you’re looking for is ![]() Phasing Ruby. You will need 2 and they are Lore. Once you have one, run it back and give it to Glim. Repeat the process again until Glim has 2. Once 2 have been turned in all of the “shimmering” hard hitting mobs between Green Circle 2 and Red Circle will despawn allowing your raid to continue.
Phasing Ruby. You will need 2 and they are Lore. Once you have one, run it back and give it to Glim. Repeat the process again until Glim has 2. Once 2 have been turned in all of the “shimmering” hard hitting mobs between Green Circle 2 and Red Circle will despawn allowing your raid to continue.

Step 2
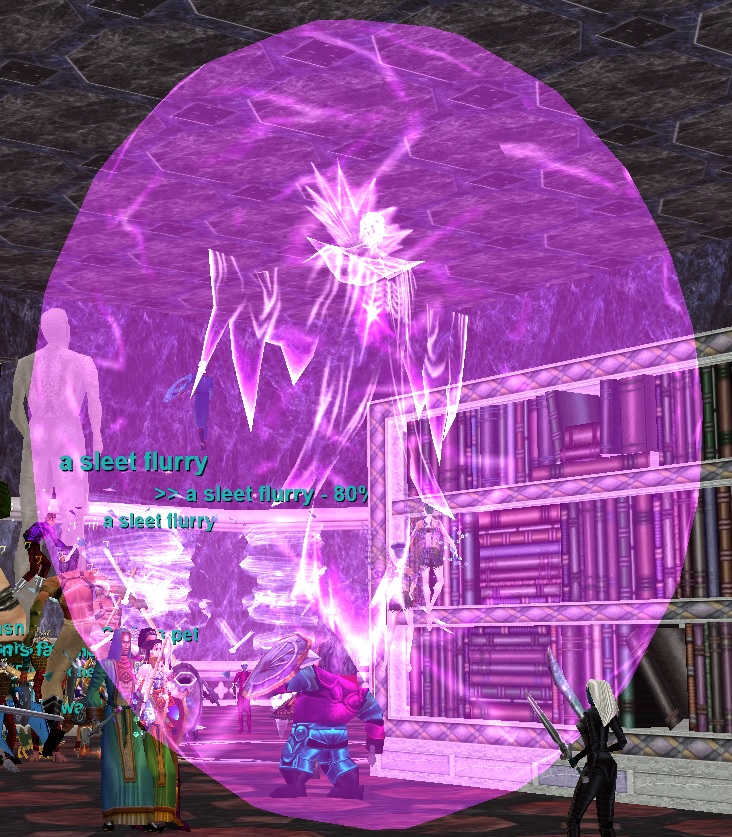
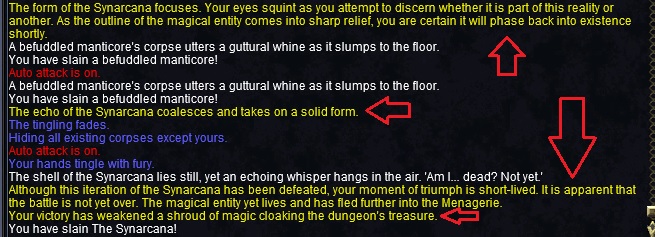
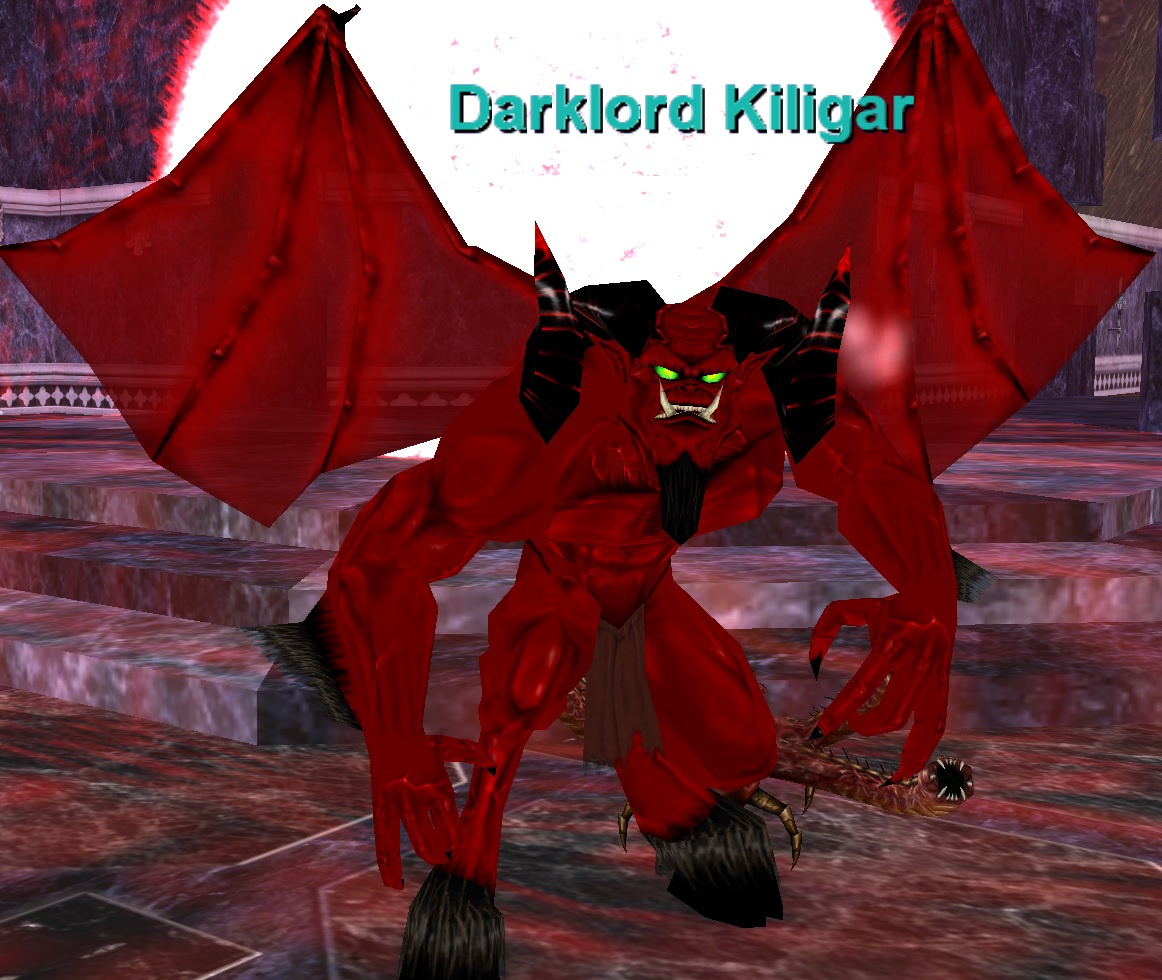
Continue clearing trash until you reach the Yellow Circle. While clearing trash, you’ll notice that Glim has moved up. He “leads” you through the dungeon, but you don’t have to interact with him any longer. Here you will find The Synarcana. It will periodically phase in and out of combat and spawn adds. It is an easy fight so just keep killing adds and attacking The Synarcana until it is dead. You will get emotes once this Phase is complete.
Step 3
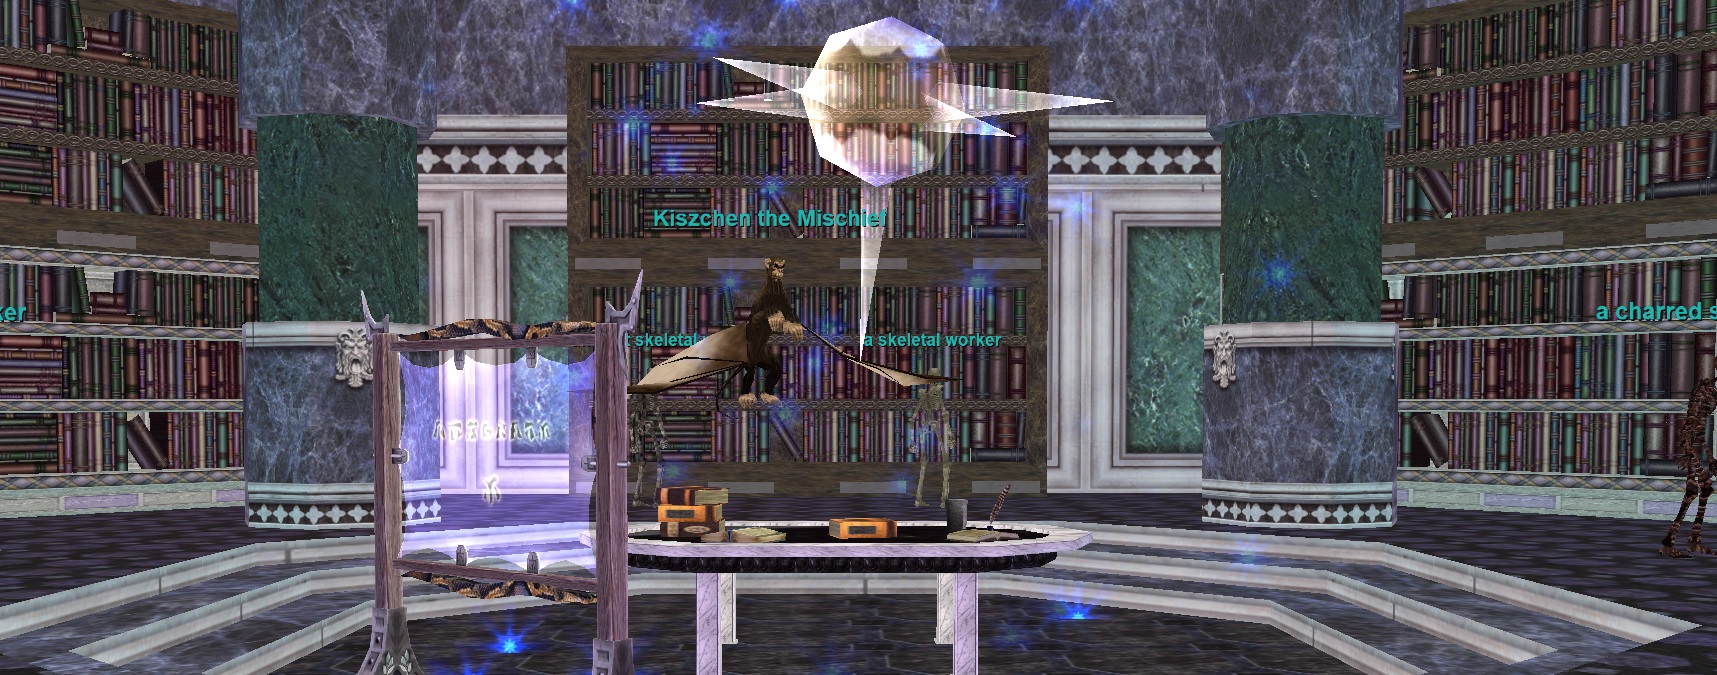
Continue clearing trash until you reach Blue and Purple circle rooms. At this point you will want to split your raid up into 2 teams. Send 2 groups to the Blue Circle and the rest of the raid to the Purple Circle.
The job of the Blue Circle team is to kill the worker skeletons around the perimeter of the room (you can offtank and ignore the named Kiszchen the Mischief). Doing so will spawn multiple demon named in the Purple Circle room, which is also where The Synarcana resides. The mobs cast a melee slow in this room so be ready to cure.
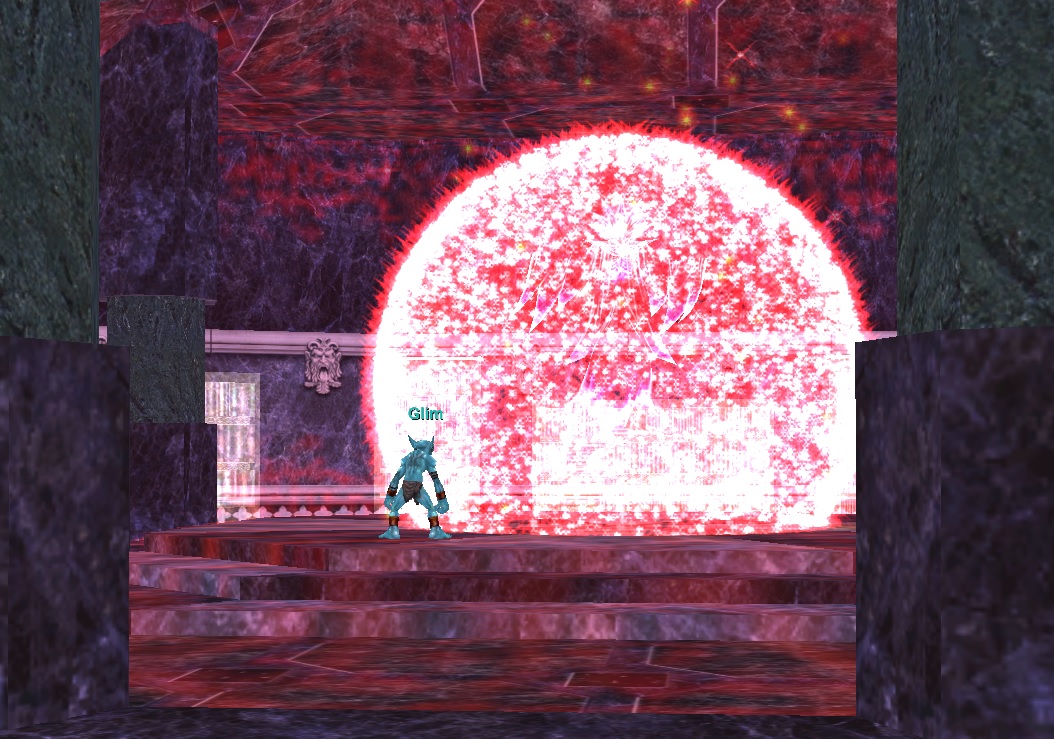
Purple Circle team will want to kill these demons as they spawn. As each demon dies, a % of The Synarcana’s life will go down. Purple Circle team will also need to designate a knight tank to hold aggro on The Synarcana while the raid kills the demons. It will summon people if not tanked. You can just hold aggro and back up when it summons, you don’t need to fully tank it. Repeat this process until The Synarcana is dead.
That’s it! You’ll get 3 frozen chests that spawn in Synarcana’s room.
Blue Circle Room
Purple Circle Room
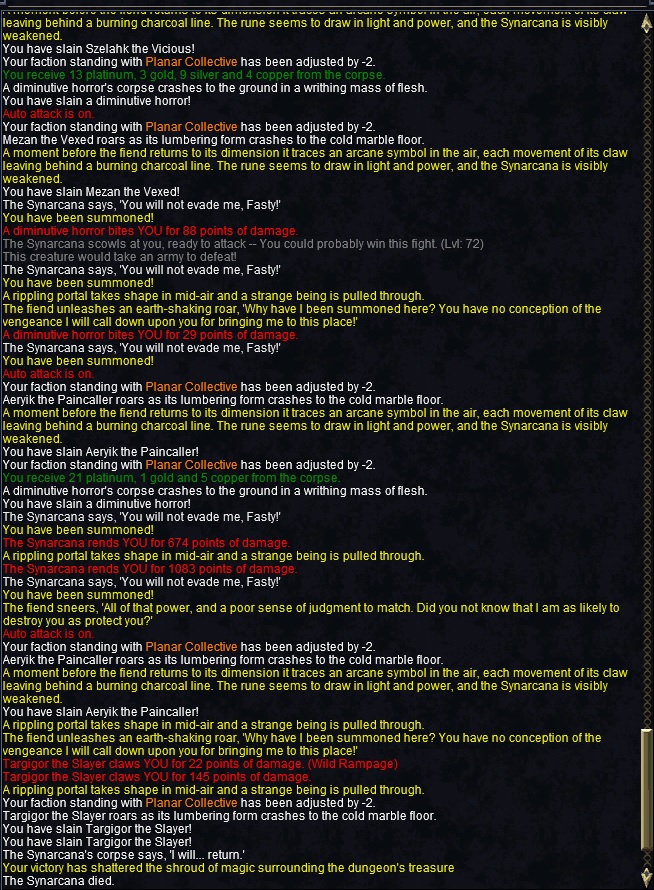
Emotes during final fight. Right click and View Image to enlarge.
Join Discord
![]()
Subscribe to YouTube!