LDoN – Miragul’s Menagerie: Frozen Nightmare Guide
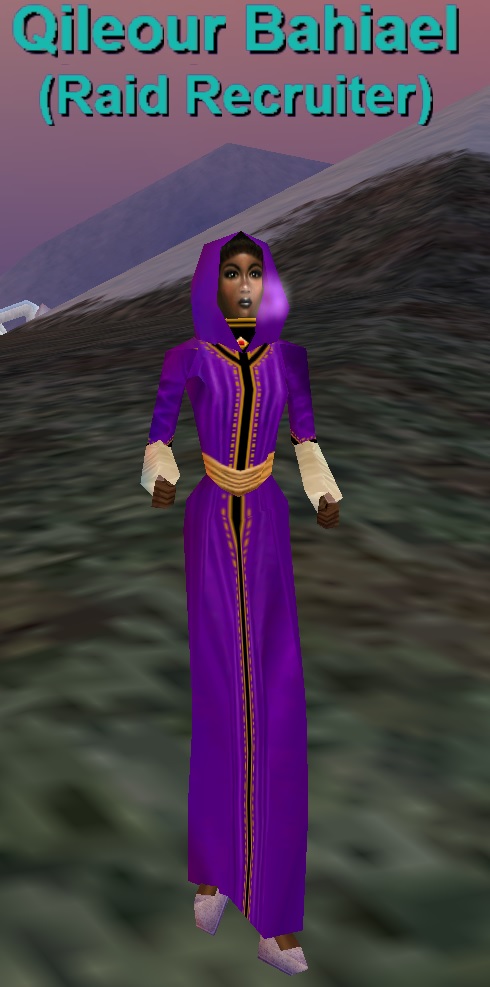
Request in: Everfrost
Request NPC: Qileour Bahiael
Zone in: Everfrost
Difficulty: Normal
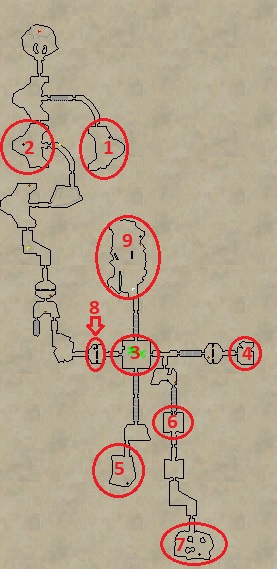
Use this map as a reference for the rest of the guide. Right click and open in a new tab to enlarge it.
Step 1
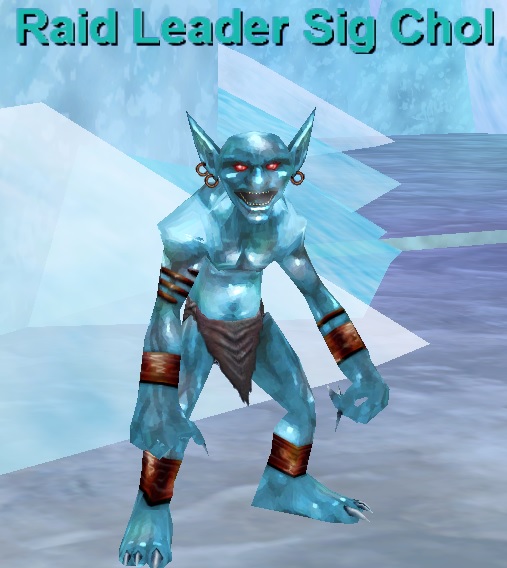
Upon zoning in you’ll want to start clearing trash. After a few mobs are dead, Raid Leader Sig Chol will spawn down the first path to the left (room #1). Kill him. He is easy.
Step 2
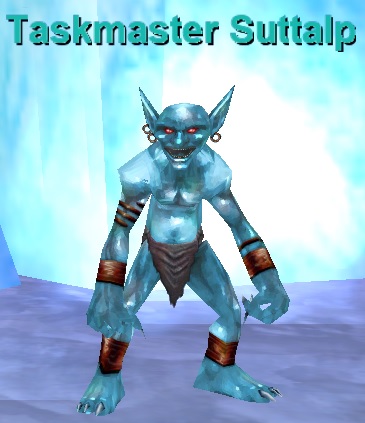
Continue clearing towards room #2 where you’ll find Taskmaster Suttalp. Kill him. Easy fight.
Step 3
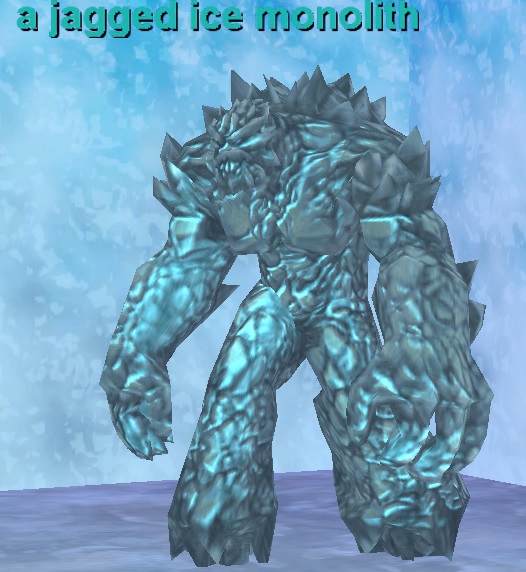
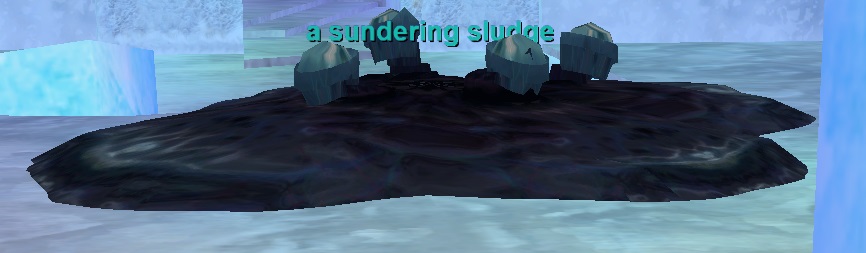
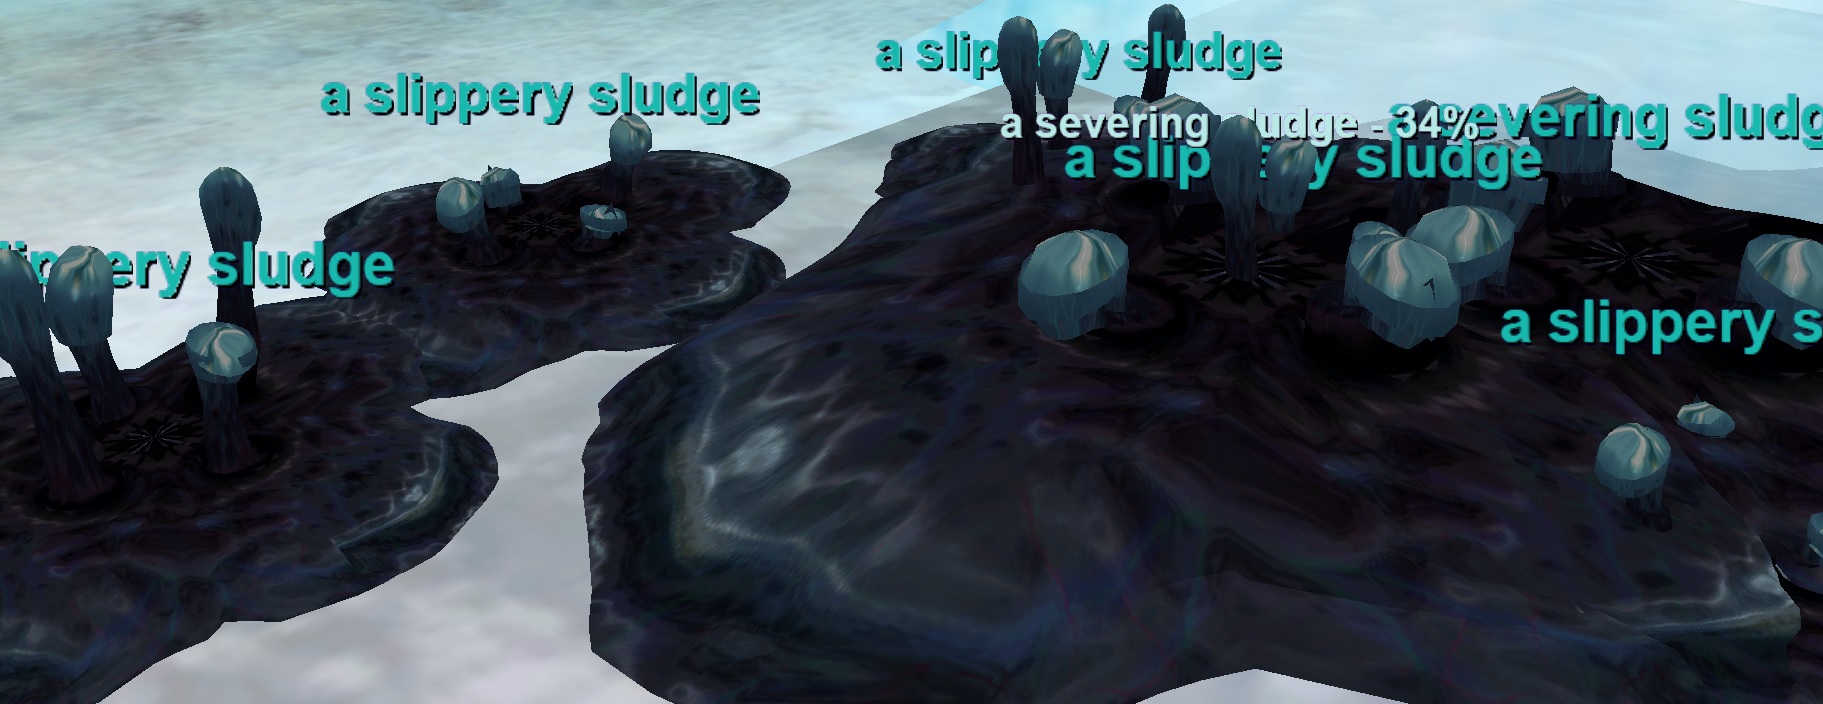
Keep clearing trash towards room #3. Here you will find a sundering sludge along several a jagged ice monolith. The monoliths will FD their target so kill them first.
Once the monoliths are dead begin to work on the sludge. It splits into multiple mobs upon death, who will then split again. Kill the sludge’s one at a time and prioritize the smallest ones first as to not overwhelm the raid. This is the hardest event in the adventure but is still easy with a full raid force as long as everyone assists and the smallest sludge’s die first. You will get a message once the event has been complete:

Step 4
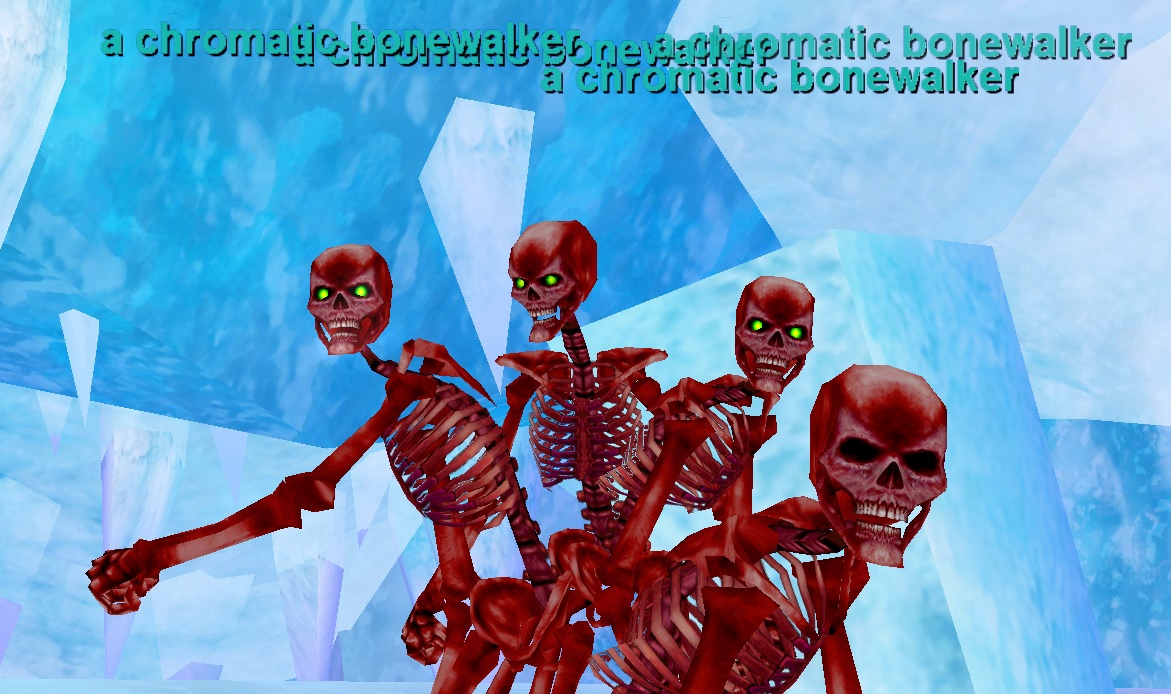
Keep clearing trash towards room #4 and #5. In each of these rooms you will find 2 a chromatic bonewalker for a total of 4. When a chromatic bonewalker dies, it changes colors. Pull them all together (ideally pulling them into room #3). Your goal is to turn each mob into a red character model. Once all 4 are red, kill all of them back to back. This will complete the event.

Step 5
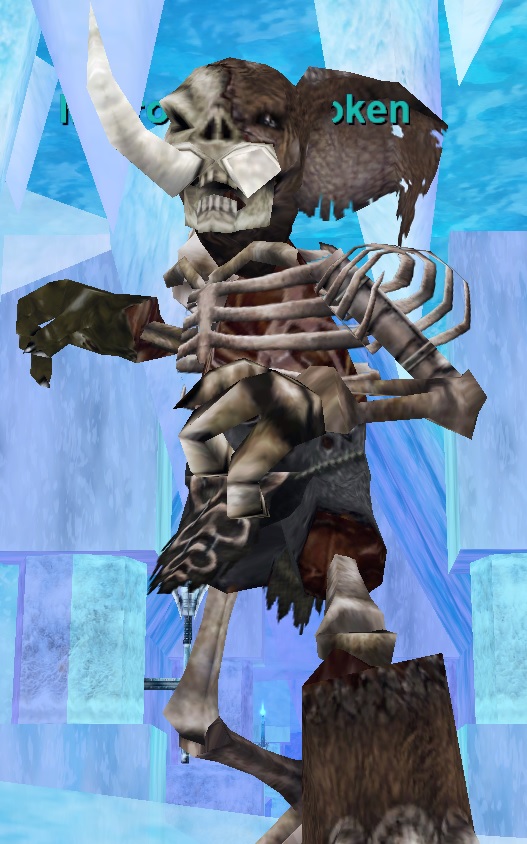
Keep clearing trash towards room #6. In this room you’ll find the named Marrow the Broken. He only hits for 1300 if your tank has max heroic stamina. He also spawns adds. Kill adds as they spawn then get back on Marrow. Easy fight.

Step 6
Keep clearing trash towards room #7. In this room you’ll find Sharalla’s corpse and Sharalla’s warder. Hail the warder and a few mobs will spawn and attack. You’ll see the following emote:

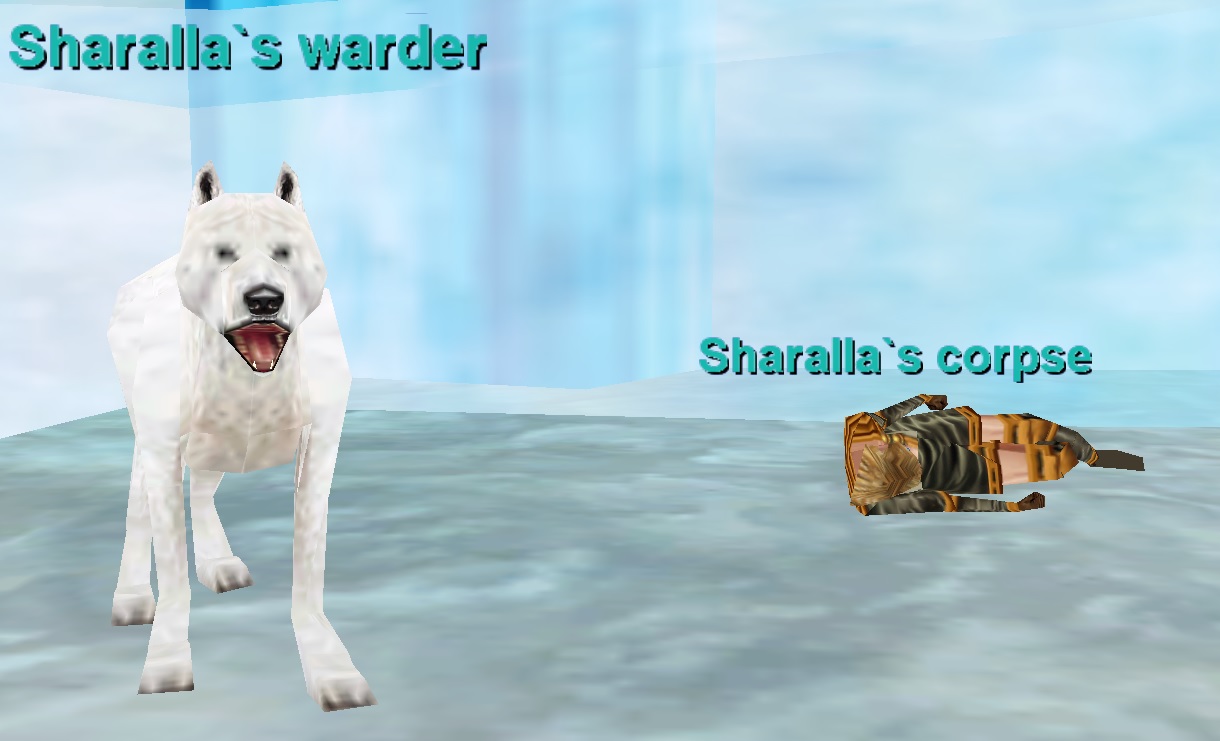
Kill the mobs and protect Sharalla’s corpse. Do not let them hit her. This is quick and easy. Once done, you’ll get your final emote.

Step 7
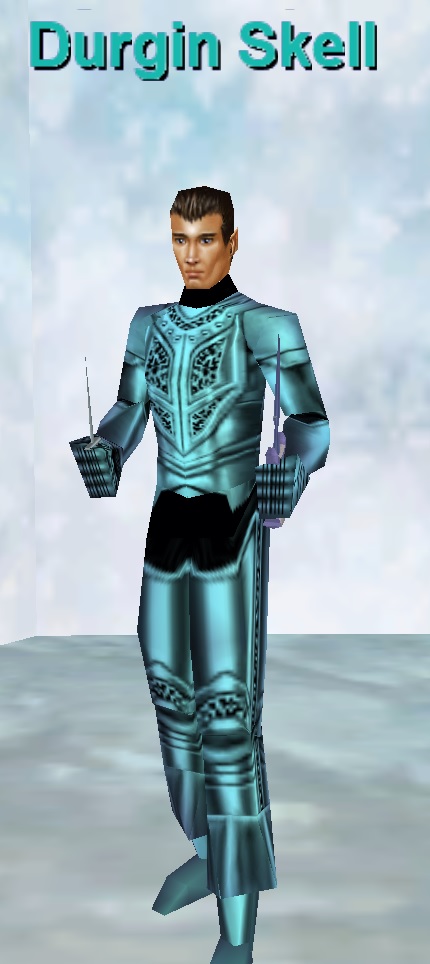
Head back to room #8. Here you’ll find Durgin Skell. Hail him. The expedition will lock and you’ll get some text from Durgin. This hail spawns the final boss of the zone.

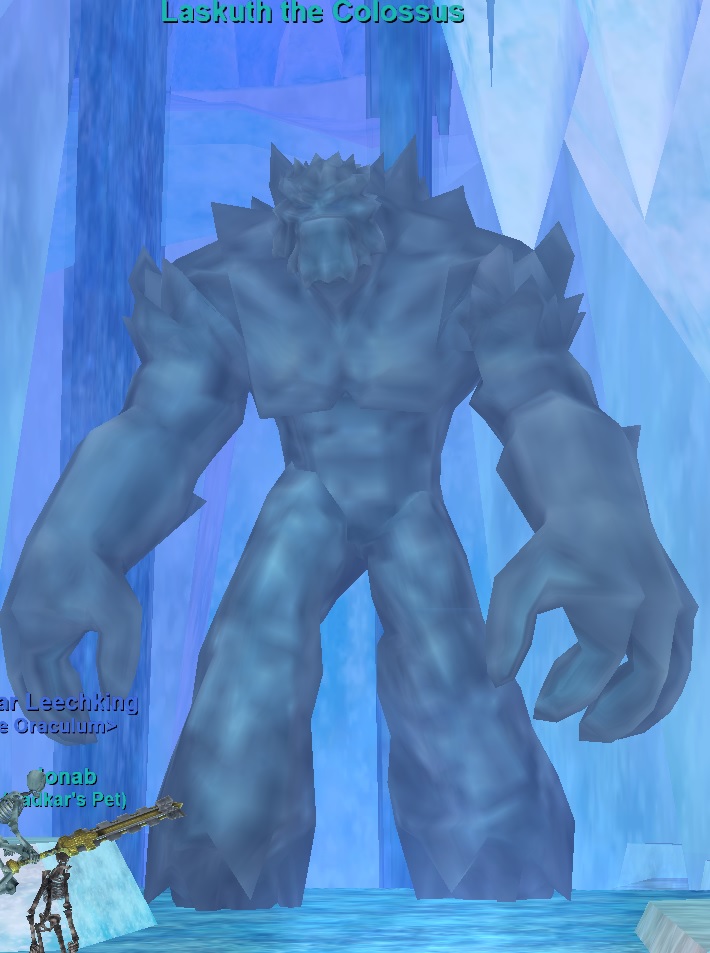
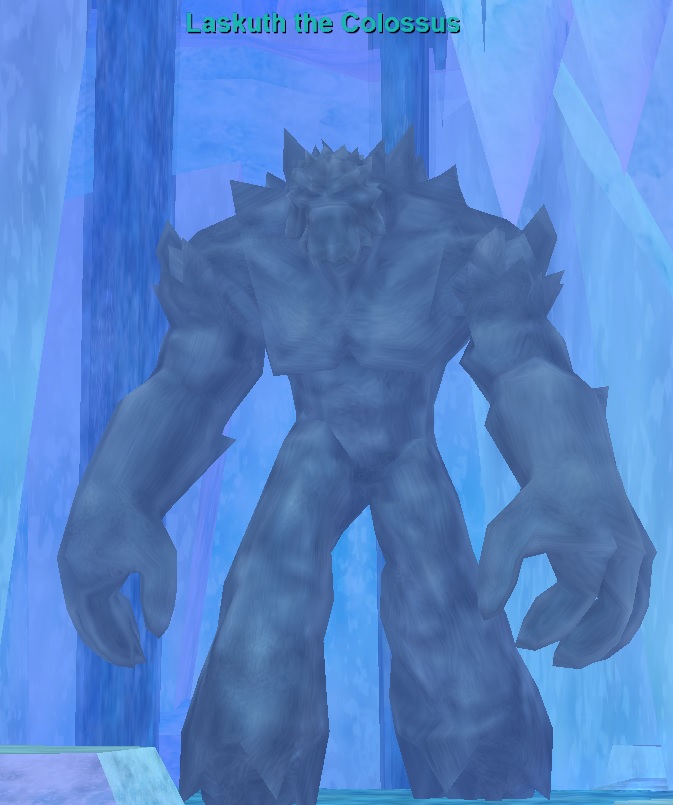
Step 8
Head to room #9. Here you’ll find Laskuth the Colossus. He does a knockback that will cause your tank to lose all aggro and will send them flying backwards. You will want at least two tanks to mitigate this and make sure they have levitate. He hits around 2,000. He also reflects spells periodically. This completes the dungeon! You’ll receive 3 chests that spawn in his room.


Thanks for using EQProgression!