![]()
You must have completed either the Paladin 1.0 Epic or the Paladin 1.5 Pre-Quest to begin this quest.
Potentially Pre-farmable Steps
**Not all are 100% confirmed pre-lootable, just something you may want to review before beginning the quest. This is assuming OoW is unlocked.**
Step 4
Step 8
Step 13 (Parts 1-3)
Step 16
Step 20
Step 22
Step 1
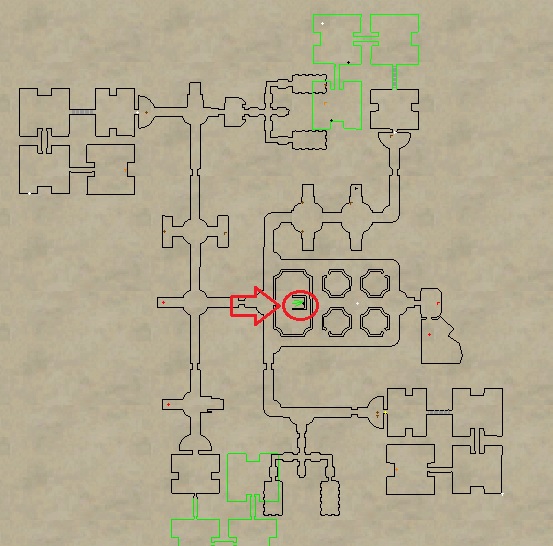
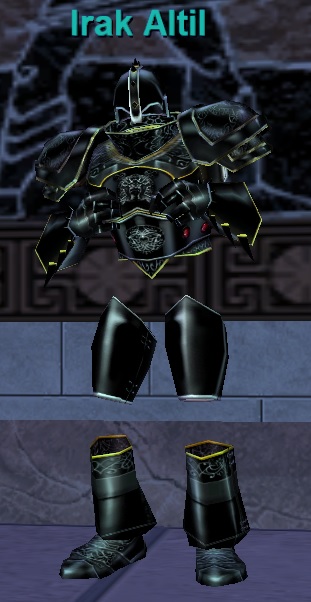
Go to Halls of Honor and find Irak Altil. Follow his entire dialogue, you’ll end up saying “vision” to receive emote:

Step 2
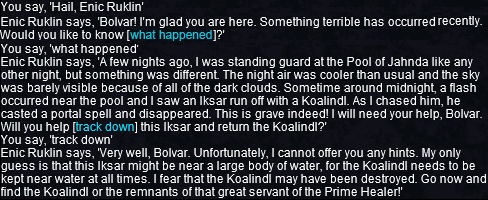
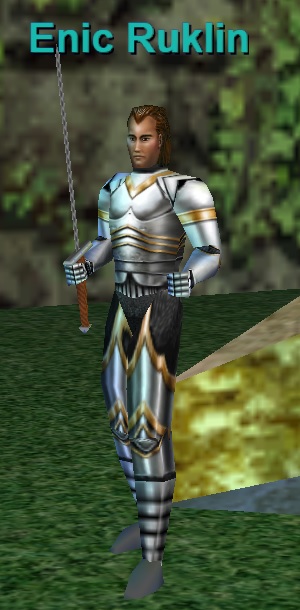
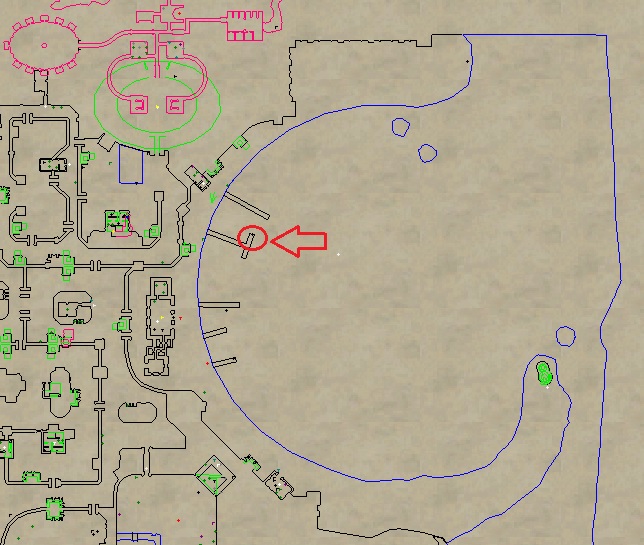
Go to North Qeynos and locate Enic Ruklin. He roams around outside the Temple of Life area. Follow his entire dialogue:
Say “Hail”
Say “what happened”
Say “track down”
Step 3
Go to East Freeport and locate Brunar Rankin (-85, -1025). He on the docks. Hail him to receive ![]() Iksar’s Note.
Iksar’s Note.

Step 4
Get Fishing to 100. You can train until 20 at your Guildmaster. After that just fish. Step 5 involves going to Gulf of Gunthak so you can fish there to save time. Bring a lot of bait and fishing rods (many fishing poles can break).
You can make a macro to make it easier:
/autoinventory
/do # (whatever skill slot # you have fishing as)
/pause 120
/autoinventory
/do # (whatever skill slot # you have fishing as)
Step 5
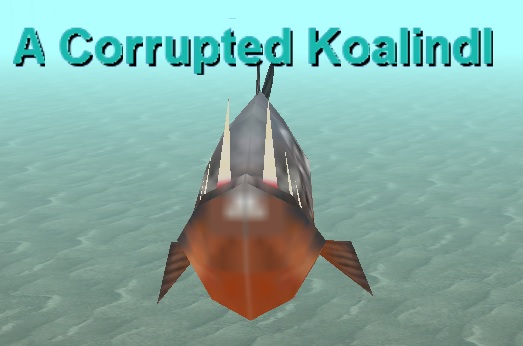
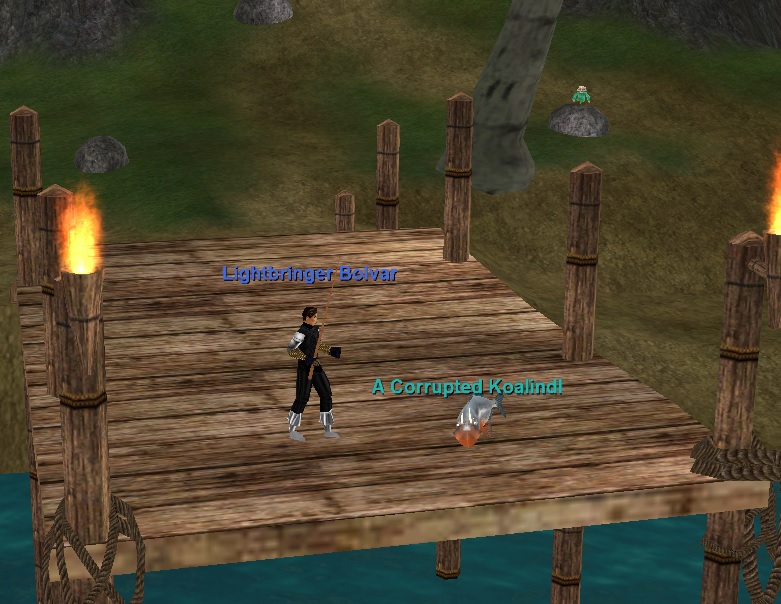
Now you’ll need to fish up 4x ![]() Corrupted Koalindl’s Heart from A Corrupted Koalindl in 4 different zones. These can take a while to spawn so be patient. You will see this emote each time a fish spawns:
Corrupted Koalindl’s Heart from A Corrupted Koalindl in 4 different zones. These can take a while to spawn so be patient. You will see this emote each time a fish spawns:
You should be able to duo each A Corrupted Koalindl without an issue. A tracker also helps in case the fish doesn’t spawn near you.
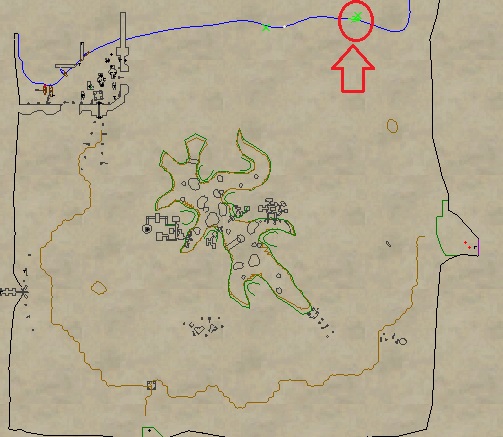
1) Go to Gulf of Gunthak and begin fishing on the beach shore (-180, -640) until A Corrupted Koalindl spawns. It will spawn in the water and roam around. Chase it down and kill it. Loot ![]() Corrupted Koalindl’s Heart.
Corrupted Koalindl’s Heart.

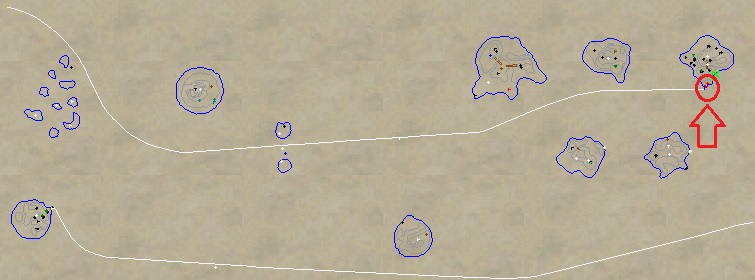
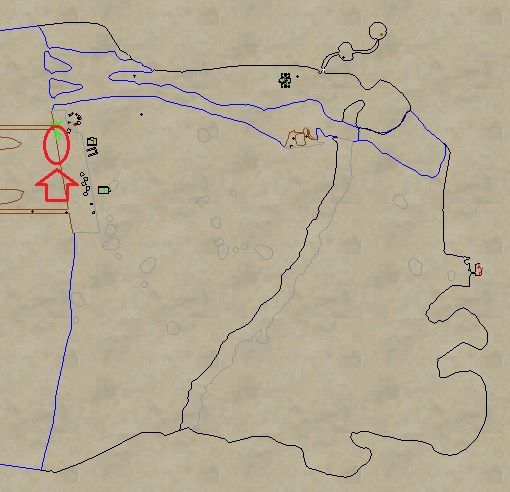
2) Go to Ocean of Tears and begin fishing at Sister island (Most northeast island). Fish on the dock (+1550, -7900) until A Corrupted Koalindl spawns. Kill it and loot ![]() Corrupted Koalindl’s Heart.
Corrupted Koalindl’s Heart.
3) Go to The Overthere and fish along the shore. For me the fish spawned at (+4000, -2250). Kill it and loot ![]() Corrupted Koalindl’s Heart.
Corrupted Koalindl’s Heart.
4) Go to Nedaria’s Landing. Fish near the Wayfarers Camp. Once the fish spawns kill it and loot ![]() Corrupted Koalindl’s Heart.
Corrupted Koalindl’s Heart.
Step 6
Go to back North Qeynos and locate Enic Ruklin. He roams around outside the Temple of Life area. Give him ![]() 4x Corrupted Koalindl’s Heart to receive
4x Corrupted Koalindl’s Heart to receive ![]() Seal of Enic.
Seal of Enic.
Step 7
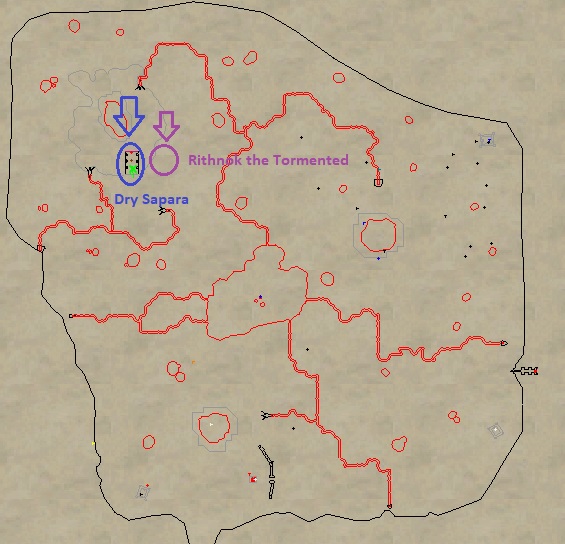
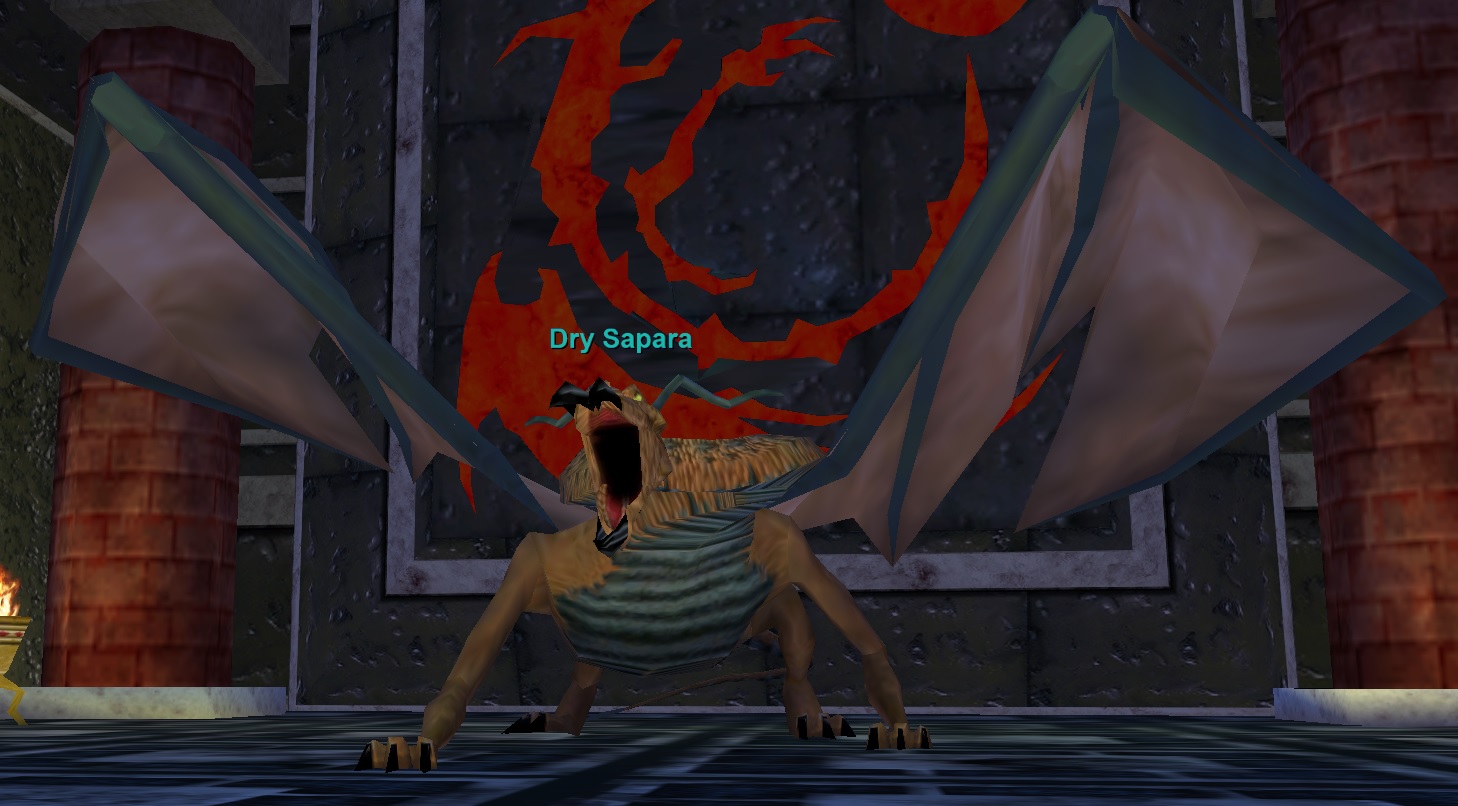
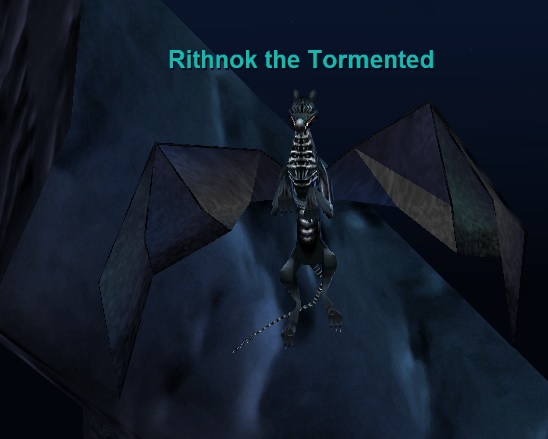
Go to Skyfire Mountains with a small group and find Dry Sapara. It is at the zone-in to Veeshan’s Peak. Hail it to spawn Rithnok the Tormented just a bit to the east. Kill it and loot ![]() Rithnok’s Soulstone.
Rithnok’s Soulstone.
Give ![]() Rithnok’s Soulstone to Dry Sapara. He will give a
Rithnok’s Soulstone to Dry Sapara. He will give a ![]() Rithnok’s Soulstone (4-slot container).
Rithnok’s Soulstone (4-slot container).
Step 8
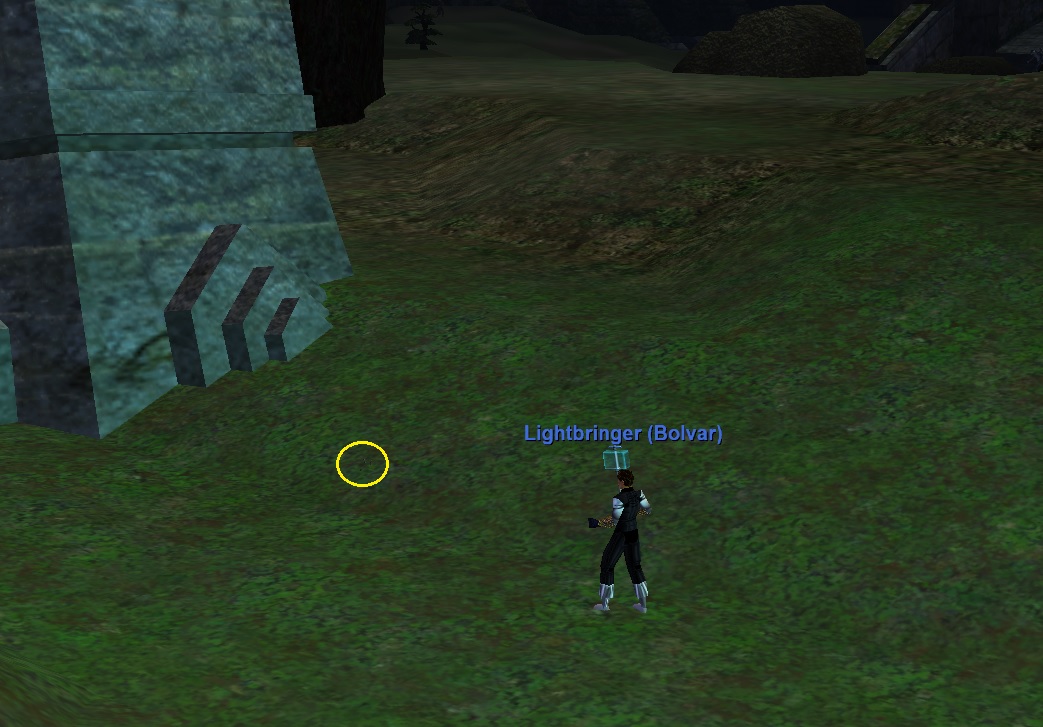
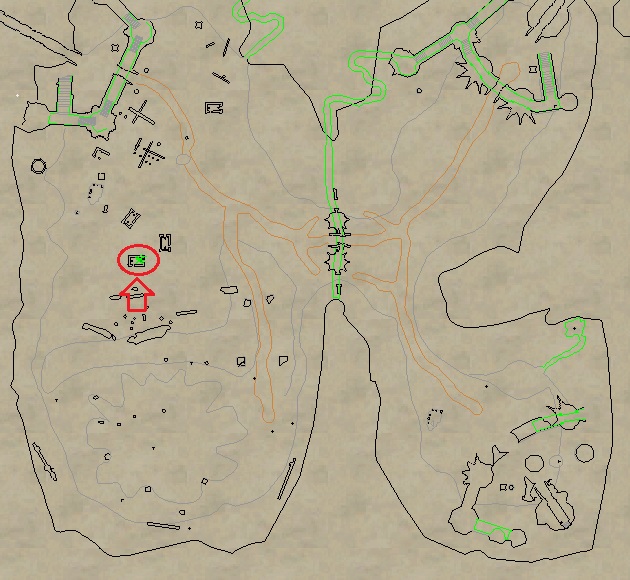
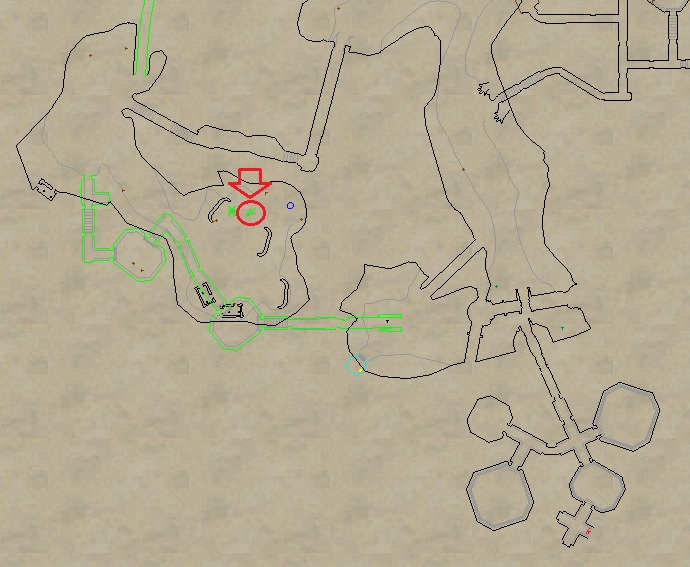
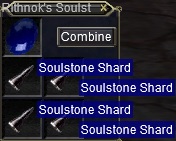
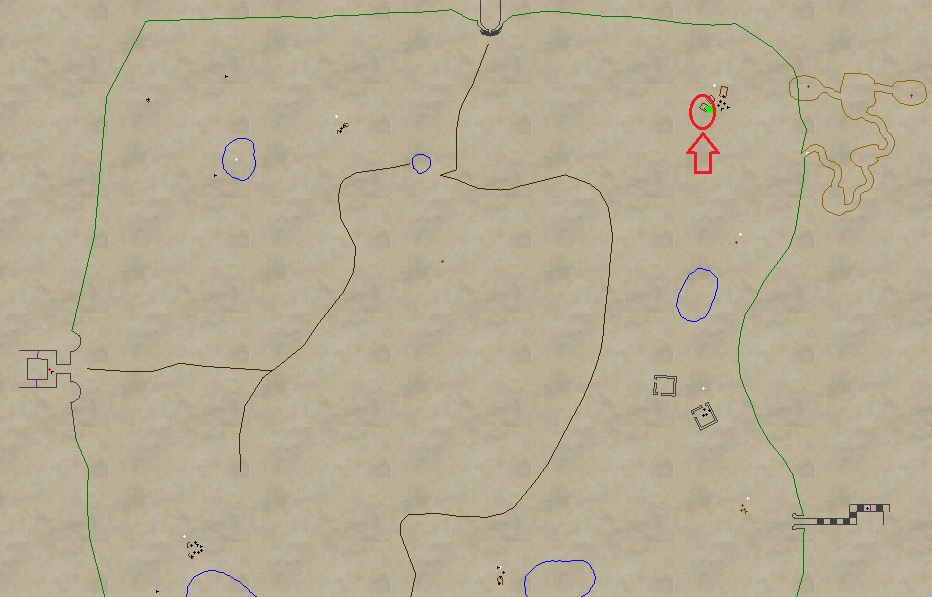
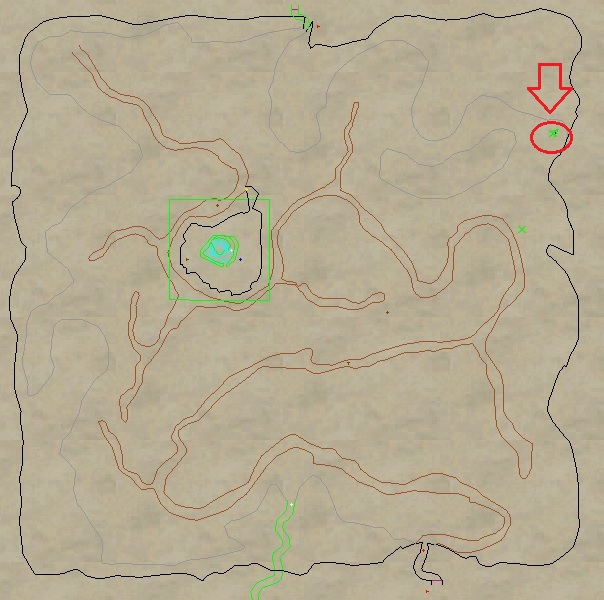
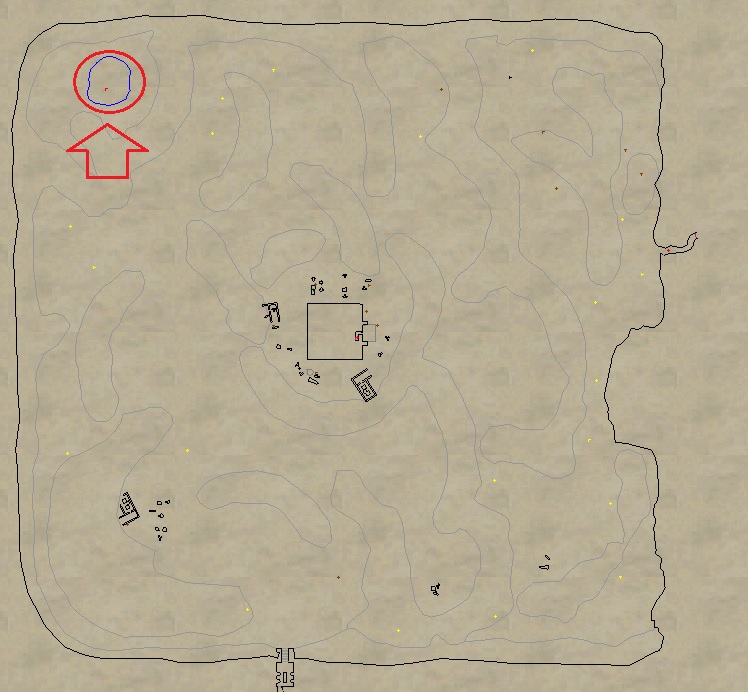
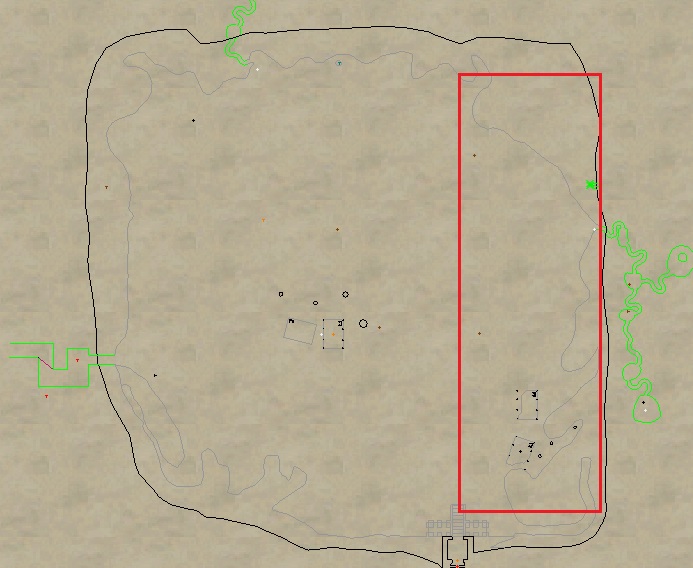
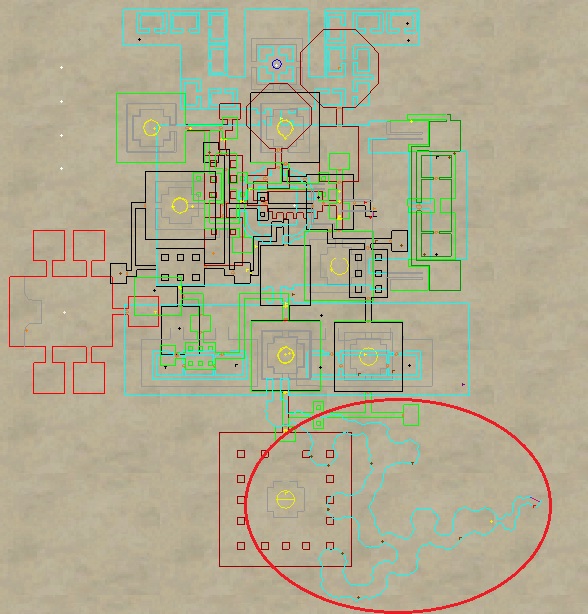
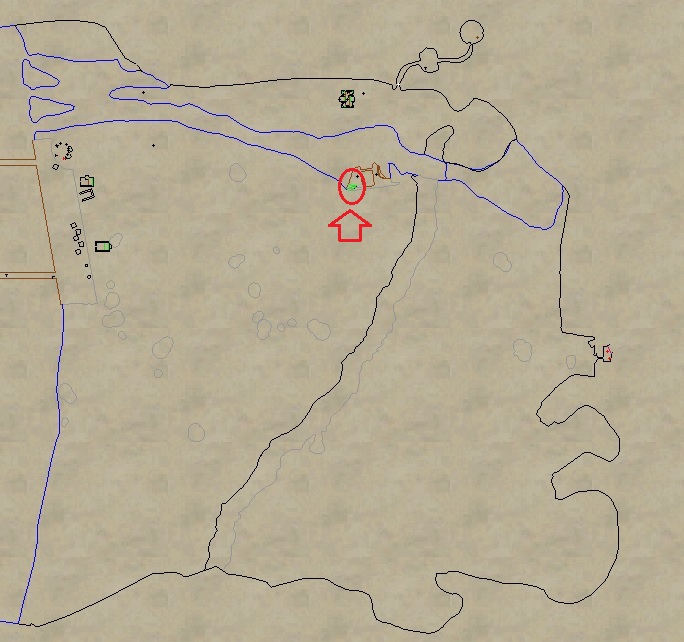
You’ll now need to collect ![]() 4x Soulstone Shard. They are ground spawns found in Omens of War zones. They can be hard to see. You’ll need to right-click open the pictures to see them full size. The spawns are very small.
4x Soulstone Shard. They are ground spawns found in Omens of War zones. They can be hard to see. You’ll need to right-click open the pictures to see them full size. The spawns are very small.
1) Dranik’s Scar (+1050, +120)

2) The Bloodfields (+450, +740)
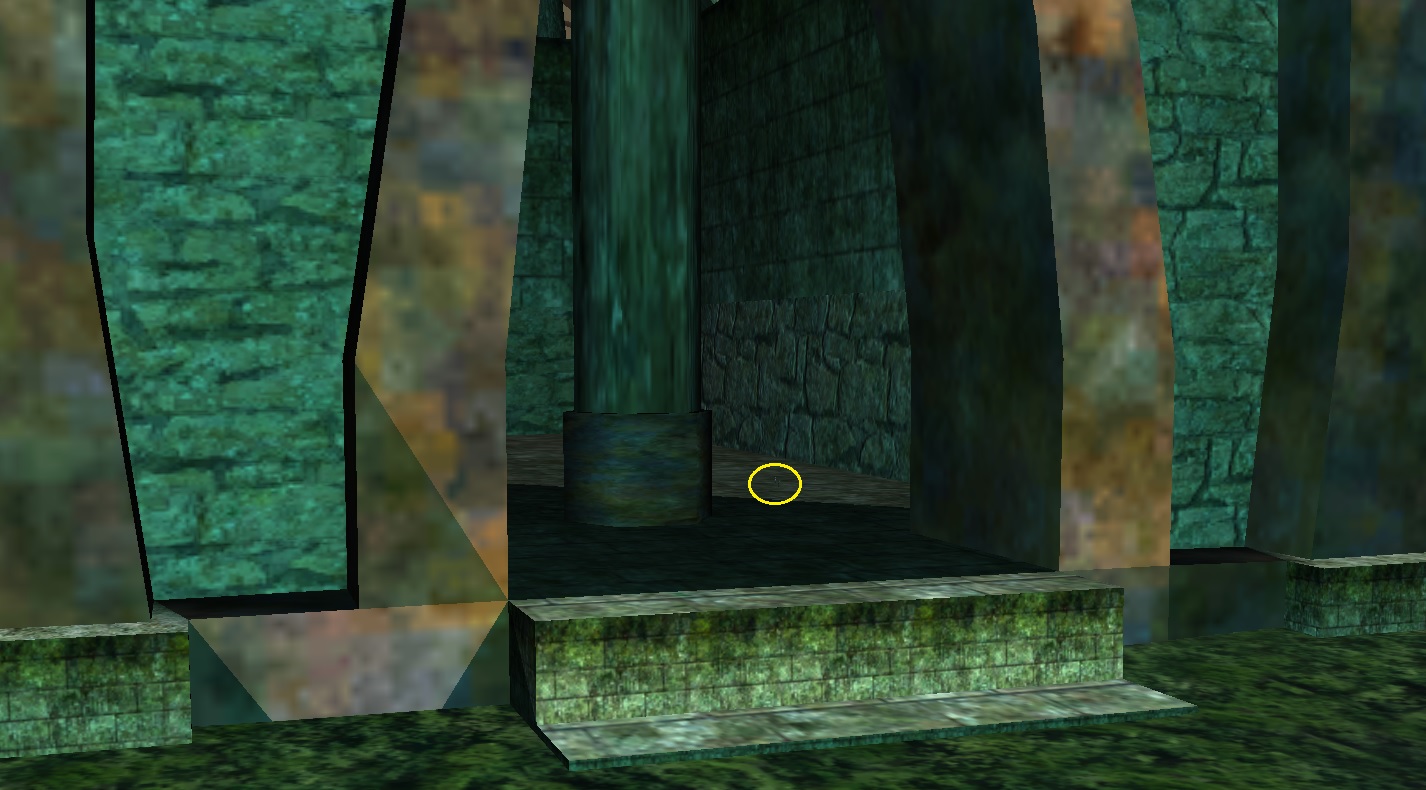
3) Nobles’ Causeway (-860, -370)
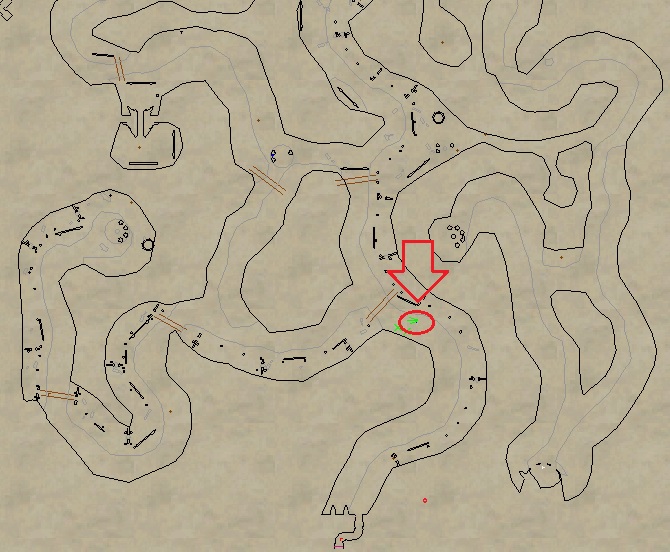
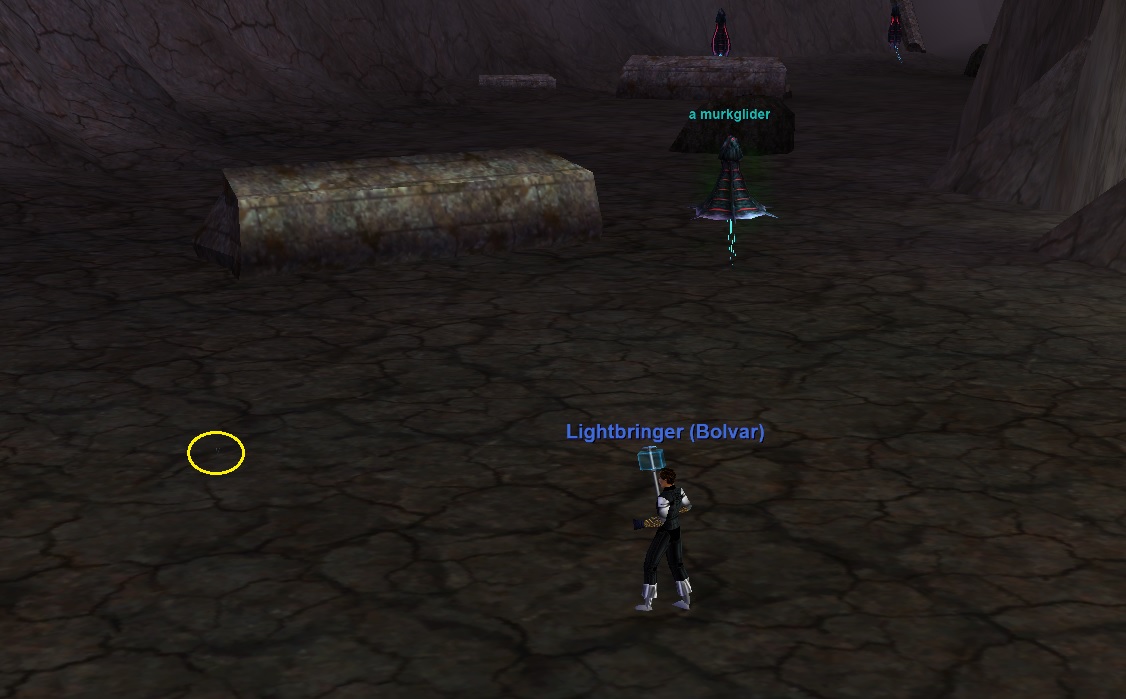
4) The Ruined City of Dranik (-545, +365)

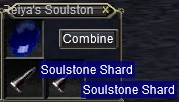
Step 9
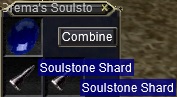
Combine the ![]() 4x Soulstone Shard from Step 8 into
4x Soulstone Shard from Step 8 into ![]() Rithnok’s Soulstone (4-slot container) to create a non-container version of the same item:
Rithnok’s Soulstone (4-slot container) to create a non-container version of the same item: ![]() Rithnok’s Soulstone.
Rithnok’s Soulstone.
Step 10
Go to Dawnshroud Peaks find Mikhal Young (+1340, -1280).
– “Hail” him
– Follow his dialogue completely, which ends in “find anything”
you’ll receive ![]() Drema’s Locket.
Drema’s Locket.

Step 11
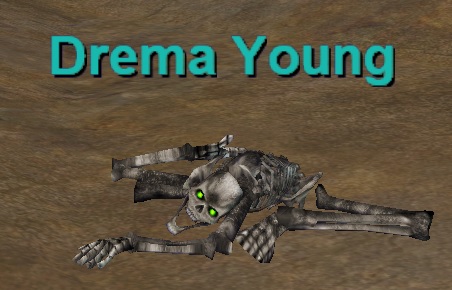
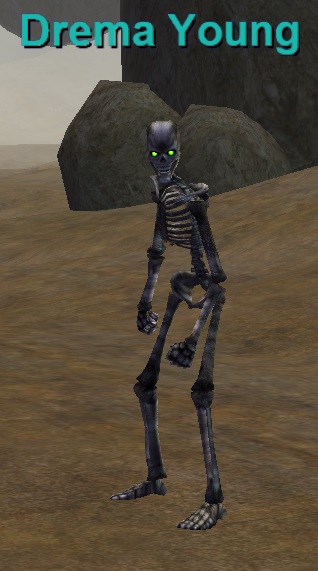
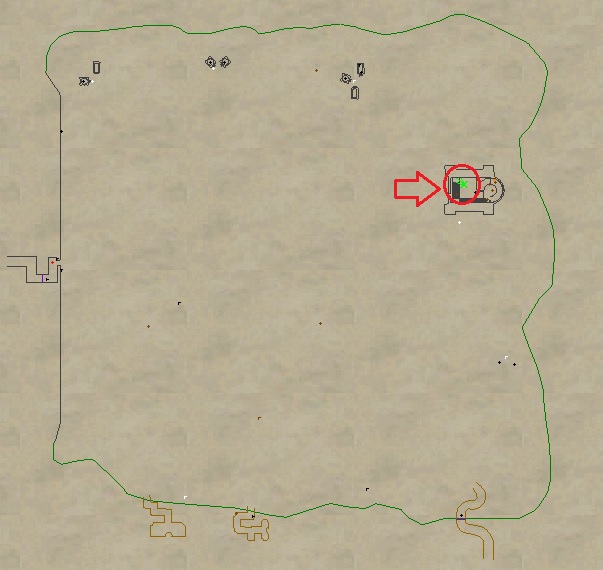
Go to Mons Letalis and find Drema Young (+830, -1250). Give her ![]() Drema’s Locket to receive
Drema’s Locket to receive ![]() Drema’s Fingerbone.
Drema’s Fingerbone.

Step 12
1) Go back to Dawnshroud Peaks find Mikhal Young (+1340, -1280). Give him ![]() Drema’s Fingerbone. He will give it back and emote:
Drema’s Fingerbone. He will give it back and emote:
2) In the same camp you’ll find Denns Rootenpaw. Give him ![]() Drema’s Fingerbone to receive
Drema’s Fingerbone to receive ![]() Bone Collector’s Bag (4-slot container).
Bone Collector’s Bag (4-slot container).

Step 13
Next you’ll need to collect ![]() 3x Dark Skeleton Remains. They drop from 3 different zones:
3x Dark Skeleton Remains. They drop from 3 different zones:
1) The Grey – drops from a sun revenant. These are near the lake. Rare drop

2) The Umbral Plains – drops from disturbed elysian remains. These roam the zone. A tracker helps. Rare drop.

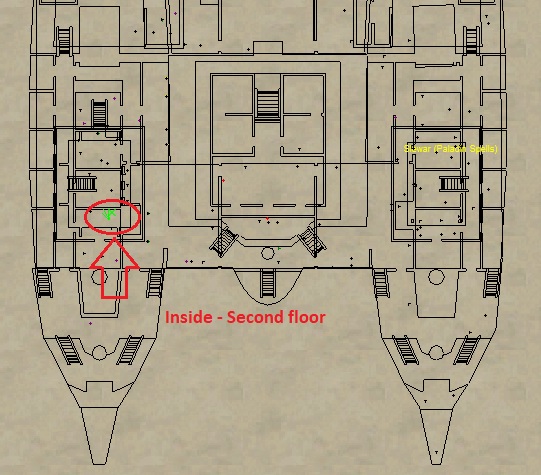
3) Ssraeshza Temple – drops from skeletons in the basement. Rare drop.

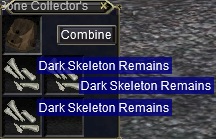
4) Once you have all 3 combine them in ![]() Bone Collector’s Bag (4-slot container). It will create a new item with the same name:
Bone Collector’s Bag (4-slot container). It will create a new item with the same name: ![]() Bone Collector’s Bag.
Bone Collector’s Bag.
Step 14
Go back to Dawnshroud Peaks and find Denns Rootenpaw. Give him ![]() Bone Collector’s Bag to receive
Bone Collector’s Bag to receive ![]() Enchanted Bone Powder.
Enchanted Bone Powder.
Step 15
Grab a couple of people and go to back to Mons Letalis and find Drema Young (+830, -1250). Give her
![]() Enchanted Bone Powder. She will attack. Kill her and loot
Enchanted Bone Powder. She will attack. Kill her and loot ![]() Drema’s Soulstone (2-slot container).
Drema’s Soulstone (2-slot container).

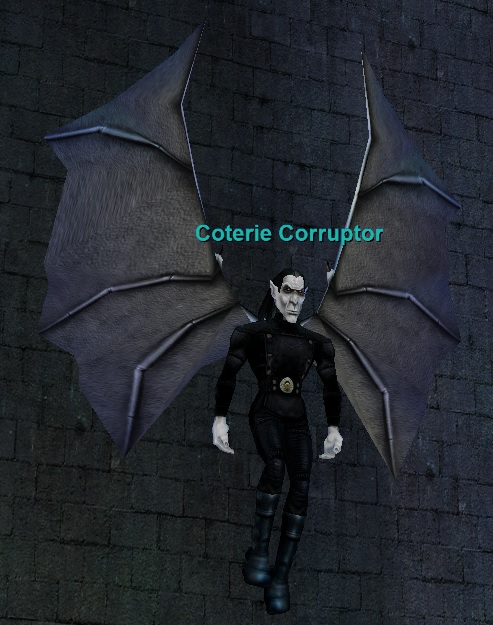
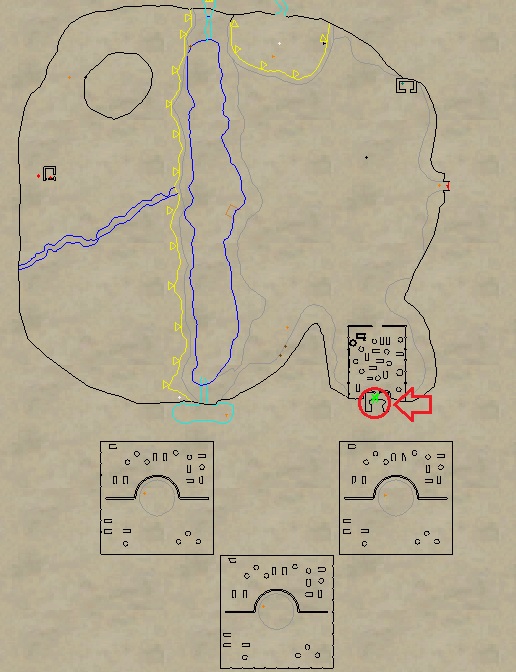
Step 16
You can probably solo this but it doesn’t hurt to get a small group and head to Tenebrous Mountains. Locate Coterie Corruptor. He is at the top of the castle. Kill it and loot ![]() Soulstone Shard.
Soulstone Shard.
Step 17
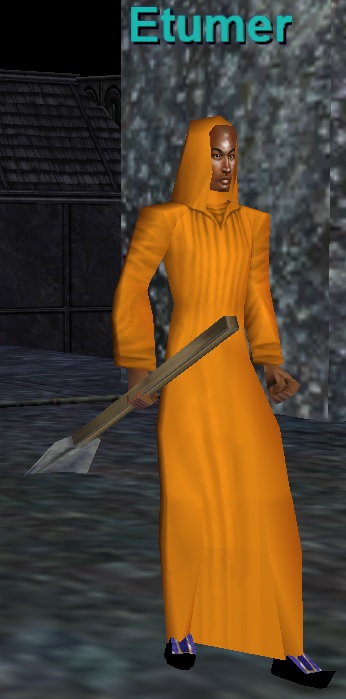
1) Go to Plane of Nightmare with a 24-person raid and find Etumer (-1650, -1300).
Say “I am ready” to zone into a new area. This will port the entire group. Each group leader will need to say this phrase to zone their group in.
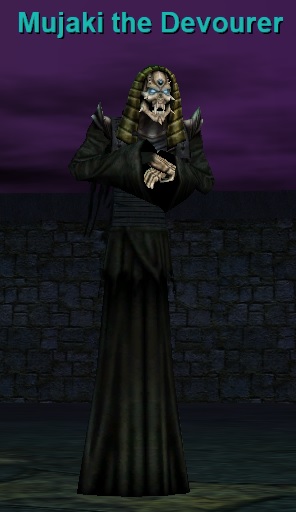
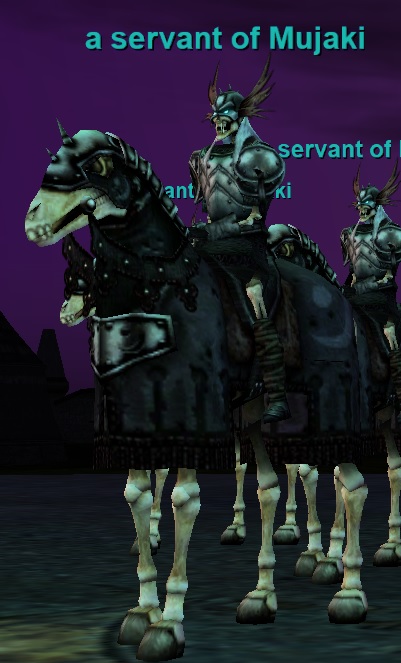
2) Inside you’ll find Mujaki the Devourer. He is untargetable at first.
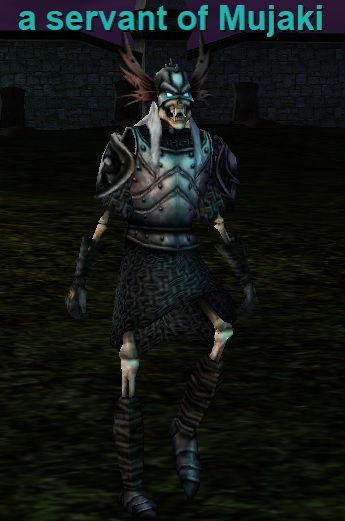
You’ll see 3 large graves in the yard around him. These are spawn points for waves of mobs. Split you raid up between the 3 gravestones and aggro the spawns ASAP. Kill the waves as they come. You get a couple minutes between waves. If you let them onto the gray platform that Mujaki is on then they become untargetable mobs on horses for the time being. For each one of these you let on the platform you’ll have to deal with them once Mujaki the Devourer finally spawns.
Below are the number of mobs I got per wave:
Wave 1 – 3 mobs (1 each gravestone)
Wave 2 – 3 mobs (1 each gravestone)
Wave 3 – 3 mobs (1 each gravestone)
Wave 4 – 6 mobs (2 each gravestone)
Wave 5 – 9 mobs? (3 each gravestone?)
Wave 6 – 6 mobs (2 each gravestone)
Wave 7 – 6 mobs (2 each gravestone)
Wave 8 – 3 mobs (1 each gravestone)
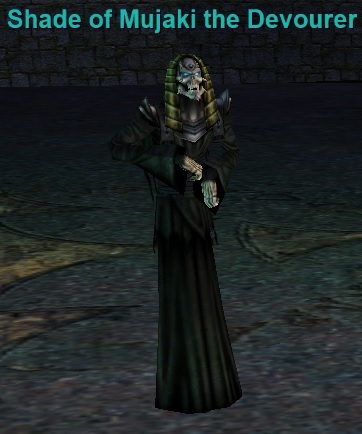
After 8 waves Mujaki the Devourer becomes targetable. Kill him and Shade of Mujaki the Devourer spawns. Kill it and loot ![]() Soulstone Shard. A chest with extra loot also spawns.
Soulstone Shard. A chest with extra loot also spawns.

Step 18
Combine both ![]() Soulstone Shards into
Soulstone Shards into ![]() Drema’s Soulstone (2-slot container) to create a non-container version of the same item:
Drema’s Soulstone (2-slot container) to create a non-container version of the same item: ![]() Drema’s Soulstone.
Drema’s Soulstone.
Step 19
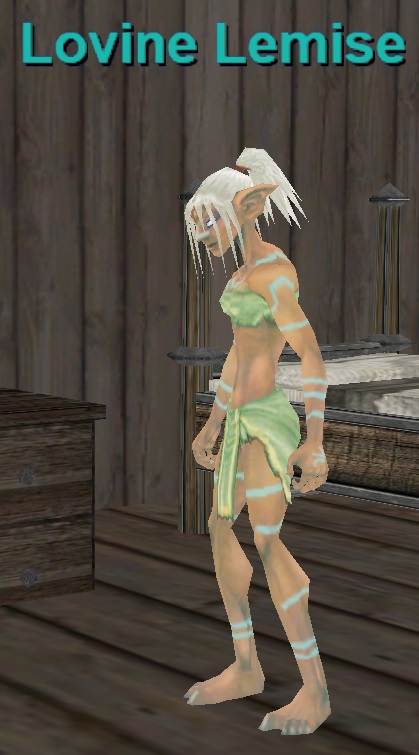
Go to Abysmal Sea and locate Lovine Lemise (-195, +202). You can do a “Find” on Soulbinder Jerlin. They are in the same room.
“Hail” her
Say “assistance”
Say “wrong”
Say “ingredients”
You’ll receive ![]() Lovine’s Potion Bag (4-slot container). Do not skip any of the dialogue.
Lovine’s Potion Bag (4-slot container). Do not skip any of the dialogue.
Step 20
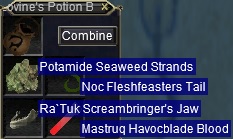
Farm 4 items:
A tracker helps greatly for all of these.
1) ![]() Mastruq Havocblade Blood – drops from a mastruq havocblade in Qinimi, Court of Nihilia. Rare Drop.
Mastruq Havocblade Blood – drops from a mastruq havocblade in Qinimi, Court of Nihilia. Rare Drop.
2) ![]() Noc Fleshfeasters Tail – drops from a noc fleshfeaster in Riwwi, Coliseum of Games. Rare Drop.
Noc Fleshfeasters Tail – drops from a noc fleshfeaster in Riwwi, Coliseum of Games. Rare Drop.
3) ![]() Potameid Seaweed Strands – drops from an entrapped potamide in Natimbi, the Broken Shores. These spawn and roam in the water on the south side of the zone. Rare Drop.
Potameid Seaweed Strands – drops from an entrapped potamide in Natimbi, the Broken Shores. These spawn and roam in the water on the south side of the zone. Rare Drop.
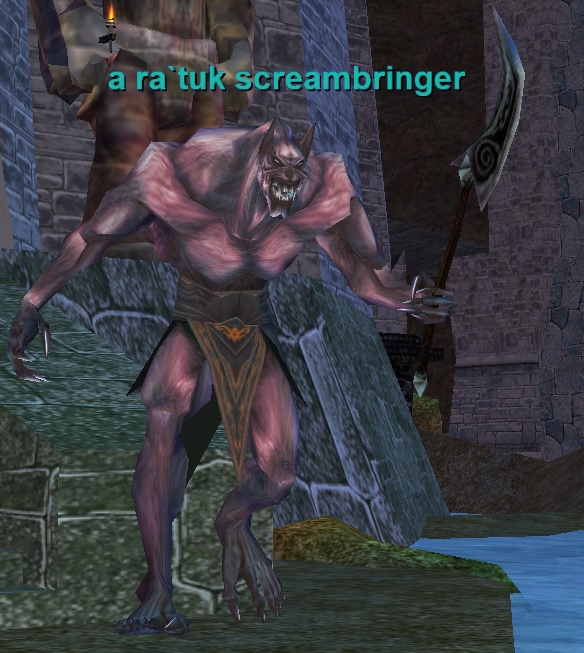
4) ![]() Ra`Tuk Screambringer’s Jaw – drops from a ra`tuk screambringer in Barindu, Hanging Gardens. Rare Drop.
Ra`Tuk Screambringer’s Jaw – drops from a ra`tuk screambringer in Barindu, Hanging Gardens. Rare Drop.


Step 21
Once you have all 4 items from Step 20 combine them in ![]() Lovine’s Potion Bag (4-slot container) to create a non-container version of
Lovine’s Potion Bag (4-slot container) to create a non-container version of ![]() Lovine’s Potion Bag.
Lovine’s Potion Bag.
Step 22
Have a Shaman create you a ![]() Mist of the Breathless (Trivial 224) with Alchemy.
Mist of the Breathless (Trivial 224) with Alchemy.
Ingredients are:
![]() 1x Fine Potion Vial – Bought – Abysmal Sea – Jensine Hegeway (Use Find)
1x Fine Potion Vial – Bought – Abysmal Sea – Jensine Hegeway (Use Find)![]() 1x Robust Shadow Essence – Drops off “shades” in Maiden’s Eye and Akheava Ruins. Rare drop.
1x Robust Shadow Essence – Drops off “shades” in Maiden’s Eye and Akheava Ruins. Rare drop.![]() 1x Sage Leaf – Bought – Abysmal Sea – Jorlan Hegeway (Use Find)
1x Sage Leaf – Bought – Abysmal Sea – Jorlan Hegeway (Use Find)![]() 1x Valerian Root – Bought – Abysmal Sea – Jorlan Hegeway (Use Find)
1x Valerian Root – Bought – Abysmal Sea – Jorlan Hegeway (Use Find)![]() 3x Woundwart – Bought – Abysmal Sea – Jorlan Hegeway (Use Find)
3x Woundwart – Bought – Abysmal Sea – Jorlan Hegeway (Use Find)
Step 23
1) Go back to Abysmal Sea and and locate Lovine Lemise (-195, +202). You can do a “Find” on Soulbinder Jerlin. They are in the same room. Give her ![]() Lovine’s Potion Bag to receive emote:
Lovine’s Potion Bag to receive emote:

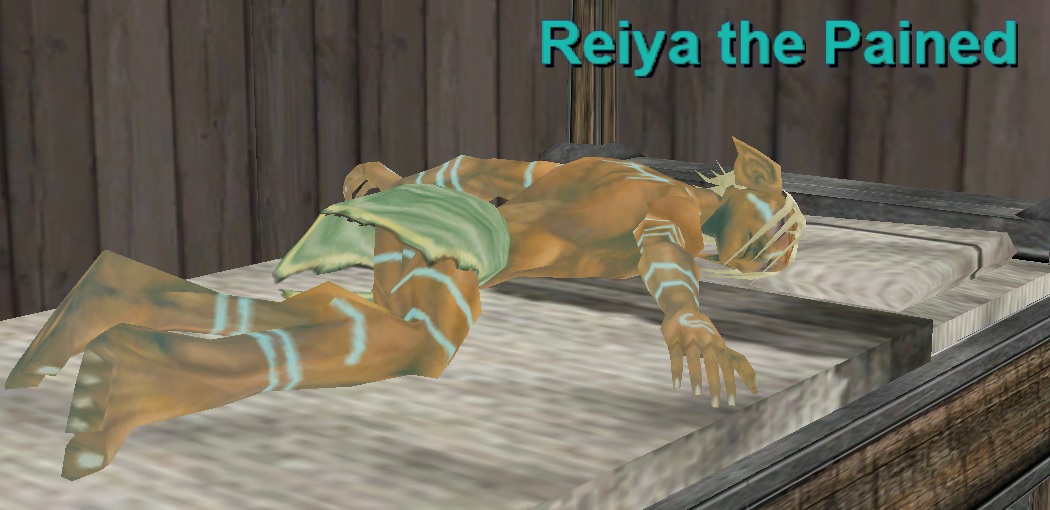
2) Next to Lovine Lemise you’ll see Reiya the Pained laying on the bed. Give him ![]() Mist of the Breathless to receive
Mist of the Breathless to receive ![]() Reiya’s Soulstone (2-slot container) and emote:
Reiya’s Soulstone (2-slot container) and emote:

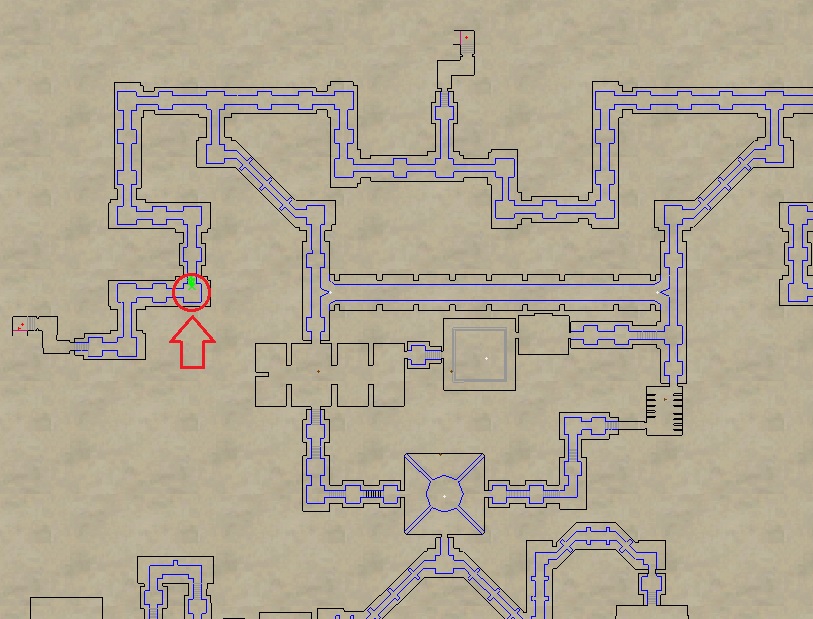
Step 24
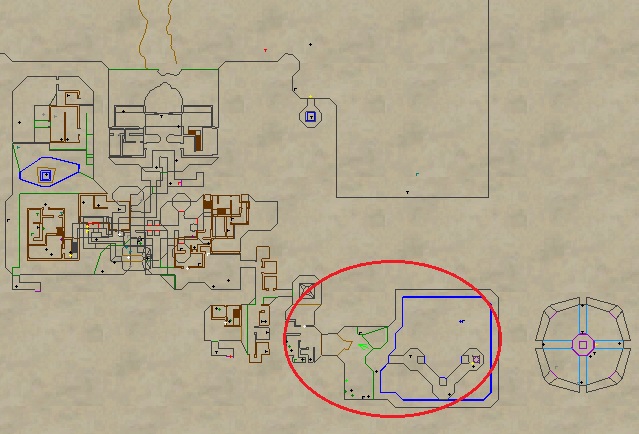
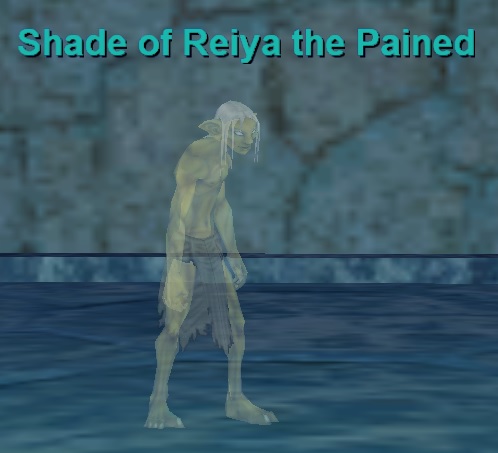
Take a group to Ferubi, Forgotten Temple of Taelosia and locate Shade of Reiya the Pained (+720, +900) near the Qinimi zone line. Kill it and loot ![]() Soulstone Shard.
Soulstone Shard.
Step 25
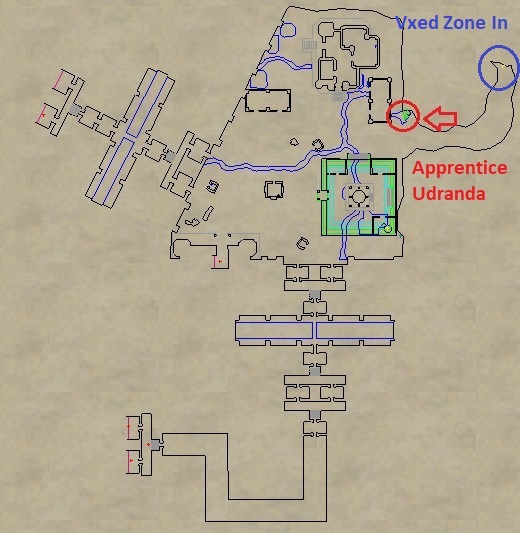
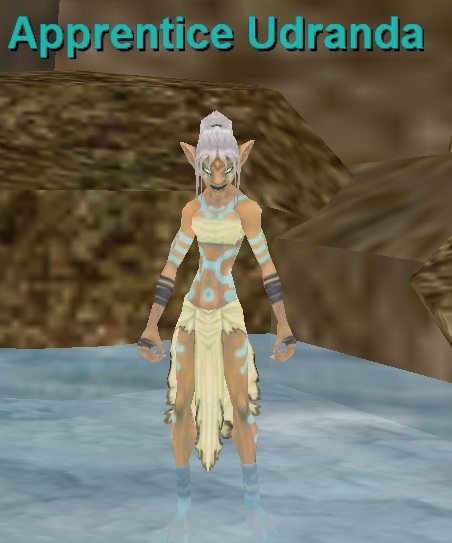
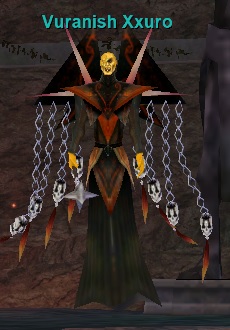
Take a raid to Barindu, Hanging Gardens and locate Apprentice Udranda. Just “Hail” Apprentice Udranda to get an instance for Vxed, the Crumbling Caverns (you must have between 6 and 24 people to request this — take closer to 24 people). You’ll see emote indicating you have correct the version of the instance:

Once inside, at the north center of the map you’ll find Vuranish Xxuro. Kill him and loot ![]() Soulstone Shard. A bonus chest also spawns.
Soulstone Shard. A bonus chest also spawns.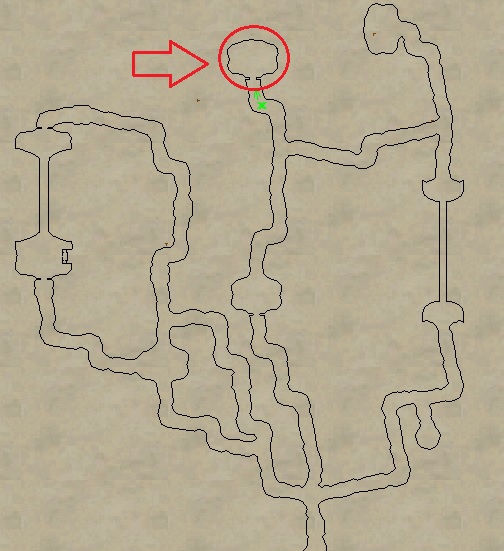
Step 26
Combine ![]() 2x Soulstone Shard (From Step 24 and Step 25) into
2x Soulstone Shard (From Step 24 and Step 25) into ![]() Reiya’s Soulstone (2-slot container) to create a new Reiya’s Soulstone.
Reiya’s Soulstone (2-slot container) to create a new Reiya’s Soulstone.
Step 27
Go back to Irak Altil in Halls of Honor. Hail him to receive emote:

Step 28
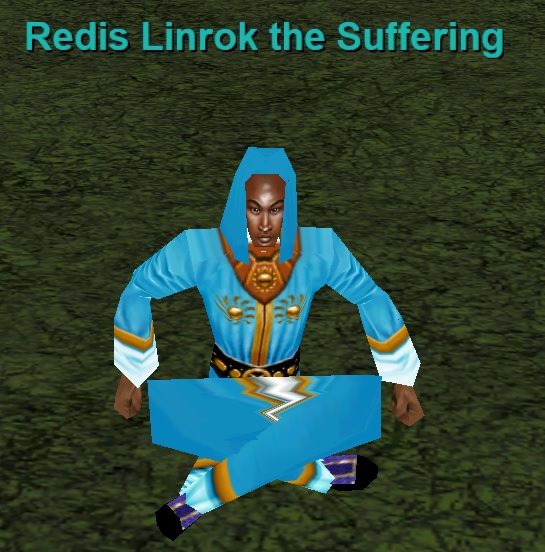
Next you’ll need to complete an instance that is requested in Nedaria’s Landing but is located in The Ruined City of Dranik. This request requires 6 players.
1) Request the instance from Redis Linrok the Suffering (+850, -210) in Nedaria’s Landing.

2) Go to The Ruined City of Dranik with your group. Upon zoning in you’ll see a marker on your compass. Follow it to zone into the instance.
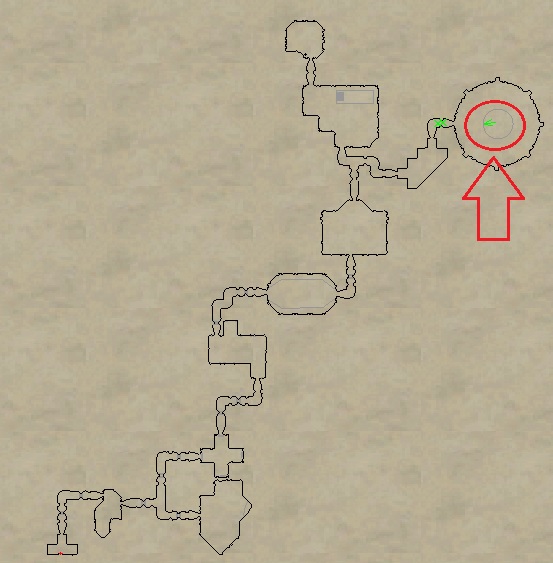
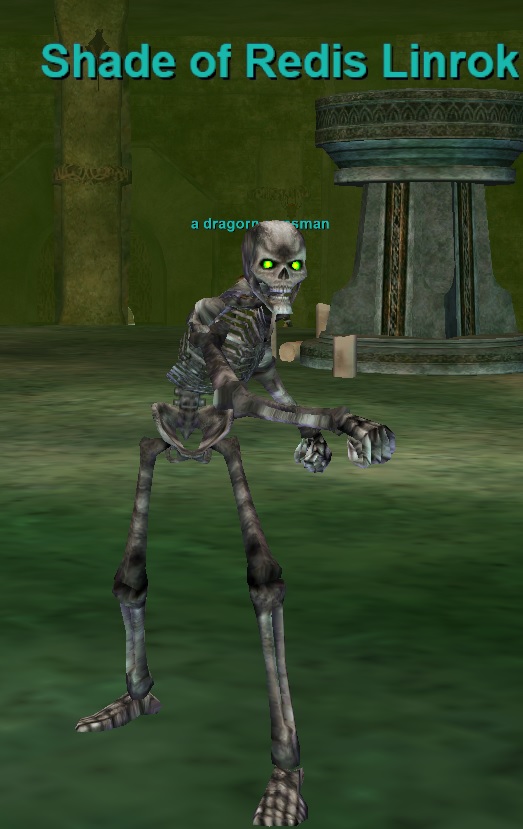
3) This instance has a lot of trash. You’ll need to fight and invis your way through until you reach the circular room on the northeast end of the zone. Once there you’ll find Shade of Redis Linrok. Kill him and loot ![]() Redis’ Soulstone.
Redis’ Soulstone.
Step 29
Head to Walls of Slaughter with a raid. Upon zoning in you’ll receive emote:

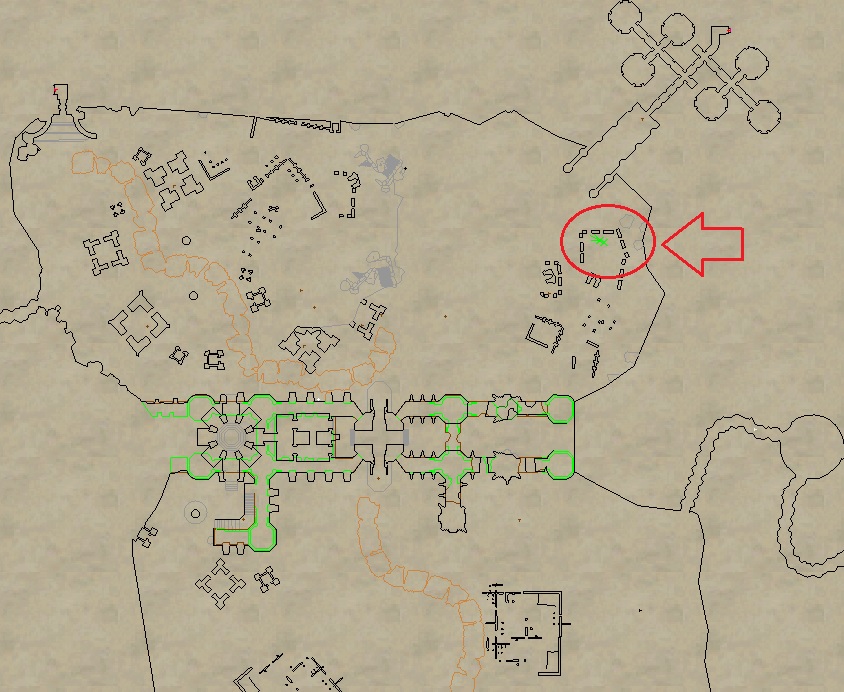
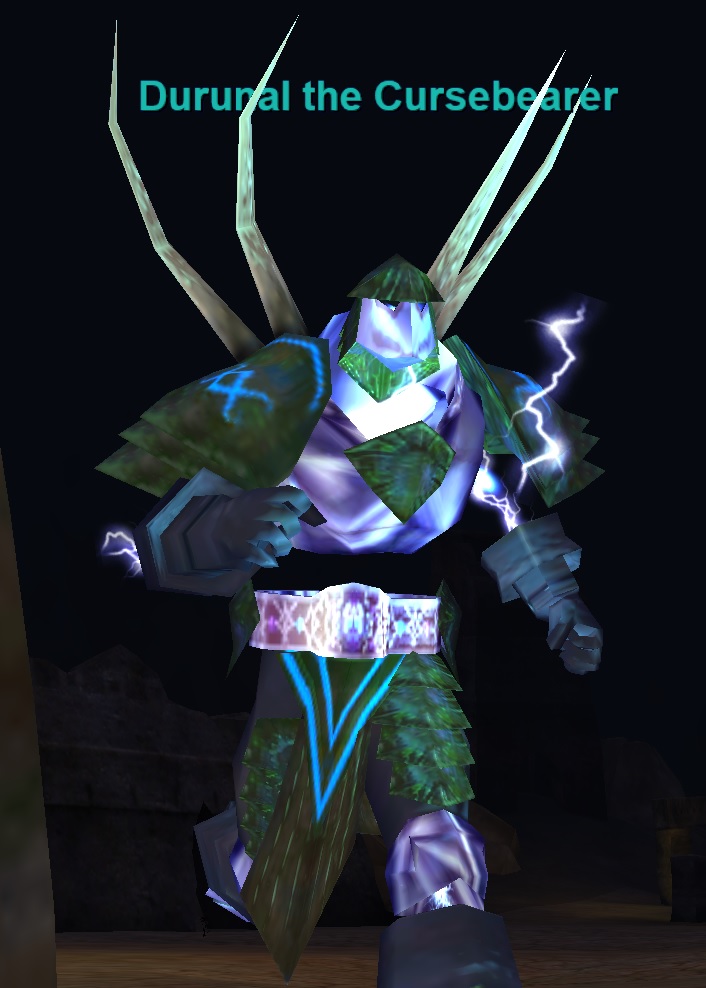
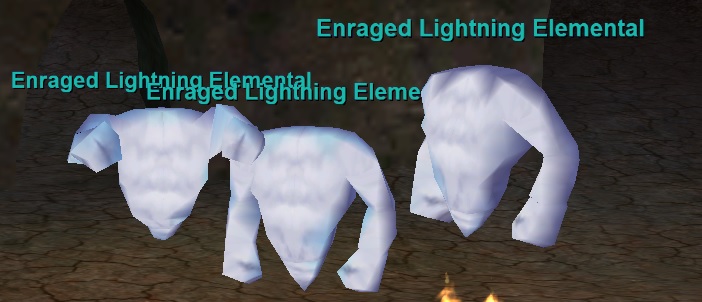
To the right of the ramp that leads to Muramite Proving Grounds you’ll find Durunal the Cursebearer. Kill him and loot ![]() Dark and Twisted Sword.
Dark and Twisted Sword.
– Eventually spawns at least 3 Enraged Lightning Elementals with low HP.
– Decent amount of HP
– Dispels the tank
– PBAE 600DD + Knockback
Step 30
1) Go back to Irak Altil in Halls of Honor. Give him ![]() Dark and Twisted Sword to receive
Dark and Twisted Sword to receive ![]() Dark and Twisted Sword (4-slot container version).
Dark and Twisted Sword (4-slot container version).
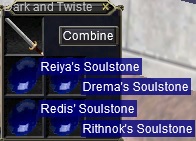
2) Combine the ![]() 4 Soulstones in it to receive your
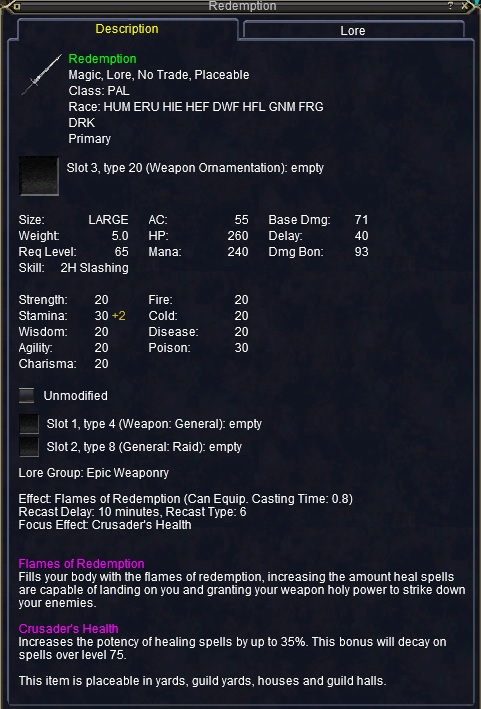
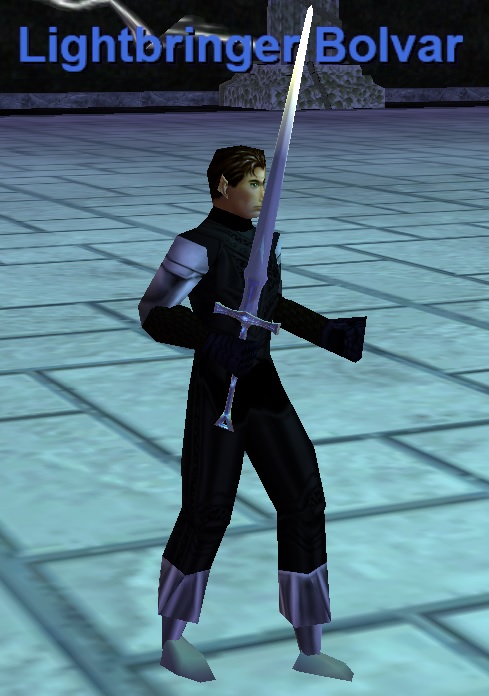
4 Soulstones in it to receive your ![]() 1.5 Epic: Redemption!
1.5 Epic: Redemption!

Thanks for using EQProgression!