Coldain 10th Ring Quest: Ring of Dain Frostreaver IV Guide
![]()
Recommended Tradeskills before beginning the quest:
Tailoring – 75
Blacksmithing – 75
Brewing – 250+
Ring #1 – Copper Coldain Insignia Ring
Farm the following items:
![]() 2x High Quality Cougarskin: Dropped, Eastern Wastes, a snow cougar. Rare Drop. Tradable
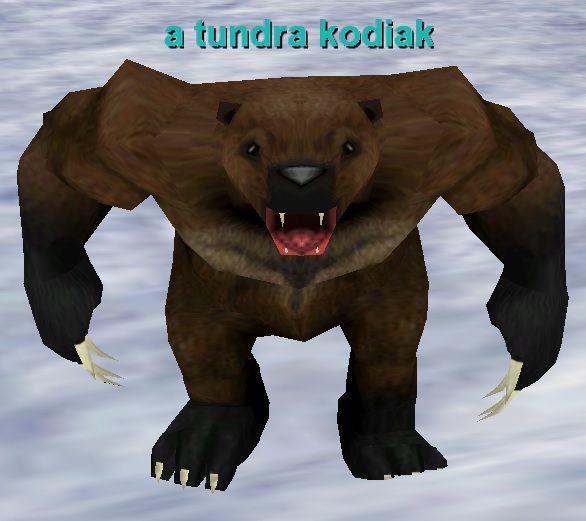
2x High Quality Cougarskin: Dropped, Eastern Wastes, a snow cougar. Rare Drop. Tradable![]() 2x High Quality Tundra Kodiak Pelt: Dropped, Eastern Wastes, a tundra kodiak. Uncommon/Rare Drop. Tradable.
2x High Quality Tundra Kodiak Pelt: Dropped, Eastern Wastes, a tundra kodiak. Uncommon/Rare Drop. Tradable.
Once you have all four items, combine them in a Sewing Kit or Loom to create ![]() Coldain Hunting Blanket. (Trivial 41). You can fail this combine so I recommend having 75+ skill.
Coldain Hunting Blanket. (Trivial 41). You can fail this combine so I recommend having 75+ skill.
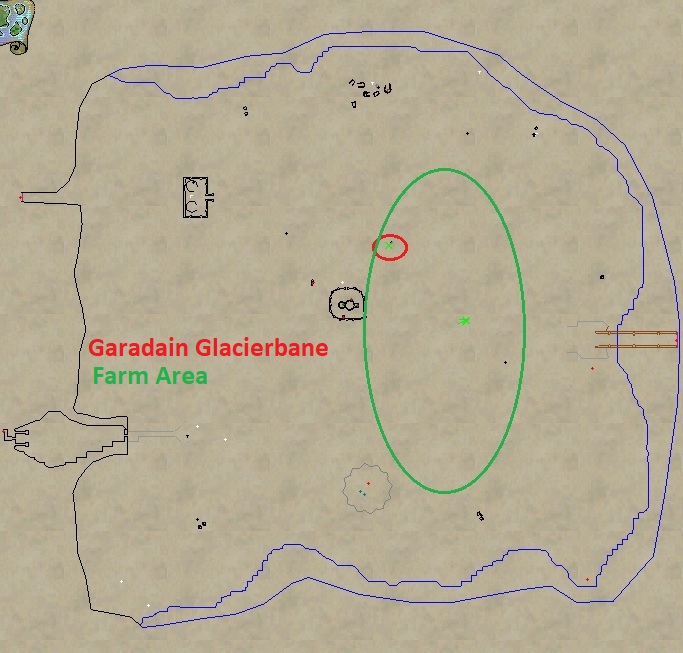
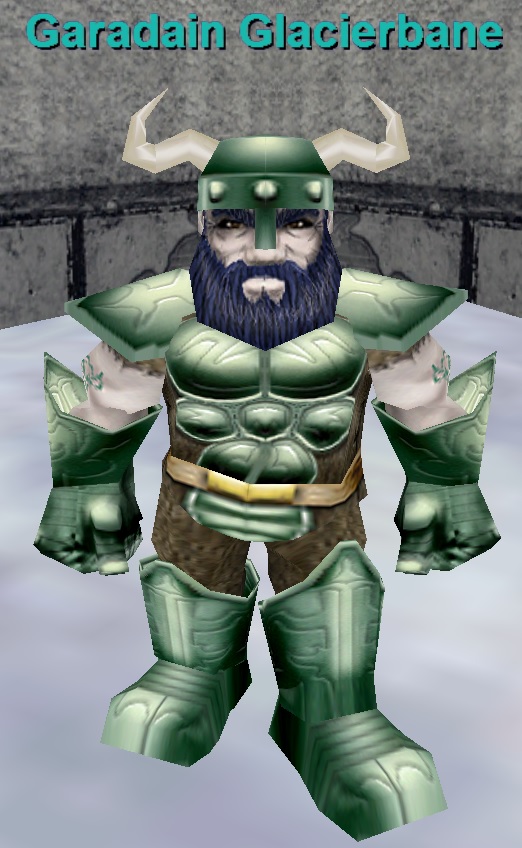
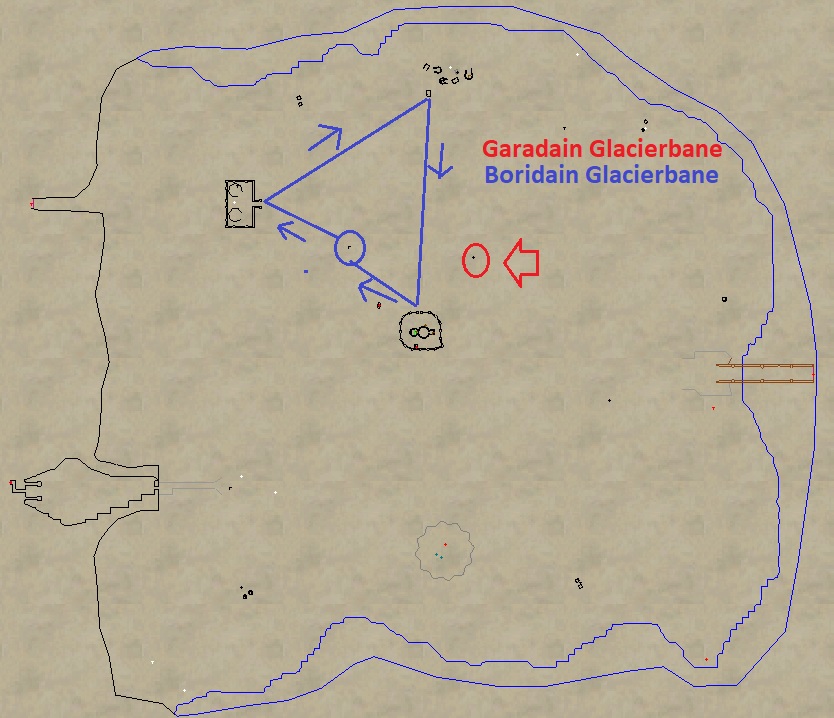
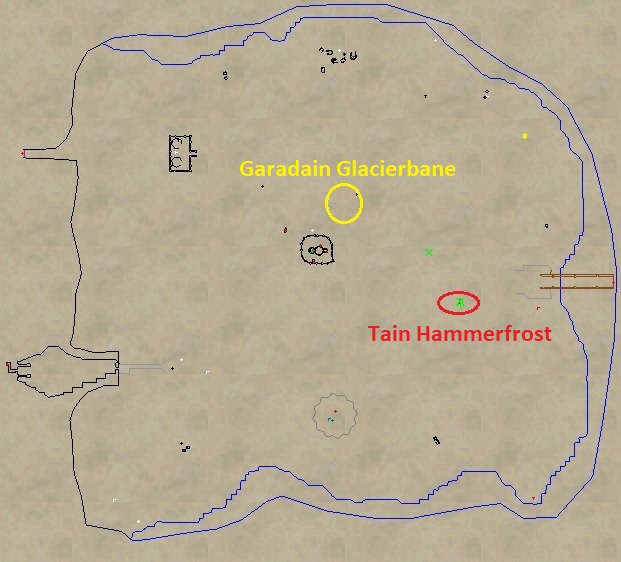
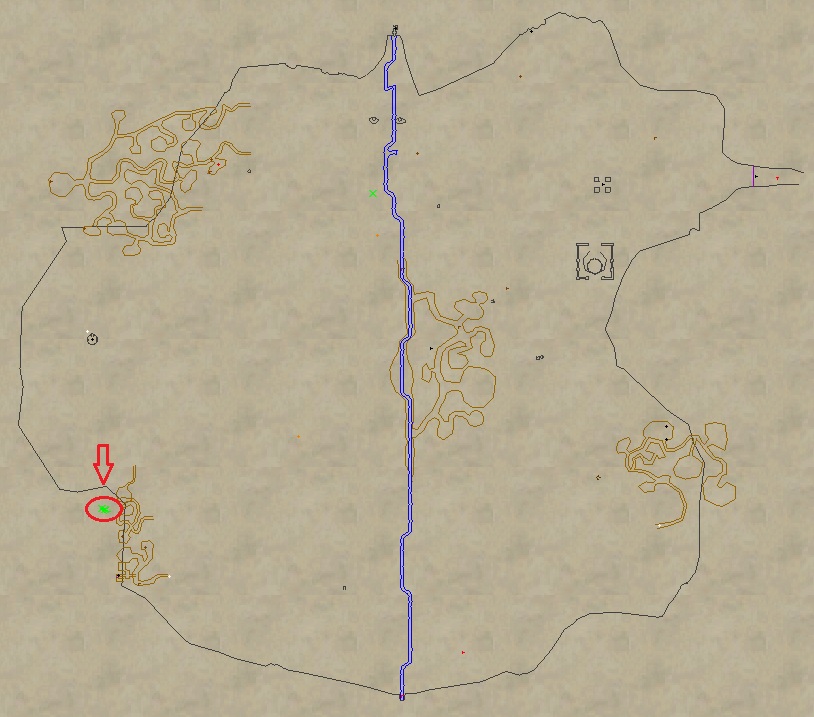
Go to Garadain Glacierbane (-2700, -400) (Red Circle) in a hut in Eastern Wastes. Give him ![]() Coldain Hunting Blanket to receive
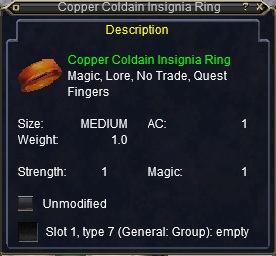
Coldain Hunting Blanket to receive ![]() Copper Coldain Insignia Ring (Ring #1).
Copper Coldain Insignia Ring (Ring #1).
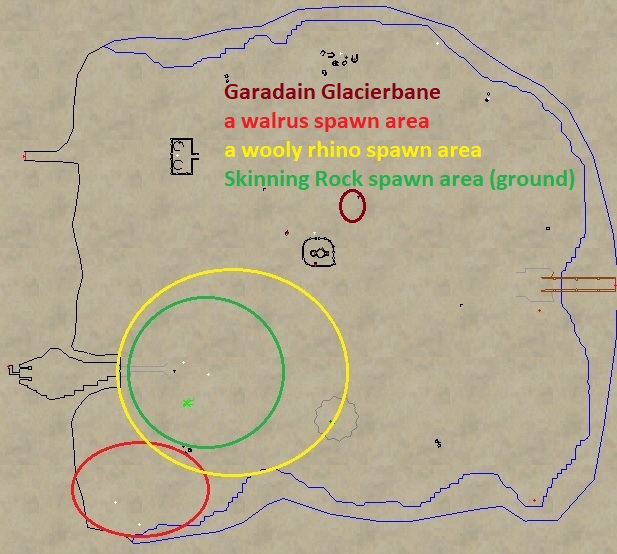
See Green Circle on map for general farming area.

Ring #2 – Silver Coldain Insignia Ring
Say “assistance” to Garadain Glacierbane (-2700, -400) (Red Circle) in Eastern Wastes to receive ![]() Dull Bladed Axe.
Dull Bladed Axe.
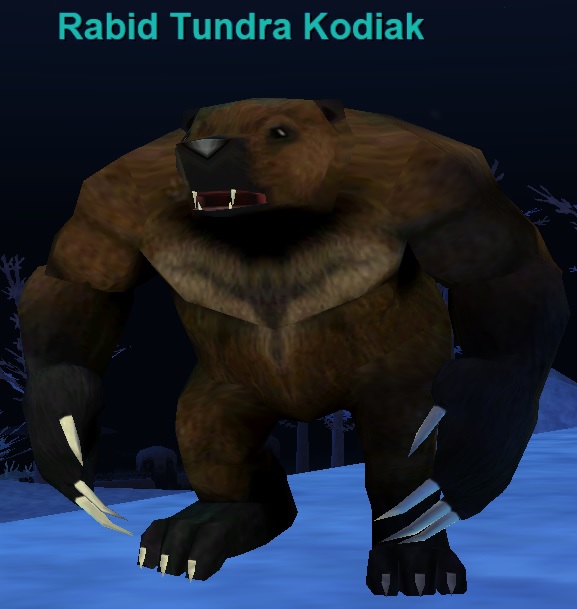
Now go to Boridain Glacierbane (-2450, +1550) also in Eastern Wastes (Blue Circle). Give him ![]() Dull Bladed Axe. This will begin a long escort. He walks slow but you can Buff/SoW/Heal him. He will take the path shown on the map. Keep him alive. You can also pre-clear his path as needed. 1 group in era should be able to complete this. At the end of the Rabid Tundra Kodiak will spawn. Kill it and loot
Dull Bladed Axe. This will begin a long escort. He walks slow but you can Buff/SoW/Heal him. He will take the path shown on the map. Keep him alive. You can also pre-clear his path as needed. 1 group in era should be able to complete this. At the end of the Rabid Tundra Kodiak will spawn. Kill it and loot ![]() Rabid Kodiak Skin. Give it to Boridain Glacierbane ASAP (he despawns within a minute or two), to receive
Rabid Kodiak Skin. Give it to Boridain Glacierbane ASAP (he despawns within a minute or two), to receive ![]() Broken Axe.
Broken Axe.
Go back to Garadain Glacierbane (-2700, -400) (Red Circle). Give him ![]() Broken Axe and
Broken Axe and ![]() Copper Coldain Insignia Ring (Ring #1) to receive
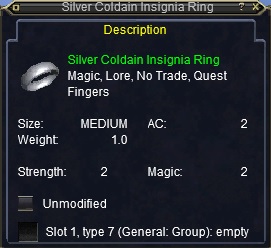
Copper Coldain Insignia Ring (Ring #1) to receive ![]() Silver Coldain Insignia Ring (Ring #2).
Silver Coldain Insignia Ring (Ring #2).

Ring #3 – Gold Coldain Insignia Ring
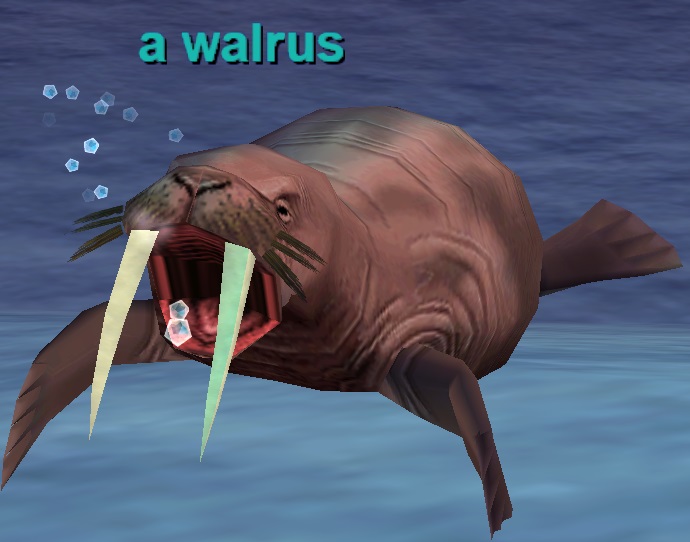
Collect the following 3 items: ![]() 1x High Quality Walrus Hide – Dropped, South Western Eastern Wastes, a warlrus. Uncommon Drop. Tradable.
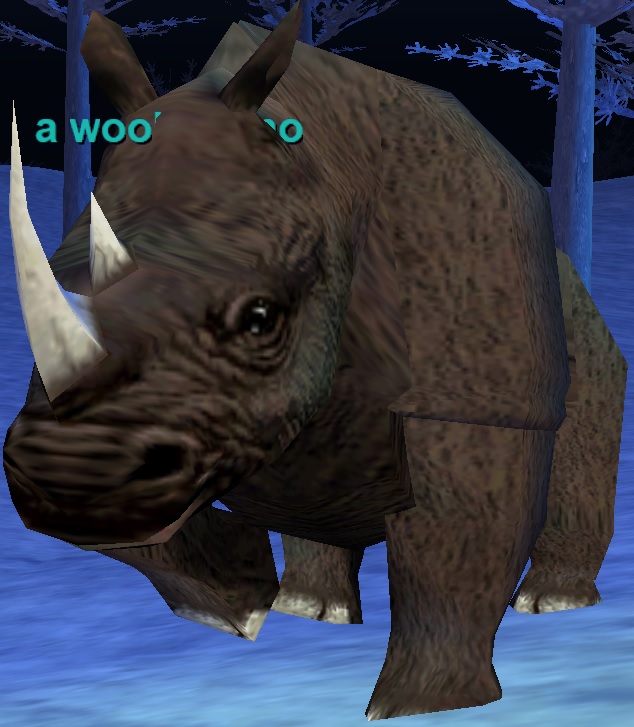
1x High Quality Walrus Hide – Dropped, South Western Eastern Wastes, a warlrus. Uncommon Drop. Tradable.![]() 1x Wooly Rhino Horn – Dropped, Eastern Wastes, a wooly rhino. Uncommon Drop. Tradable.
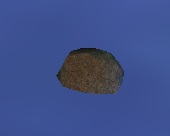
1x Wooly Rhino Horn – Dropped, Eastern Wastes, a wooly rhino. Uncommon Drop. Tradable.![]() 1x Skinning Rock – Ground Spawn in Eastern Wastes, just above Kael gorge. Multiple spawn points. No Trade.
1x Skinning Rock – Ground Spawn in Eastern Wastes, just above Kael gorge. Multiple spawn points. No Trade.
Combine all 3 items into a forge to receive ![]() Coldain Hunting Knife. Trivial 41, Blacksmithing. This combine can fail so 75 skill is recommended.
Coldain Hunting Knife. Trivial 41, Blacksmithing. This combine can fail so 75 skill is recommended.
Go back to Garadain Glacierbane (-2700, -400) in Eastern Wastes. Give him ![]() Coldain Hunting Knife and
Coldain Hunting Knife and ![]() Silver Coldain Insignia Ring (Ring #2) to receive
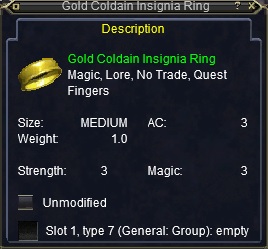
Silver Coldain Insignia Ring (Ring #2) to receive ![]() Gold Coldain Insignia Ring (Ring #3).
Gold Coldain Insignia Ring (Ring #3).
Ring #4 – Platinum Coldain Insignia Ring
Say “what smithing hammer” to Garadain Glacierbane (-2700, -400) to receive ![]() Note to Tain.
Note to Tain.
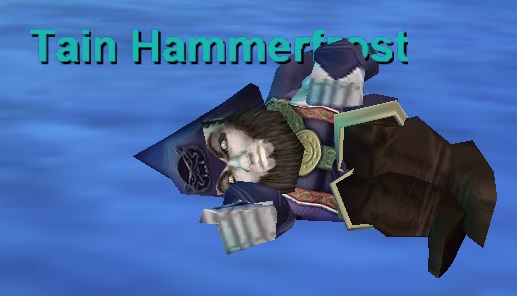
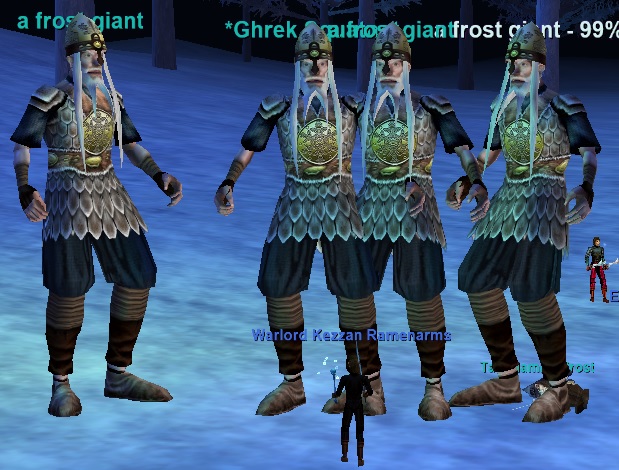
Find Tain Hammerfrost in Eastern Wastes (-4950, -2650). Give him ![]() Note to Tain to spawn 4 giants. Including Ghrek Squatnot, who drops
Note to Tain to spawn 4 giants. Including Ghrek Squatnot, who drops ![]() Frozen Elixir. They will charge in from over the hill. Kill them and loot
Frozen Elixir. They will charge in from over the hill. Kill them and loot ![]() Frozen Elixir from Ghrek Squatnot. Give
Frozen Elixir from Ghrek Squatnot. Give ![]() Frozen Elixir to Tain Hammerfrost. He will give you
Frozen Elixir to Tain Hammerfrost. He will give you ![]() Coldain Smithing Hammer in return. This is 1 groupable.
Coldain Smithing Hammer in return. This is 1 groupable.
Give the ![]() Coldain Smithing Hammer and
Coldain Smithing Hammer and ![]() Gold Coldain Insignia Ring (Ring #3) to Garadain Glacierbane (-2700, -400) to receive
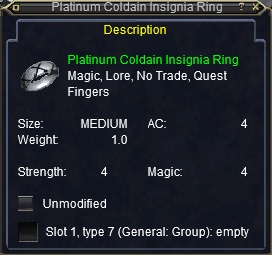
Gold Coldain Insignia Ring (Ring #3) to Garadain Glacierbane (-2700, -400) to receive ![]() Platinum Coldain Insignia Ring (Ring #4).
Platinum Coldain Insignia Ring (Ring #4).
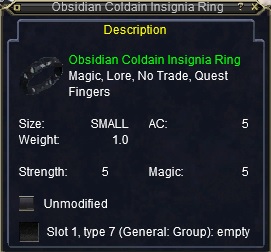
Ring #5 – Obsidian Coldain Insignia Ring
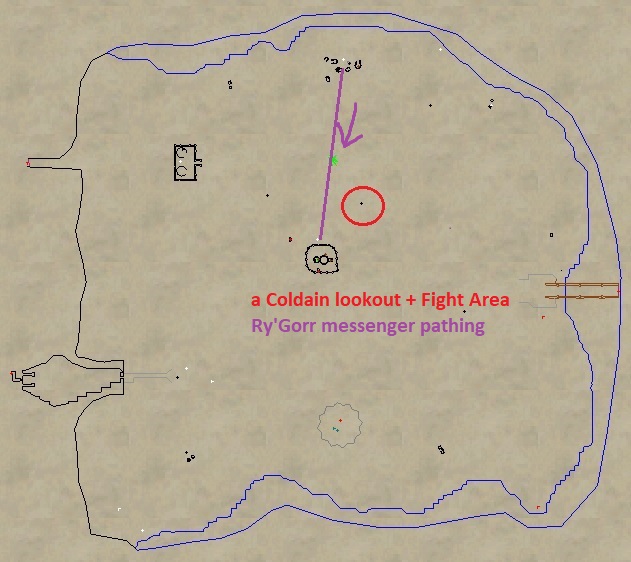
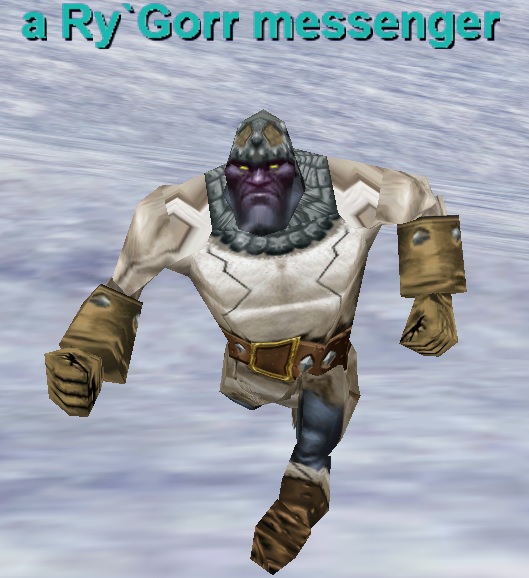
Locate a Ry’gorr messenger. He roams. A tracker helps but is not required. He runs from the north camp towards the orc fort in the middle of the zone (see map). At which point he despawns and respawns at the north camp again (until killed). Kill him and loot ![]() Ry’Gorr Invasion Plans (tradable). Several hour respawn?
Ry’Gorr Invasion Plans (tradable). Several hour respawn?
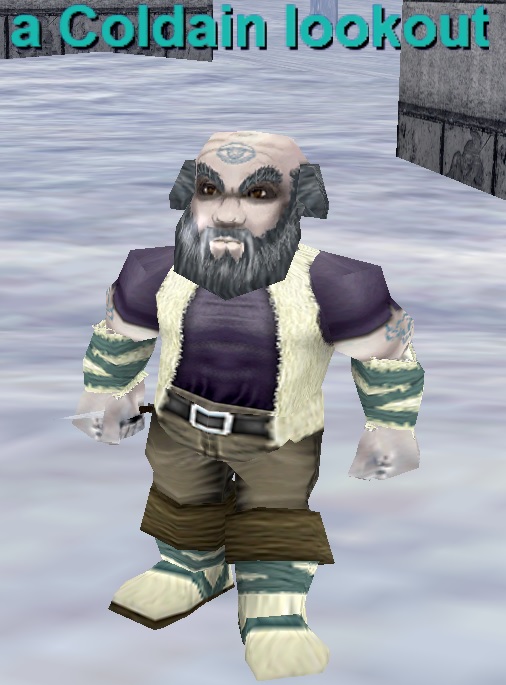
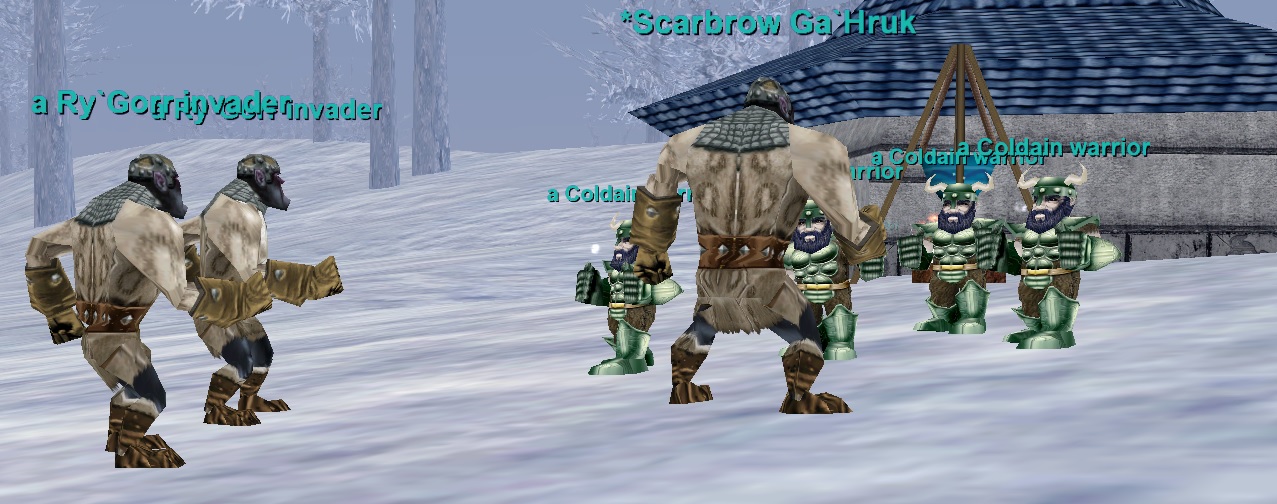
Find a Coldain lookout (-2600, -520). Give it ![]() Ry’Gorr Invasion Plans. This will spawn 4-5 Ry’gorr orcs nearby who will attack the dwarves. Kill the orcs. They are all level 40ish. Scarbrow Ga’Hruk is one of these orcs. Kill it and loot
Ry’Gorr Invasion Plans. This will spawn 4-5 Ry’gorr orcs nearby who will attack the dwarves. Kill the orcs. They are all level 40ish. Scarbrow Ga’Hruk is one of these orcs. Kill it and loot ![]() Head of Scarbrow. This is 1 groupable.
Head of Scarbrow. This is 1 groupable.
Garadain Glacierbane (-2700, -400) is nearby, give him ![]() Head of Scarbrow and
Head of Scarbrow and ![]() Platinum Coldain Insignia Ring (Ring #4) to receive
Platinum Coldain Insignia Ring (Ring #4) to receive ![]() Obsidian Coldain Insignia Ring (Ring #5).
Obsidian Coldain Insignia Ring (Ring #5).
Ring #6 – Mithril Coldain Insignia Ring
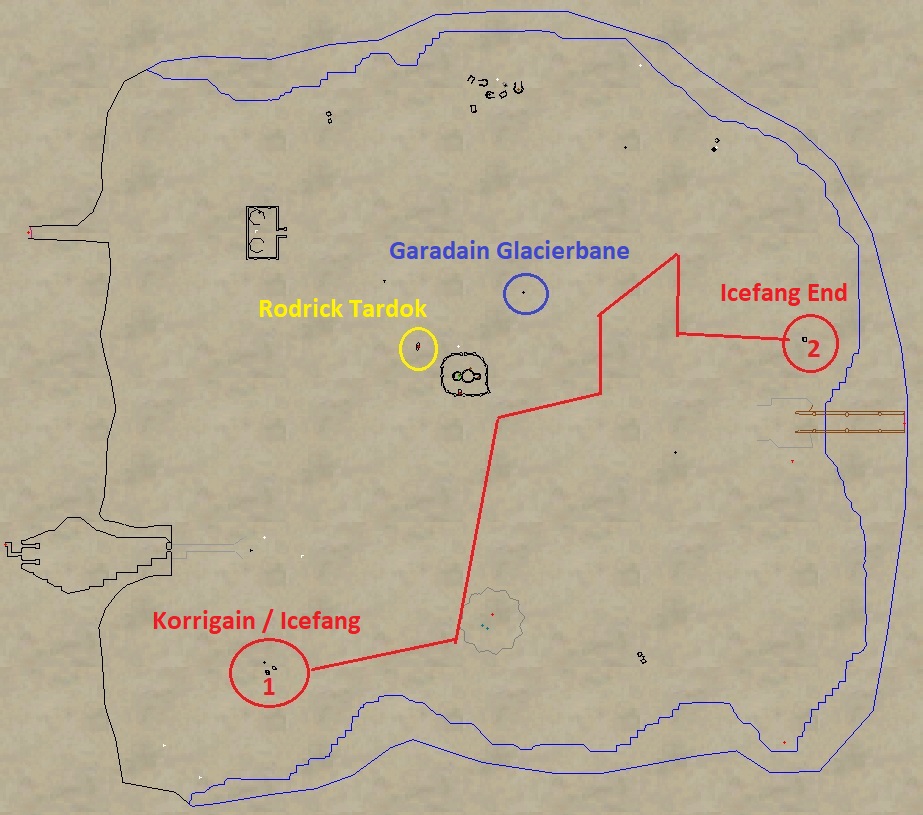
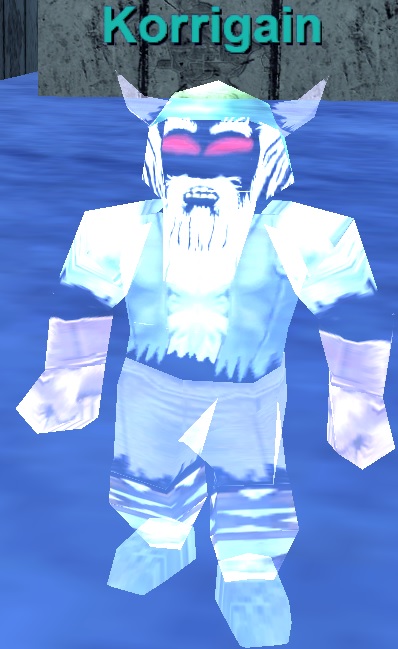
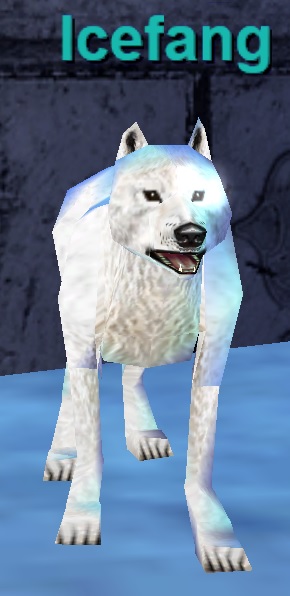
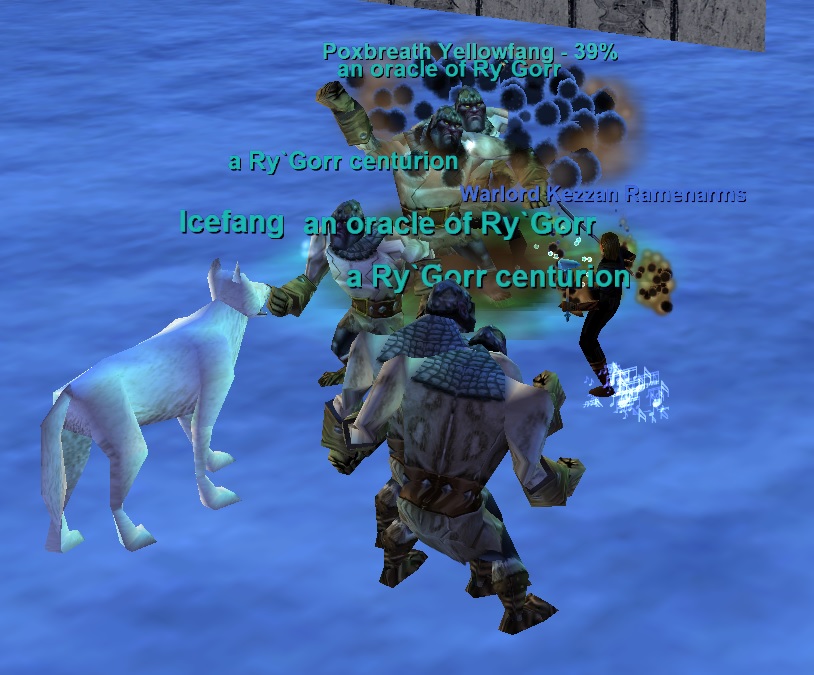
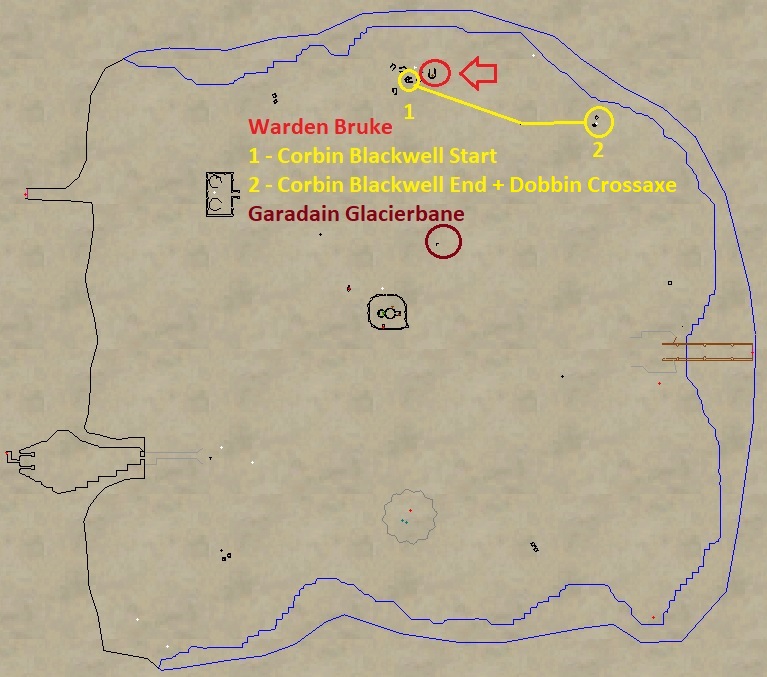
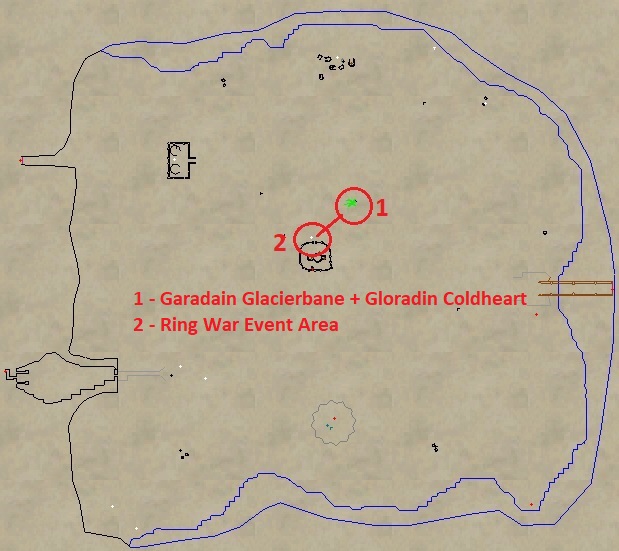
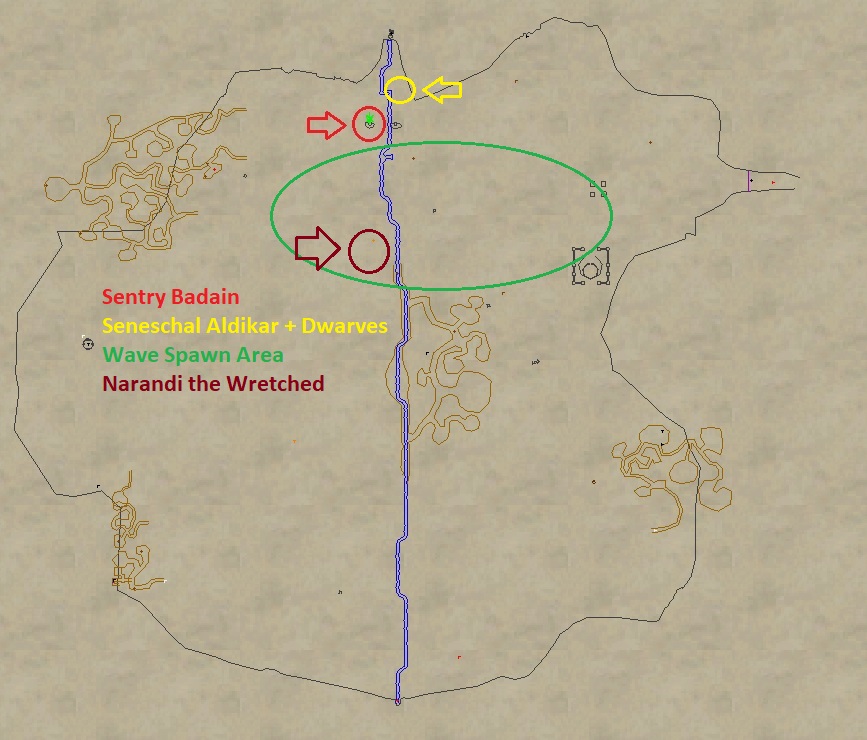
Locate Korrigain in Eastern Wastes. (-7950, +3300). He spawns at 9pm gametime. Give him your ![]() Obsidian Coldain Insignia Ring (Ring #5). He will return it. This will trigger Icefang (a dog inside the hut) to begin moving who can be buffed and healed. You’ll need to escort him. He starts at Red Circle 1 and ends at Red Circle 2 on the map. He runs SoW speed so it’s nice to have a Bard in your group to keep up. Once he reaches his final destination, orcs will spawn, including Poxbreath Yellowfang who drops
Obsidian Coldain Insignia Ring (Ring #5). He will return it. This will trigger Icefang (a dog inside the hut) to begin moving who can be buffed and healed. You’ll need to escort him. He starts at Red Circle 1 and ends at Red Circle 2 on the map. He runs SoW speed so it’s nice to have a Bard in your group to keep up. Once he reaches his final destination, orcs will spawn, including Poxbreath Yellowfang who drops ![]() Note from Kromrif. Loot it. This is 1 groupable.
Note from Kromrif. Loot it. This is 1 groupable.
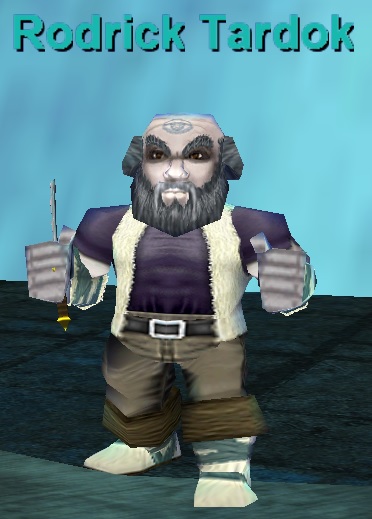
Just northwest of the the big Orc Fort you’ll find Rodrick Tardok (-3400, +1000). Although he may not always be up. If he’s not, you’ll typically need to wait 10 min or so for a dialogue script to run. Ry’Gorr Emissary spawns here as well, who is waiting on Rodrick Tardok. I do not recommend killing the Emissary to ensure Rodrick Tardok spawns, so stay invis. Just let the script play out so that you can kill Rodrick Tardok once he pops. Loot ![]() Rodrick’s Head and
Rodrick’s Head and ![]() Dirk of the Traitor from Rodrick Tardok. Keep
Dirk of the Traitor from Rodrick Tardok. Keep ![]() Dirk of the Traitor for the 9th ring quest.
Dirk of the Traitor for the 9th ring quest.
Go back to Garadain Glacierbane (-2700, -400). Give him your ![]() Obsidian Coldain Insignia Ring (Ring #5),
Obsidian Coldain Insignia Ring (Ring #5), ![]() Rodrick’s Head, and
Rodrick’s Head, and ![]() Note from Kromrif to receive
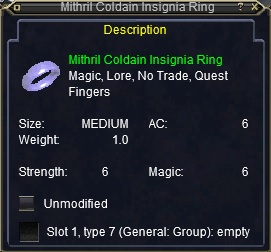
Note from Kromrif to receive ![]() Mithril Coldain Insignia Ring (Ring #6).
Mithril Coldain Insignia Ring (Ring #6).
Ring #7 – Adamantium Coldain Insignia Ring
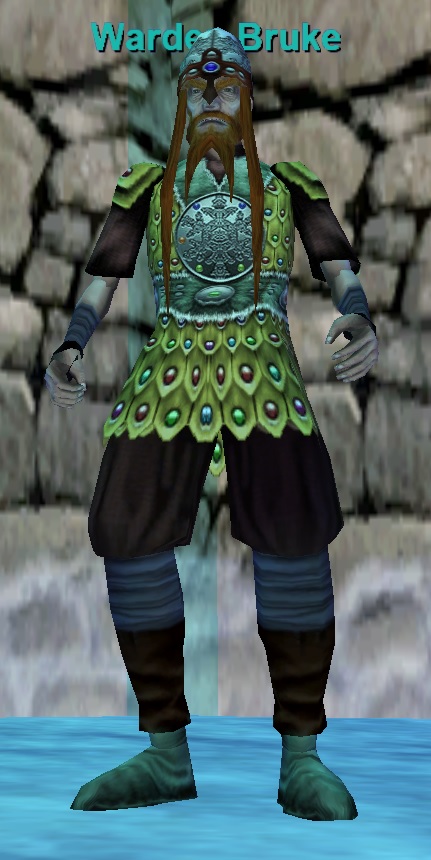
Find Warden Bruke on The North Side of the Eastern Wastes (+300, -350). He may not be up. His PH is Kromrif Prison Guard. Kill the Kromrif Prison Guard until Warden Bruke pops. Respawn is 5 minutes. Attacking Warden Bruke also may cause up to 3 adds to spawn and attack you. Loot ![]() Shackle Key from his corpse.
Shackle Key from his corpse.
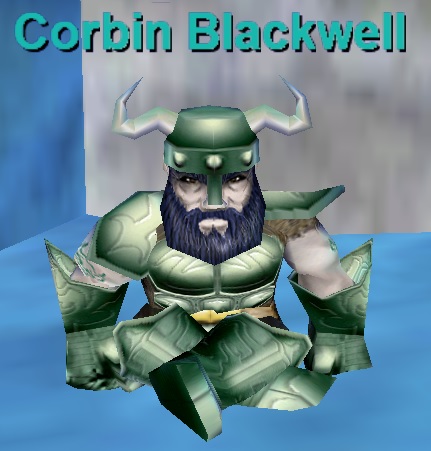
Locate Corbin Blackwell (+200, +75) nearby . Give him ![]() Shackle Key and
Shackle Key and ![]() Mithril Coldain Insignia Ring (Ring #6). He will hand the ring back. Escort him to the east. This should only take a few players at most. There are no major fights. Eventually he will talk to Dobbin Crossaxe. Give Dobbin Crossaxe your
Mithril Coldain Insignia Ring (Ring #6). He will hand the ring back. Escort him to the east. This should only take a few players at most. There are no major fights. Eventually he will talk to Dobbin Crossaxe. Give Dobbin Crossaxe your ![]() Mithril Coldain Insignia Ring (Ring #6) to receive
Mithril Coldain Insignia Ring (Ring #6) to receive ![]() Note from Corbin.
Note from Corbin.
Go back to Garadain Glacierbane (-2700, -400). Give him ![]() Note from Corbin to receive
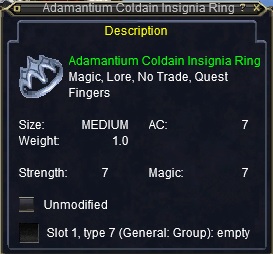
Note from Corbin to receive ![]() Adamantium Coldain Insignia Ring (Ring #7).
Adamantium Coldain Insignia Ring (Ring #7).

Ring #8 – Velium Coldain Insignia Ring
Read all of the Ring 8 steps before beginning
Give Garadain Glacierbane (-2700, -400) in Eastern Wastes ![]() Adamantium Coldain Insignia Ring (Ring #7) to receive
Adamantium Coldain Insignia Ring (Ring #7) to receive ![]() Marching Orders.
Marching Orders.
Bring at least 4 in era groups. *If you fail this event you lose all progress and have to get all of your rings again*
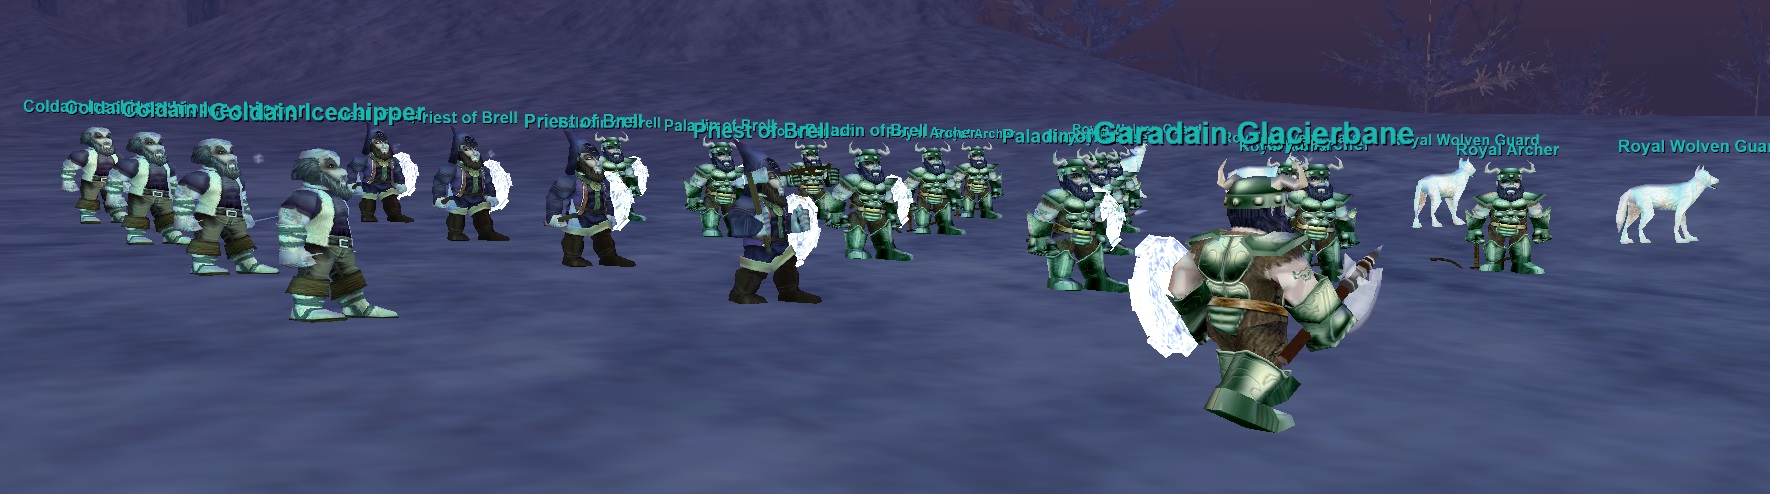
Give ![]() Marching Orders to Gloradin Coldheart nearby. This will cause Garadain Glacierbane (-2700, -400) to start running torwards the Orc Fort. A battle starts and a lot of orcs and dwarves spawn and fight. Before the fight starts, you’ll want to follow Garadain Glacierbane around for a bit while he gathers his troops. He will go through a lot of dialogue.
Marching Orders to Gloradin Coldheart nearby. This will cause Garadain Glacierbane (-2700, -400) to start running torwards the Orc Fort. A battle starts and a lot of orcs and dwarves spawn and fight. Before the fight starts, you’ll want to follow Garadain Glacierbane around for a bit while he gathers his troops. He will go through a lot of dialogue.
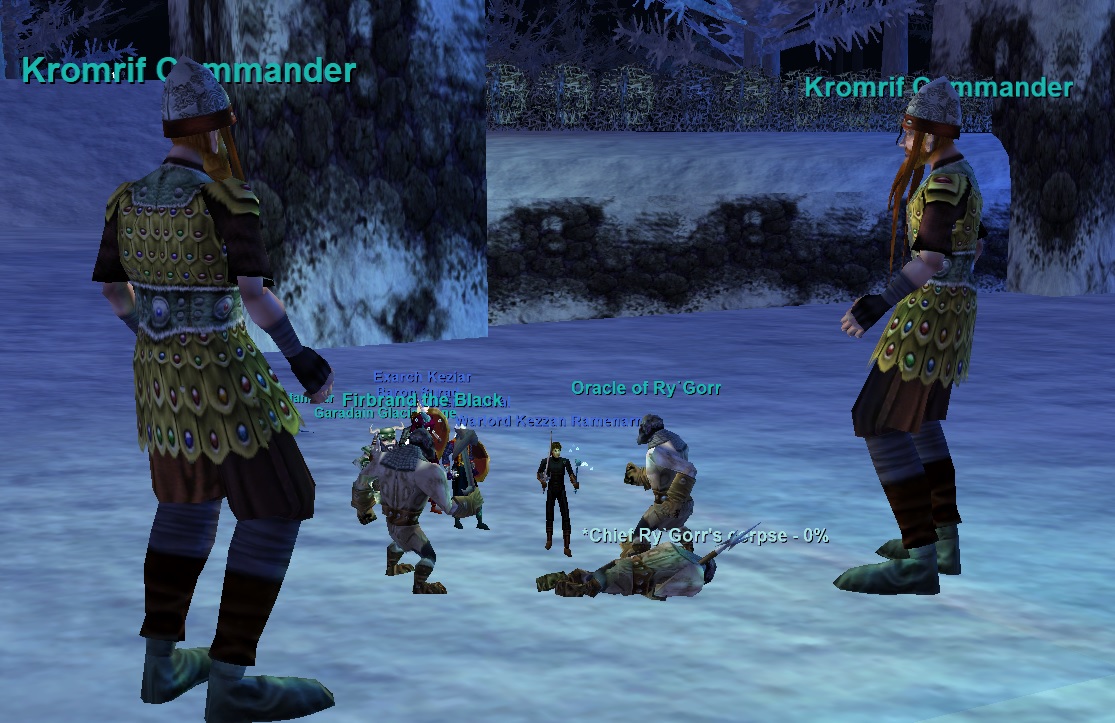
Your goal is to protect Garadain Glacierbane (You can buff and heal him) while killing Chief Ry’Gorr, who spawns just inside the Fort. *If Garadain Glacierbane dies you fail and must redo all rings* Loot ![]() Chief Ry’gorr’s Head and give it to Garadain Glacierbane to receive
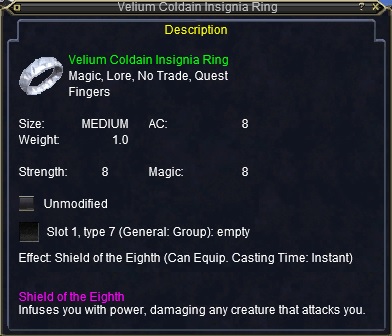
Chief Ry’gorr’s Head and give it to Garadain Glacierbane to receive ![]() Velium Coldain Insignia Ring (Ring #8).
Velium Coldain Insignia Ring (Ring #8).
Note: Wait for his final emote:  before giving him
 ![]() Chief Ry’gorr’s Head or he will eat it and you will get nothing. He does this emote when charging in to begin the fight.
Chief Ry’gorr’s Head or he will eat it and you will get nothing. He does this emote when charging in to begin the fight.

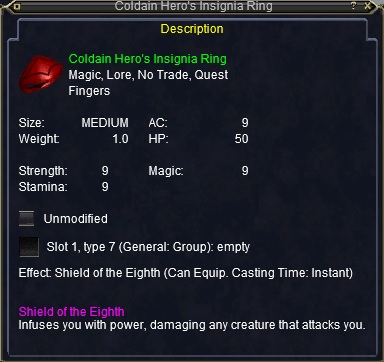
Ring #9 – Coldain Hero’s Insignia Ring
You’ll need to collect 7 items:
![]() Traitor’s Bane Box (6-slot container)
Traitor’s Bane Box (6-slot container)![]() Dirk of the Traitor
Dirk of the Traitor ![]() Murdrick’s Head
Murdrick’s Head ![]() Berradin’s Head
Berradin’s Head ![]() Peffin’s Head
Peffin’s Head ![]() Doldigun’s Head
Doldigun’s Head ![]() Juliah’s Head
Juliah’s Head
![]() Traitor’s Bane Box (6-slot container)
Traitor’s Bane Box (6-slot container)
Go to Icewell Keep (Thurg B). Find Seneschal Aldikar. He is either near Dain Frostreaver IV during the day or in a room downstairs at night. Give him ![]() Velium Coldain Insignia Ring (Ring #8). He will hand it back and begin to move down stairs. Follow him. After his dialogue say “i will accept this task” (you might be able to say it immediately after the turn-in). He will give you
Velium Coldain Insignia Ring (Ring #8). He will hand it back and begin to move down stairs. Follow him. After his dialogue say “i will accept this task” (you might be able to say it immediately after the turn-in). He will give you ![]() Traitor’s Bane Box (6-slot container).
Traitor’s Bane Box (6-slot container).

![]() Dirk of the Traitor
Dirk of the Traitor
If you’re following the guide you should already have ![]() Dirk of the Traitor from Rodrick Tardok from Ring #6. If you don’t, go back and get one from him.
Dirk of the Traitor from Rodrick Tardok from Ring #6. If you don’t, go back and get one from him.
![]() Murdrick’s Head
Murdrick’s Head
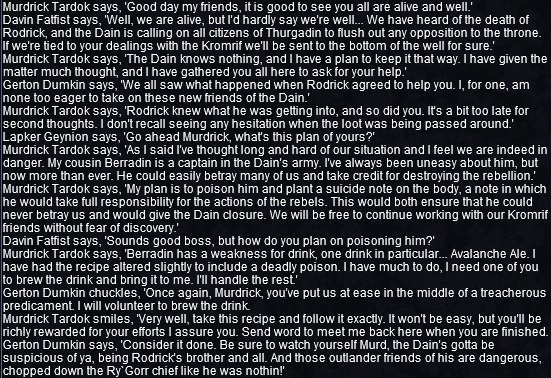
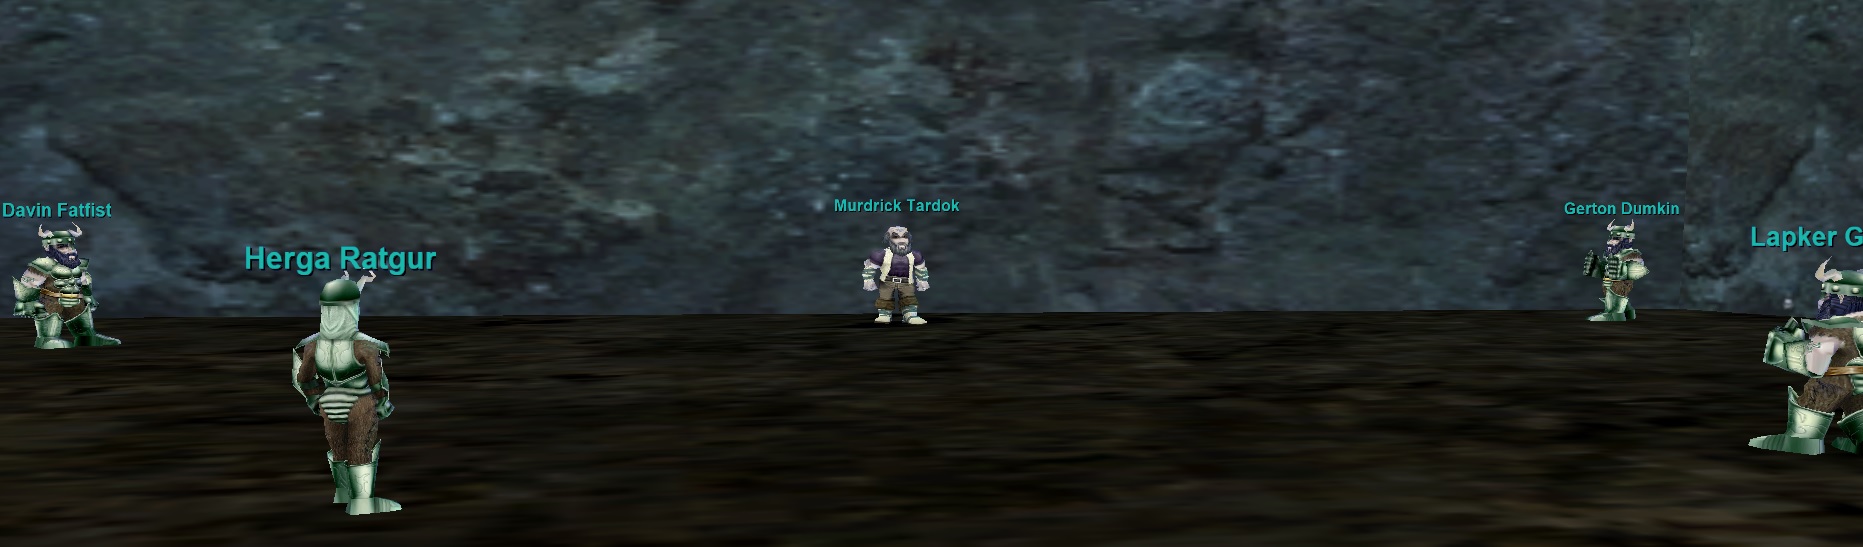
Go to the caves in Great Divide (see map). You may need up to 2 groups to be safe in era? Find Murdrick Tardok in the caves (see screenshot, the entrance to this cave is not actually on the map). He is surrounded by dwarves. Have the person doing the quest run up to him invis. Stay invis until the dwarves complete their entire dialogue. If you engage him early, he will despawn. See screenshot for when the dialogue ends. Attack after “…Ry’gorr chief like he was nothin!“
Once you engage, all mobs aggro. Some of them are mezzable, but not all. Some of them also Complete Heal. You will need heavy DPS for this. Bring a lot of melee as hes highly resistant to spells. Your best bet is to seperate Murdrick Tardok from the other dwarves in some manner so they’re not in CH range. Zerg him down as fast as possible. If he is up for more than a minute or so he will also despawn and you’ll have to wait an hour for him to respawn.
Loot ![]() Murdrick’s Head.
Murdrick’s Head.
![]() Berradin’s Head
Berradin’s Head
Make a ![]() Tainted Avalanche Ale (Brewing, Trivial 248):
Tainted Avalanche Ale (Brewing, Trivial 248):
![]() 1x Bottle – Bought (Bargol Halith, Near the PoK Brewing Barrel in the Eastern Trade Building | Loc: +70, +240) This is also bought is most towns from Brewing Vendors.
1x Bottle – Bought (Bargol Halith, Near the PoK Brewing Barrel in the Eastern Trade Building | Loc: +70, +240) This is also bought is most towns from Brewing Vendors.
![]() 1x Iceball – Dropped (Eastern Wastes, dervish type mobs)
1x Iceball – Dropped (Eastern Wastes, dervish type mobs)
![]() 1x Ice Wyvern Stinger – Dropped (Cobalt Scar, a wyvern, uncommon drop, no trade)
1x Ice Wyvern Stinger – Dropped (Cobalt Scar, a wyvern, uncommon drop, no trade)
![]() 1x Arctic Mussels – Ground spawn/Foraged (Cobalt Scar, ground spawn near shoreline in water and can be foraged)
1x Arctic Mussels – Ground spawn/Foraged (Cobalt Scar, ground spawn near shoreline in water and can be foraged)
![]() 1x Seahorse Scales – Dropped (Siren’s Grotto, seahorse mobs)
1x Seahorse Scales – Dropped (Siren’s Grotto, seahorse mobs)
![]() 1x Runed Sea Shell (Cloud) – Dropped (Siren’s Grotto, sirens and neriads)
1x Runed Sea Shell (Cloud) – Dropped (Siren’s Grotto, sirens and neriads)
![]() 1x Mind Melt – Crafted (Poisonmaking, Trivial 322, Mortar and Pestle)
1x Mind Melt – Crafted (Poisonmaking, Trivial 322, Mortar and Pestle)
1x Sealed Poison Vial – Bought (Loran Thu`Leth, Western Trader Building, PoK | Loc: -115, +1400)
1x Ethereal Suspension – Bought (Loran Thu`Leth, Western Trader Building, PoK | Loc: -115, +1400)
1x Quicksilver – Crafted – (Poison Making, Trivial 15, No Fail, Mortar and Pestle)
1x Cinnabar – Bought (Myre, North Kaladim | Loc: -570 +220, Next to Rogue Guildmaster outside bank)
1x Gnomish Spirits – Bought (Tabben Bromal, Southeastern Trader Building, 2nd floor, PoK | Loc: -390, +540)
2x Mt. Death Mineral Salts – Dropped (The Temple of Droga, Drops off Goblins)
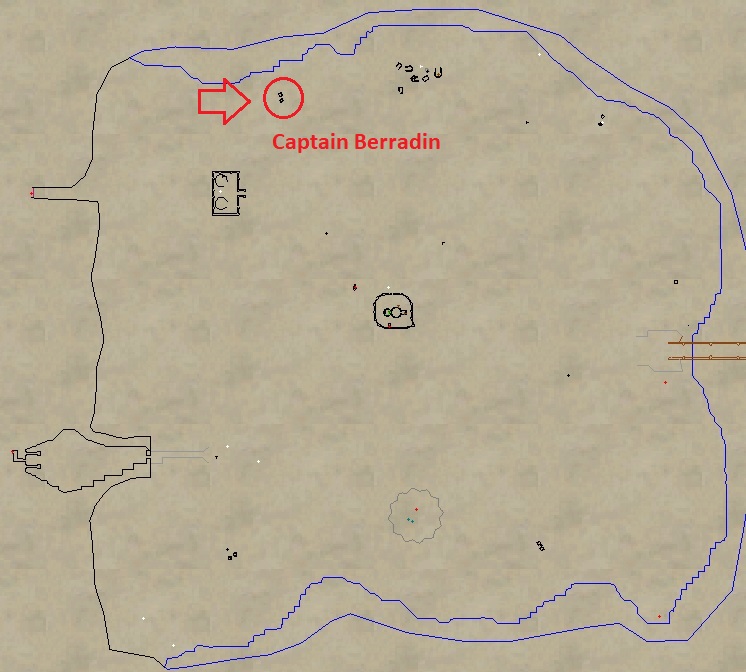
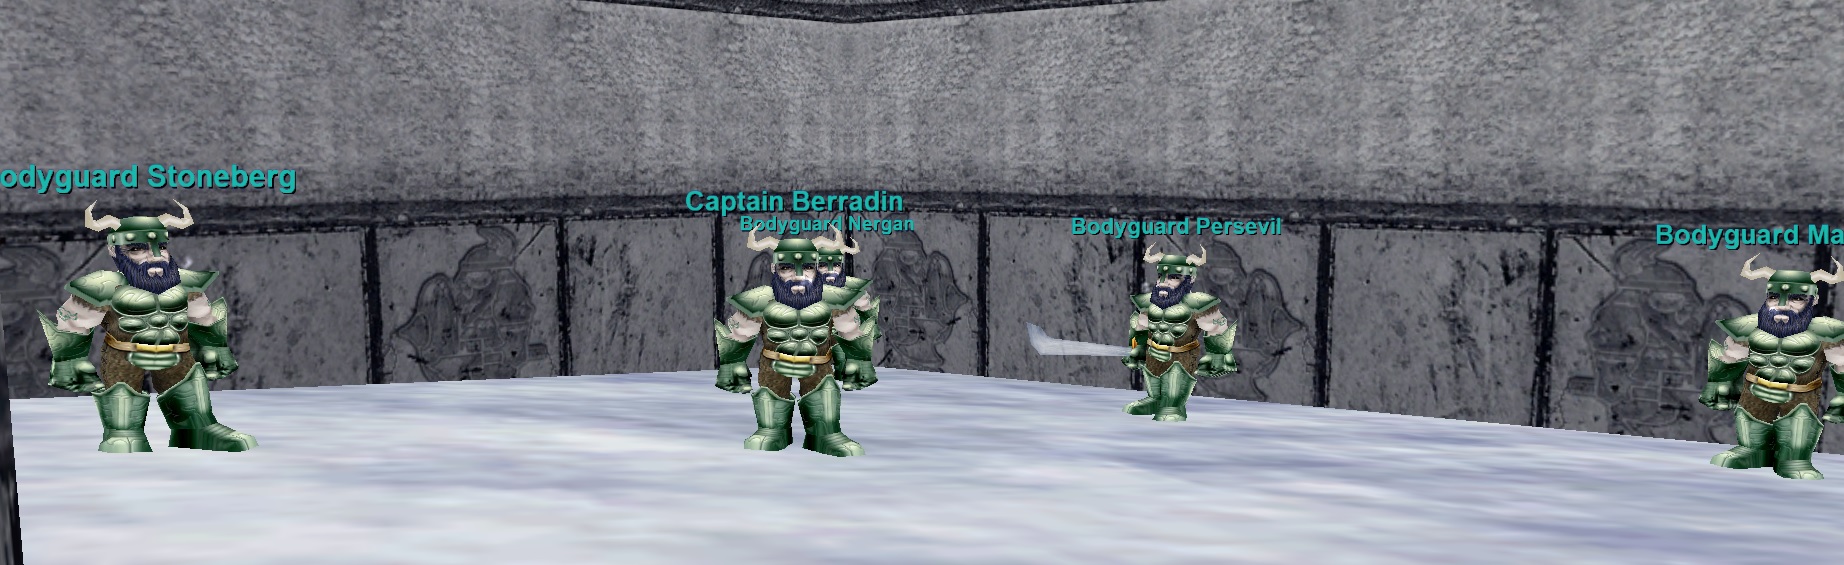
Give ![]() Tainted Avalanche Ale to Captain Berradin (-66, +2350) in the Eastern Wastes. After you give him the ale, about a minute later he will fall down. Kill him after he falls down. The guards assist. This is 1-2 groupable.
Tainted Avalanche Ale to Captain Berradin (-66, +2350) in the Eastern Wastes. After you give him the ale, about a minute later he will fall down. Kill him after he falls down. The guards assist. This is 1-2 groupable.
Loot ![]() Berradin’s Head and
Berradin’s Head and ![]() Letter to Peffin.
Letter to Peffin.
![]() Peffin’s Head
Peffin’s Head
This might take a group or 2 in era.
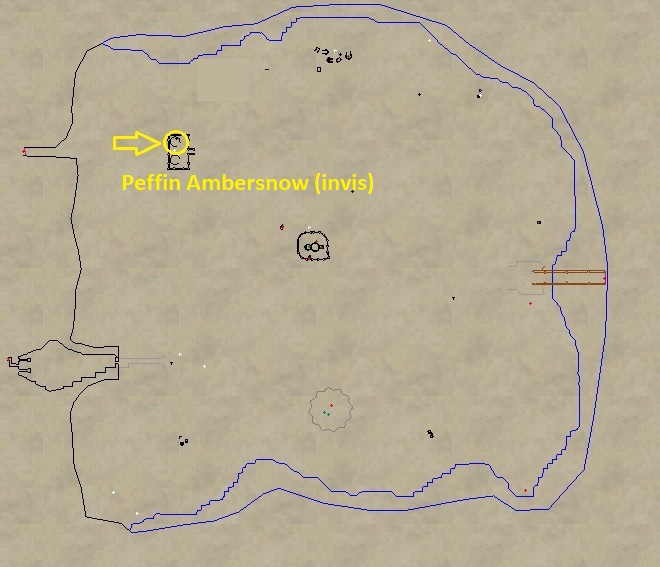
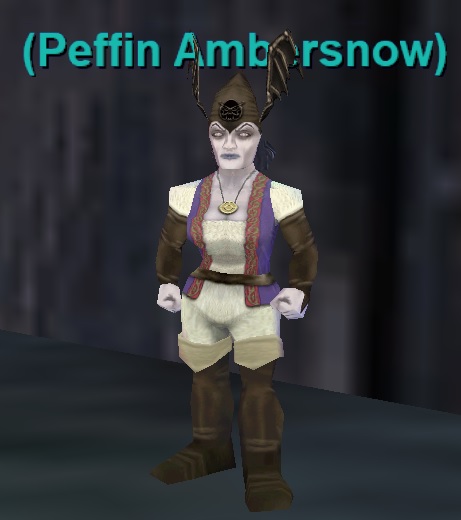
Have see invis. Go to the Giant Fort (see map) in Eastern Wastes and find Peffin Ambersnow (who is invis). Pre-clear all the trash in the fort between the room she is in and the fireplace just outside. Give her ![]() Letter to Peffin. She despawns and 3 elite giants immediately spawn in the room. Kill them.
Letter to Peffin. She despawns and 3 elite giants immediately spawn in the room. Kill them.
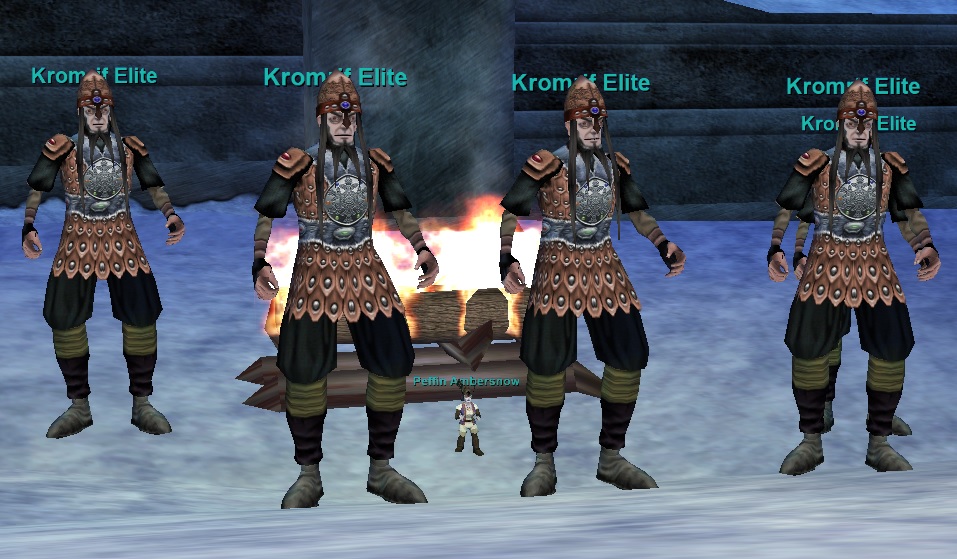
Outside at the fireplace you’ll see 5 giants and Peffin Ambersnow. Kill her. You can kite or kill the giants. Loot ![]() Peffin’s Head and
Peffin’s Head and ![]() Letter to Doldigun.
Letter to Doldigun.
![]() Doldigun’s Head
Doldigun’s Head
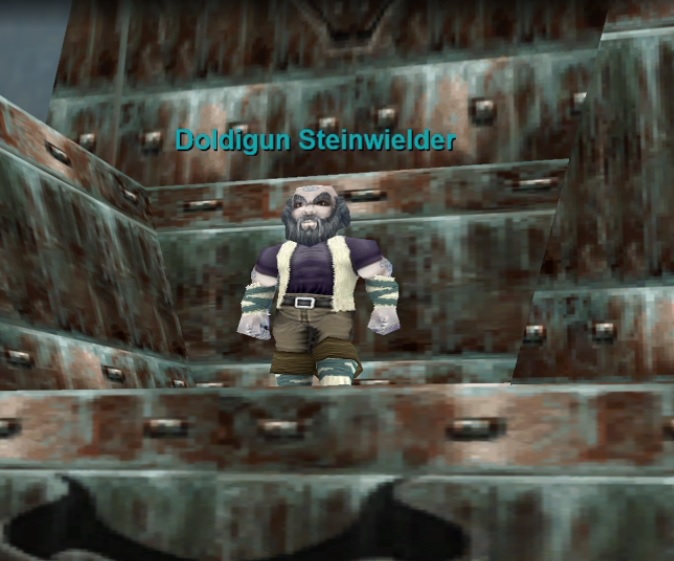
Head to Kael and find Doldigun Steinwielder. To do this, go to the throne of the Iceshard Fort (see map) at -850, +1150. Clear all the mobs in the throne room. Stand on the throne and say “the dain shall be slain for the peace we must obtain” to spawn Doldigun Steinwielder. Give him ![]() Letter to Doldigun to receive
Letter to Doldigun to receive ![]() Ring of the Coldain Council.
Ring of the Coldain Council.
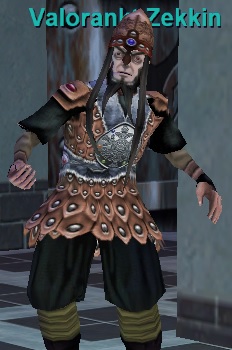
Attack him. He will despawn. 5 giants will spawn, but only 1-2 at a time. They are all mid 50s in level. Kill them. The last giant of the spawns is Valorankt Zekkin. He is level 60. Once he dies Doldigun Steinwielder will respawn and run for the front door. Aggro him before he runs off. Kill him and loot ![]() Doldigun’s Head.
Doldigun’s Head.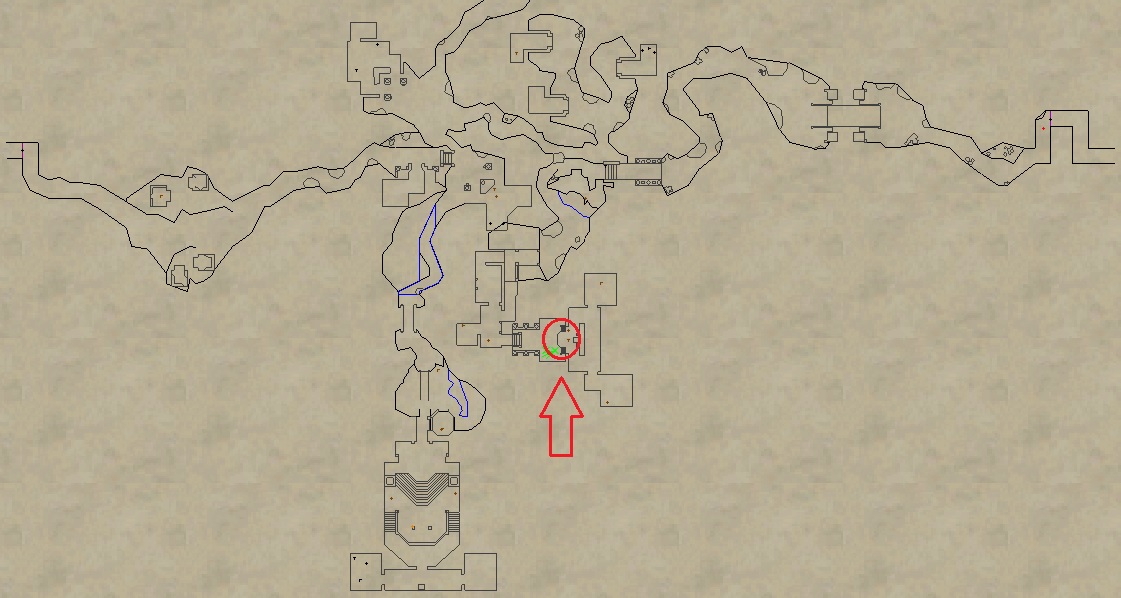
![]() Juliah’s Head
Juliah’s Head
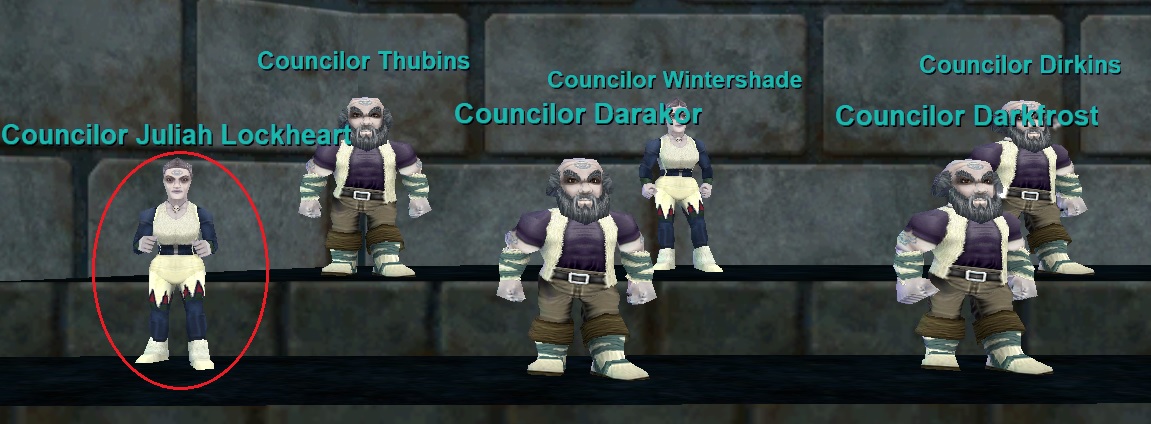
Head to Dain’s room in Icewell Keep. You’re looking for Councilor Juliah Lockheart. She will be on the opposite side of the room as Dain and on the left side. If the councilors are not there, it’s because its night time and they are down stairs. At 8am all of the Councilors move back up to Dain’s room. Give her ![]() Ring of the Coldain Council. When you give her the ring she will respawn and attack. Kill her. I have not tested whether you can give the ring to her while downstairs — do so at your own risk. Her response to hailing is the same no matter where she is at.
Ring of the Coldain Council. When you give her the ring she will respawn and attack. Kill her. I have not tested whether you can give the ring to her while downstairs — do so at your own risk. Her response to hailing is the same no matter where she is at.
She is level 55. Other mobs do not aggro. This should be 1 groupable in era. Loot ![]() Juliah’s Head.
Juliah’s Head.
Final Turn-in for Ring 9
Combine all 5 heads and ![]() Dirk of the Traitor into
Dirk of the Traitor into ![]() Traitor’s Bane Box (6-slot container) to create
Traitor’s Bane Box (6-slot container) to create ![]() Box of the Guilty.
Box of the Guilty.
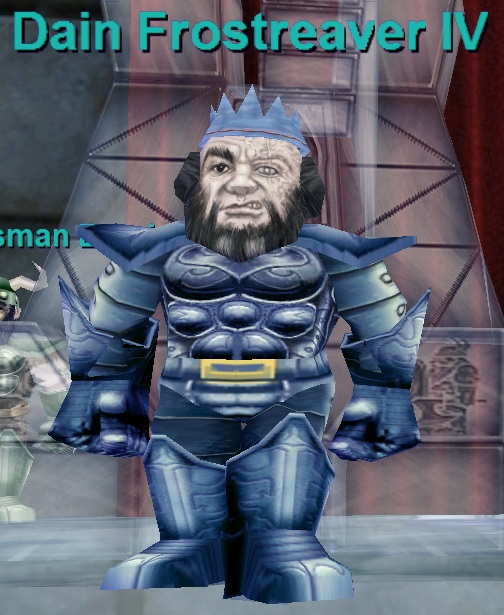
Give ![]() Box of the Guilty and
Box of the Guilty and ![]() Velium Coldain Insignia Ring (Ring #8) to Dain Frostreaver IV to receive
Velium Coldain Insignia Ring (Ring #8) to Dain Frostreaver IV to receive ![]() Coldain Hero’s Insignia Ring (Ring #9) and
Coldain Hero’s Insignia Ring (Ring #9) and ![]() Dirk of the Dain.
Dirk of the Dain.
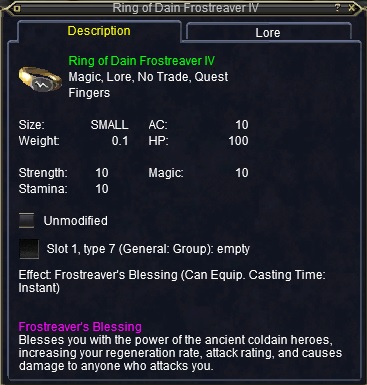
Ring #10 – Ring of Dain Frostreaver IV
Assuming you’re still in Icewell Keep from Ring 9: Give ![]() Dirk of the Dain to Dain Frostreaver IV then say “you can count on me” to receive
Dirk of the Dain to Dain Frostreaver IV then say “you can count on me” to receive ![]() Declaration of War.
Declaration of War.
Read the entire Ring #10 Guide before beginning. style=”font-size: xx-large;”>
Now head out to the Great Divide and find Sentry Badain (see map). Give him ![]() Coldain Hero’s Insignia Ring (Ring #9) and
Coldain Hero’s Insignia Ring (Ring #9) and ![]() Declaration of War. He will respawn and after a moment will start moving. Follow him. You’ll see some NPC emotes then Sentry Badain will walk off and depop.
Declaration of War. He will respawn and after a moment will start moving. Follow him. You’ll see some NPC emotes then Sentry Badain will walk off and depop.
At this point you’ll be at a group of sitting dwarves. Give ![]() Coldain Hero’s Insignia Ring (Ring #9) to Seneschal Aldikar. He will give the ring back and also give you
Coldain Hero’s Insignia Ring (Ring #9) to Seneschal Aldikar. He will give the ring back and also give you ![]() Orders of Engagement. Give the
Orders of Engagement. Give the ![]() Orders of Engagement to Zrelik the Scout, who is next to Seneschal Aldikar. After a lot of NPC dialogue the war will begin. Zrelik the Scout follows you around. You can give him commands to control some of the dwarf troops, but using this is unnecessary.
Orders of Engagement to Zrelik the Scout, who is next to Seneschal Aldikar. After a lot of NPC dialogue the war will begin. Zrelik the Scout follows you around. You can give him commands to control some of the dwarf troops, but using this is unnecessary.
Fight Overview
Bring a full raid force in era (50+ people).
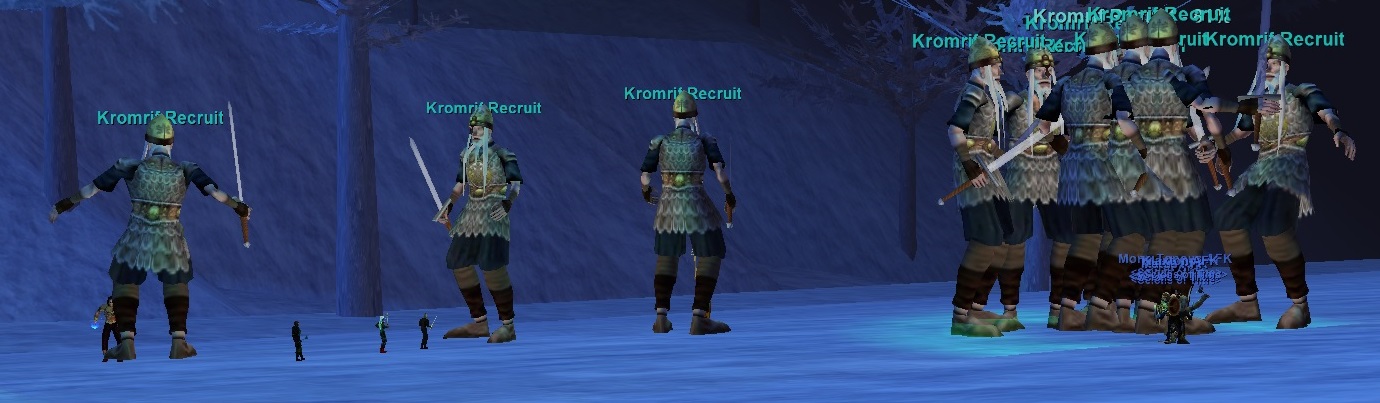
Waves of giants spawn throughout the zone. There are 18 waves followed by a named. The giants attempt to rush Thurgadin. Do not let any giants get to Thurgadin or you will lose. I find it is best to keep a person near Thurgadin (usually the person doing the quest) near the Thugradin zone line area to watch for giant stragglers.
The entire event takes somewhere between 2 – 2.5 hours. Each wave takes a while to spawn. The giants generally spawn near the middle north of the zone, but sometimes as far east as the Wizard Spires. There are between 5-12 mobs per wave. Each wave is a bit different.
You’ll want to have multiple trackers spread out to assist with finding giant spawns. A couple of the waves spawn at the same spot every time, but most waves of giants can spawn in one of several locations.
Wave 1 – 7
– Most mobs level 48, with a few exceptions.
– Spawn time between waves approx. 4-6 minutes.
– Wave 1: Always spawns a bit “south” of Thurgadin
– Wave 7: Double spawn of giants
– Up to 10 minute wait between wave 7 and 8.
Wave 8 – 13
– Most mobs level 53, with a few exceptions.
– Spawn time between waves approx. 5-8 minutes.
– Wave 8: Always spawns a bit “south” of Thurgadin
– Up to 10 minute wait between wave 13 and 14.
Wave 14 – 18
– Most mobs level 58, with a few exceptions.
– Spawn time between waves approx. 5-8 minutes.
– Wave 14: Always spawns a bit “south” of Thurgadin
– Up to 10 minute wait between wave 18 and final boss.

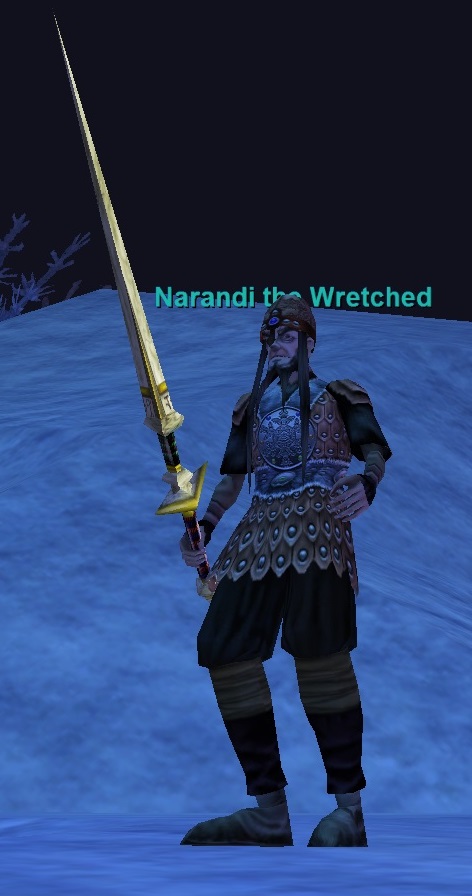
Final Boss
After all 18 waves are dead Narandi the Wretched will spawn. Level 65. Spawns a bit south of Thurgadin. Kill him and have the person doing the quest loot ![]() Narandi’s Head.
Narandi’s Head.
Go back to Seneschal Aldikar near the Thurgadin zone line. He will again be in his circle of dwarf bros. Give Seneschal Aldikar ![]() Coldain Hero’s Insignia Ring (Ring #9) and
Coldain Hero’s Insignia Ring (Ring #9) and ![]() Narandi’s Head to receive
Narandi’s Head to receive ![]() Shorn Head of Narandi and
Shorn Head of Narandi and ![]() Ring of Dain Frostreaver IV!!!
Ring of Dain Frostreaver IV!!!
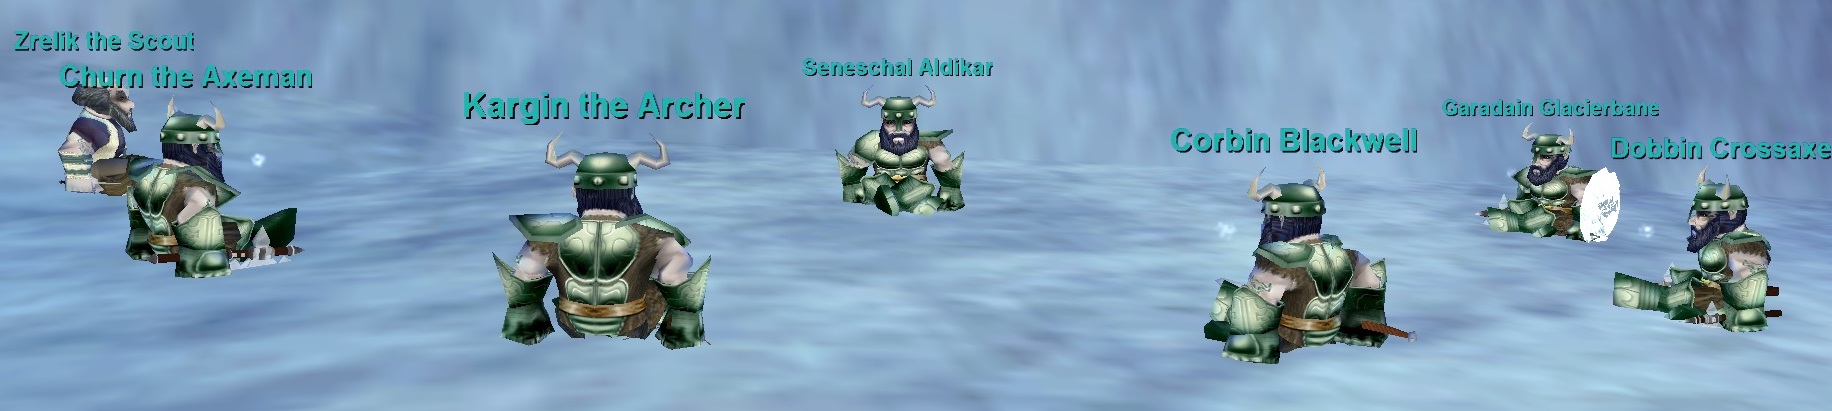
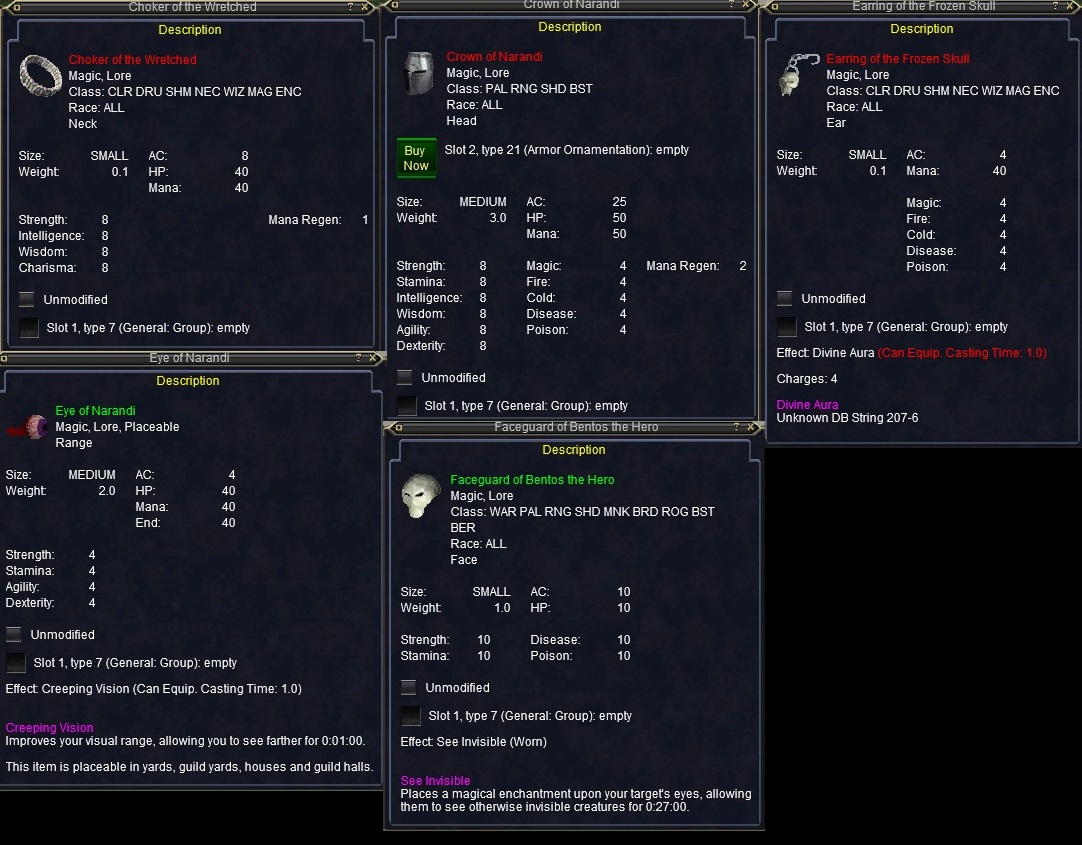
Bonus Loot
Give ![]() Shorn Head of Narandi to the NPC’s around Seneschal Aldikar to receive bonus loot! You’ll get 5 items total. They give the head back each time so you can keep giving it out.
Shorn Head of Narandi to the NPC’s around Seneschal Aldikar to receive bonus loot! You’ll get 5 items total. They give the head back each time so you can keep giving it out.
Choker of the Wretched – Garadain Glacierbane
Crown of Narandi – Churn the Axeman
Earring of Frozen Skull – Corbin Blackwell
Eye of Narandi – Kargin the Archer
Faceguard of Bentos the Hero – Dobbin Crossaxe

Thanks for using EQProgression!