![]() Paladin 2.0 Epic Guide
Paladin 2.0 Epic Guide
Nightbane, Sword of the Valiant
To begin this quest you must have completed the Paladin 1.5 Epic quest.
Potentially Pre-farmable Steps
**Not all are 100% confirmed pre-lootable, just something you may want to review before beginning the quest. This is assuming OoW is unlocked**
Step 7 – Orc Messenger – Crushbone (maybe?)
Step 8 – Mana Battery – Class Six
Step 19 – Bottle of Double Brewed Double Dry Stout – Brewing
Step 21 – Quiver of Marr (Temporary Item)
Step 23 – 2x Iron Ration and 2x Mead
Step 35 – Globe of Discordant Energy – Anguish
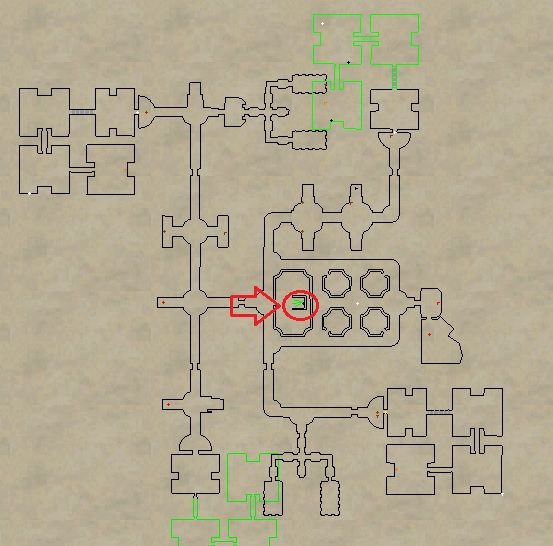
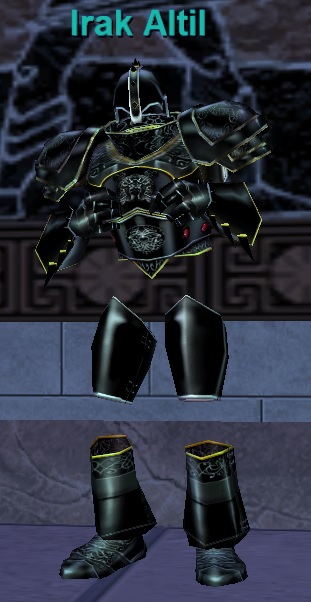
Step 1
Go to Halls of Honor and locate Irak Altil.
Say “Master” to receive emote:

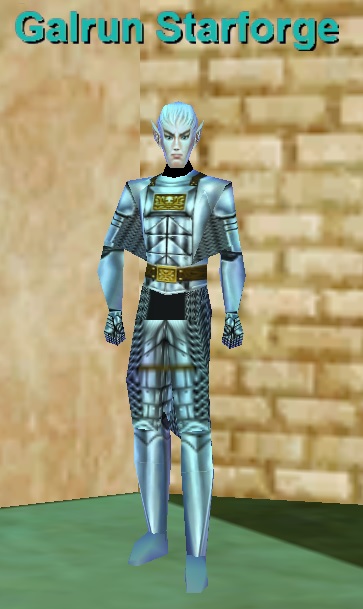
Step 2
Go to North Felwithe and locate Galrun Starforge (+50, -200).
Say “explained” to receive ![]() Galrun’s Bag (4-slot container).
Galrun’s Bag (4-slot container).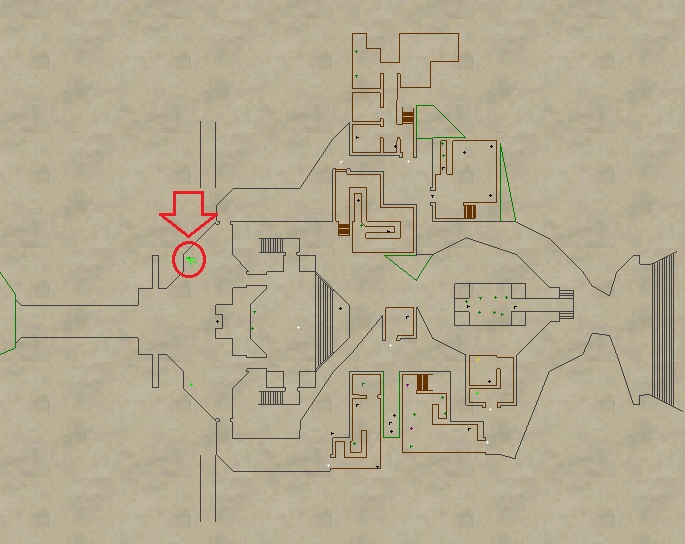
Step 3
Go out to Greater Faydark and locate Guard Highmoon (-2000, -2350). He is right outside of Felwithe. Hail him to receive emote: 
If he doesn’t respond with this emote then you need to work on your faction. I was Indifferent and it worked fine.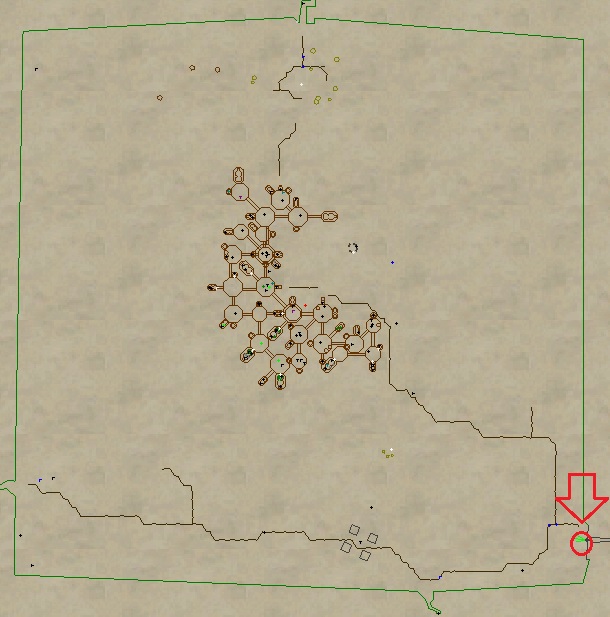

Step 4
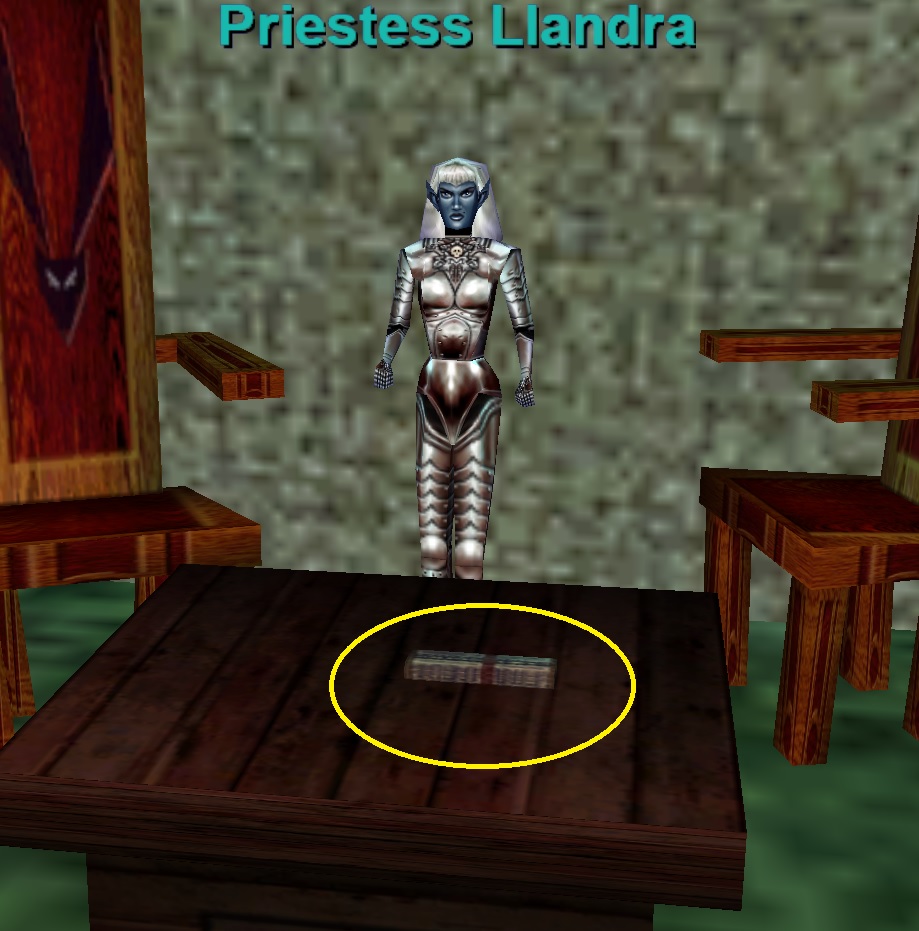
Go to Lesser Faydark and locate the Dark Elf Camp (-900, +1100). Loot ![]() Tier’Dal Blood Pact off the table in one of the tents.
Tier’Dal Blood Pact off the table in one of the tents.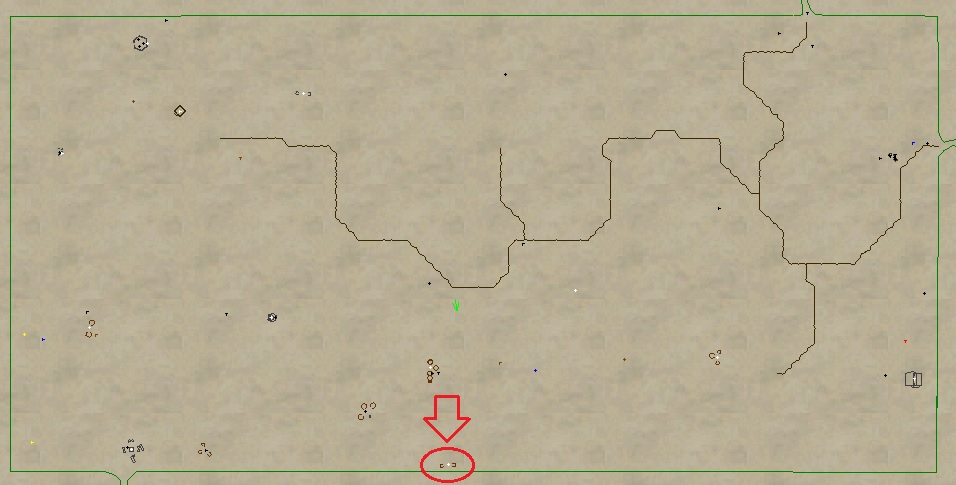
Step 5
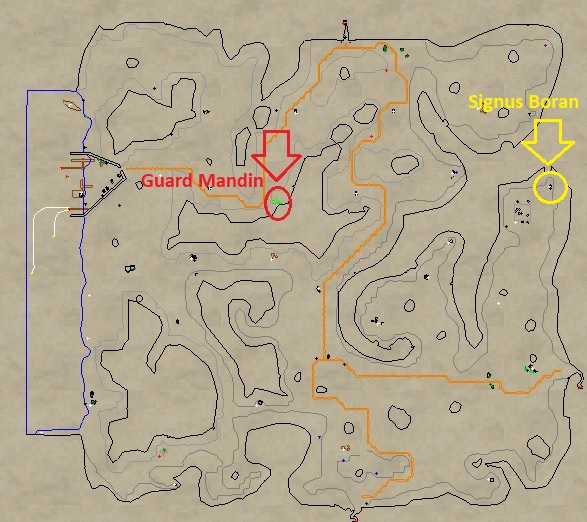
1) Go to Butcherblock Mountains and locate Guard Mandin (+900, +600). He responded to me at Apprehensive faction. Get close and Hail him to receive emote:
2) While still in Butcherblock Mountains go over to the Chessboard area. There you’ll find Signus Boran. During the day she is level 35. You do not need to kill her. At 5PM gametime (for me) she respawns as a level 70 version of herself. Kill this version. She will respawn again as a vampire. Kill the vampire version and loot ![]() Signus’ Vampire Fangs. This is easily soloable.
Signus’ Vampire Fangs. This is easily soloable.


Step 6
Go back to Greater Faydark and locate Guard Fayfear (+1000, +200). He is at the orc lift. Hail him to receive emote:

Step 7
Go to Crushbone and find Orc Messenger. He spawns in the castle at the table. I cleared the castle out and it spawned shortly after. Level 65 and hits for up to 800. Should be pretty easy with 2 people. Loot ![]() Orcish Battle Plans.
Orcish Battle Plans.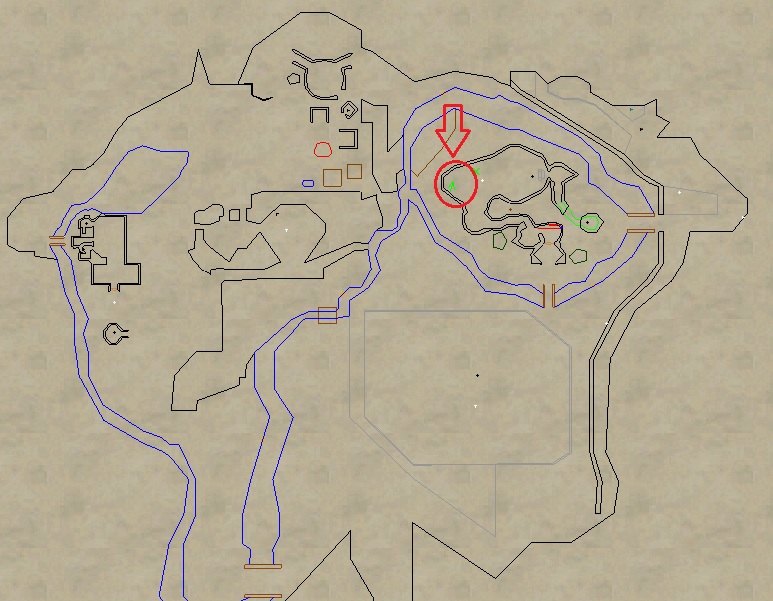

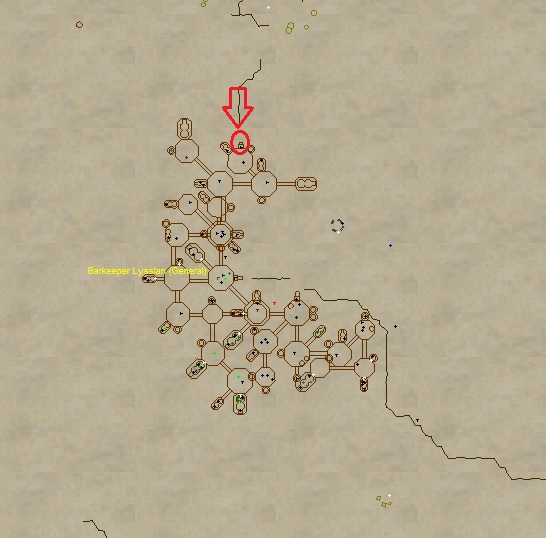
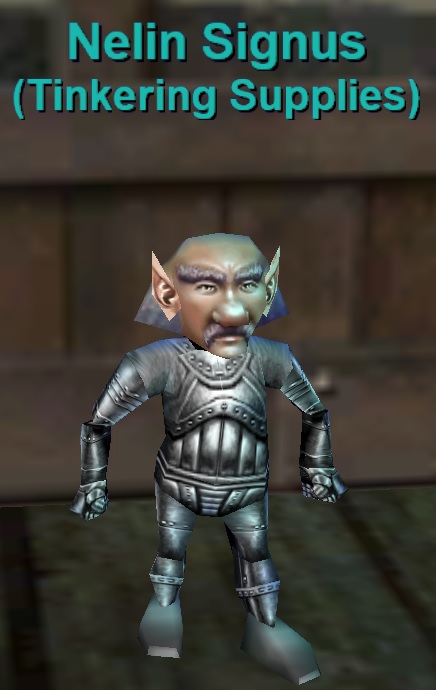
Step 8
Go to Plane of Knowledge and buy ![]() Mana Battery – Class Six from Nelin Signus. He is in the northern trader building (Use Find).
Mana Battery – Class Six from Nelin Signus. He is in the northern trader building (Use Find).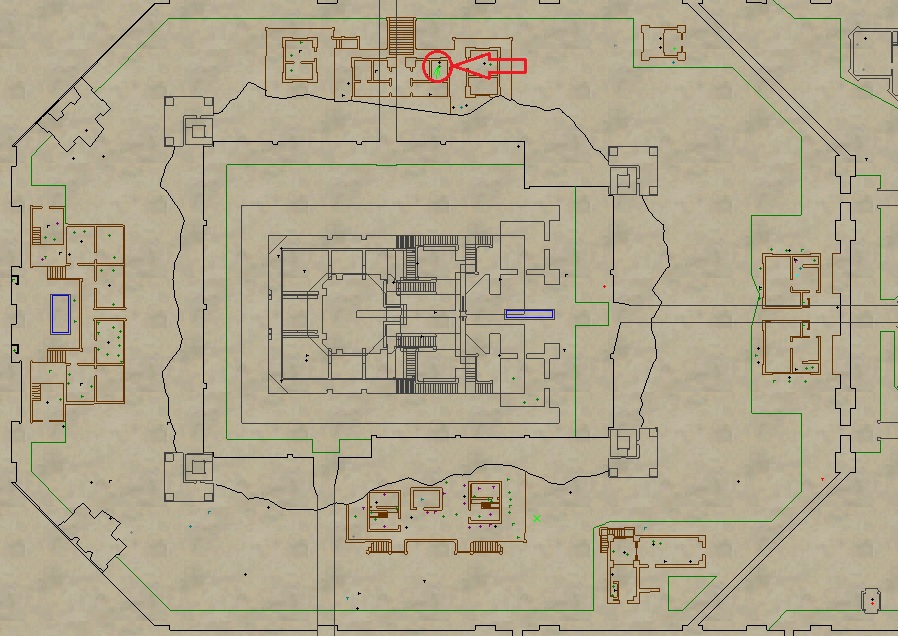
Step 9
Go to Steamfont Mountains and locate Bigilam Wantilans. Give him ![]() Mana Battery – Class Six to receive
Mana Battery – Class Six to receive ![]() Slain Vampire’s Heart.
Slain Vampire’s Heart.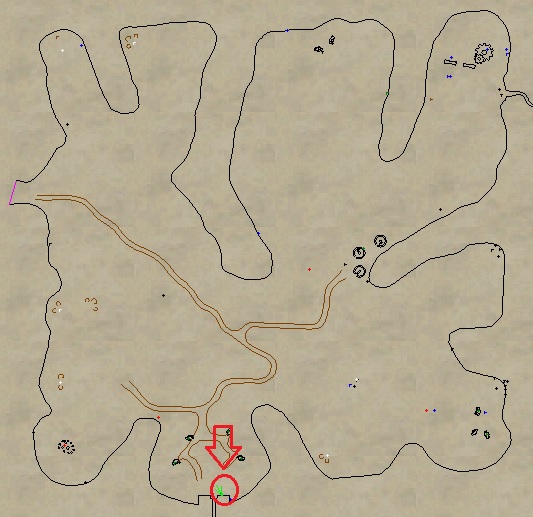

Step 10
Combine the following into ![]() Galrun’s Bag (4-slot container) to receive a non-container version of
Galrun’s Bag (4-slot container) to receive a non-container version of ![]() Galrun’s Bag:
Galrun’s Bag: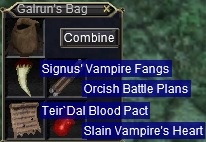
Step 11
Go back to North Felwithe and locate Galrun Starforge (+50, -200). Give him ![]() Galrun’s Bag to receive emote:
Galrun’s Bag to receive emote:
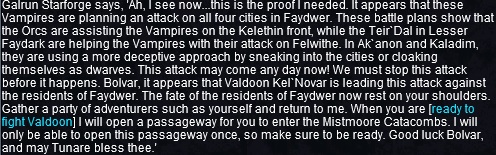
This emote allows you to request an Epic specific LDON raid in Lesser Faydark (6-54 player dungeon). You need at least 6 people to request the raid. The 6 people must also be in North Felwithe or you won’t be able to request it. but you should bring at least a few groups to complete this dungeon.
Say “ready to fight Valdoon” to receive the instance: The Asylum of Invoked Stone
Step 12
Zone into Lesser Faydark and follow the mark on your compass to zone into the dungeon.
This raid is the same as the Struggles within the Progeny LDoN. Use this guide to complete the mission and loot ![]() Valdoon Kel’Novar’s Heart off the Real Valdoon.
Valdoon Kel’Novar’s Heart off the Real Valdoon.
Step 13
Go back to North Felwithe and locate Galrun Starforge (+50, -200). Give him ![]() Valdoon Kel’Novar’s Heart to receive
Valdoon Kel’Novar’s Heart to receive ![]() Token of Cleansing.
Token of Cleansing.
Step 14
Go to Natimbi, the Broken Shores locate Kemik Arulon (-900, -1600). He is at the Wayfarers camp. Hail him to receive emote: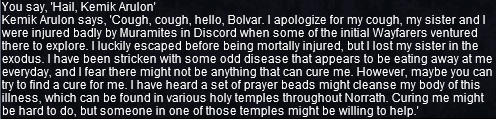

Step 15
Go to the Temple of Life in North Qeynos. Go into the portal at the top of the ramp. Inside you’ll find Camlend Serbold. Say “kemik arulon needs curing” to receive ![]() Unfilled Set of Prayer Beads (8-slot container). We will be filling this up with
Unfilled Set of Prayer Beads (8-slot container). We will be filling this up with ![]() 8 Prayer Beads from different starting zones.
8 Prayer Beads from different starting zones.

Step 16
While still in North Qeynos locate Ziska Ironforge (Use Find). Give her ![]() 500pp to receive
500pp to receive ![]() Qeynos Prayer Bead.
Qeynos Prayer Bead.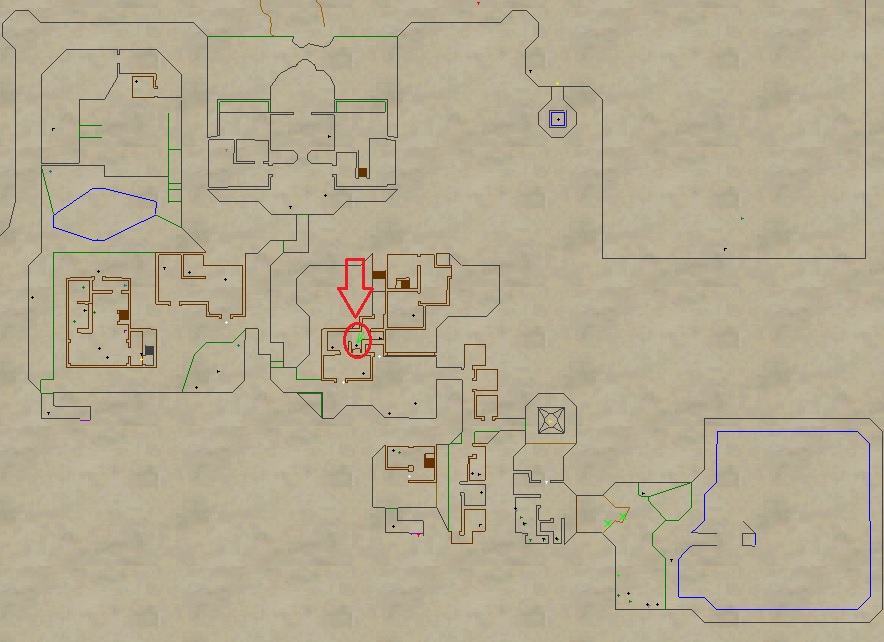

Step 17
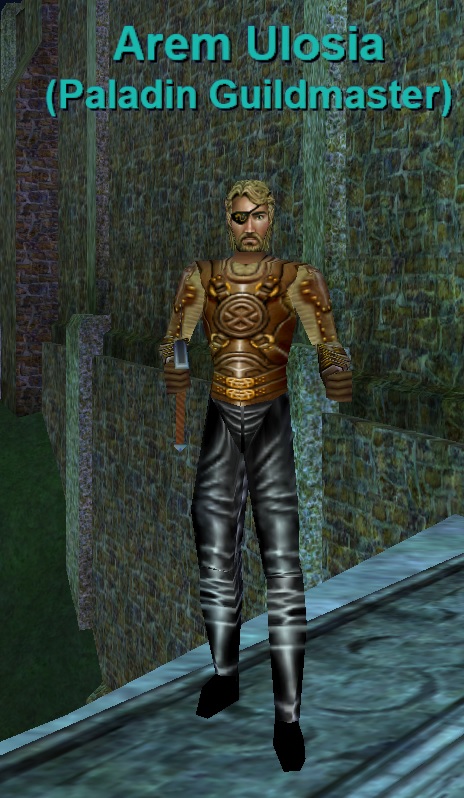
Go to West Freeport and locate Arem Ulosia (+1325, -1560) in the Temple of Marr.
– Say “special gems”
– Say “looking for others”
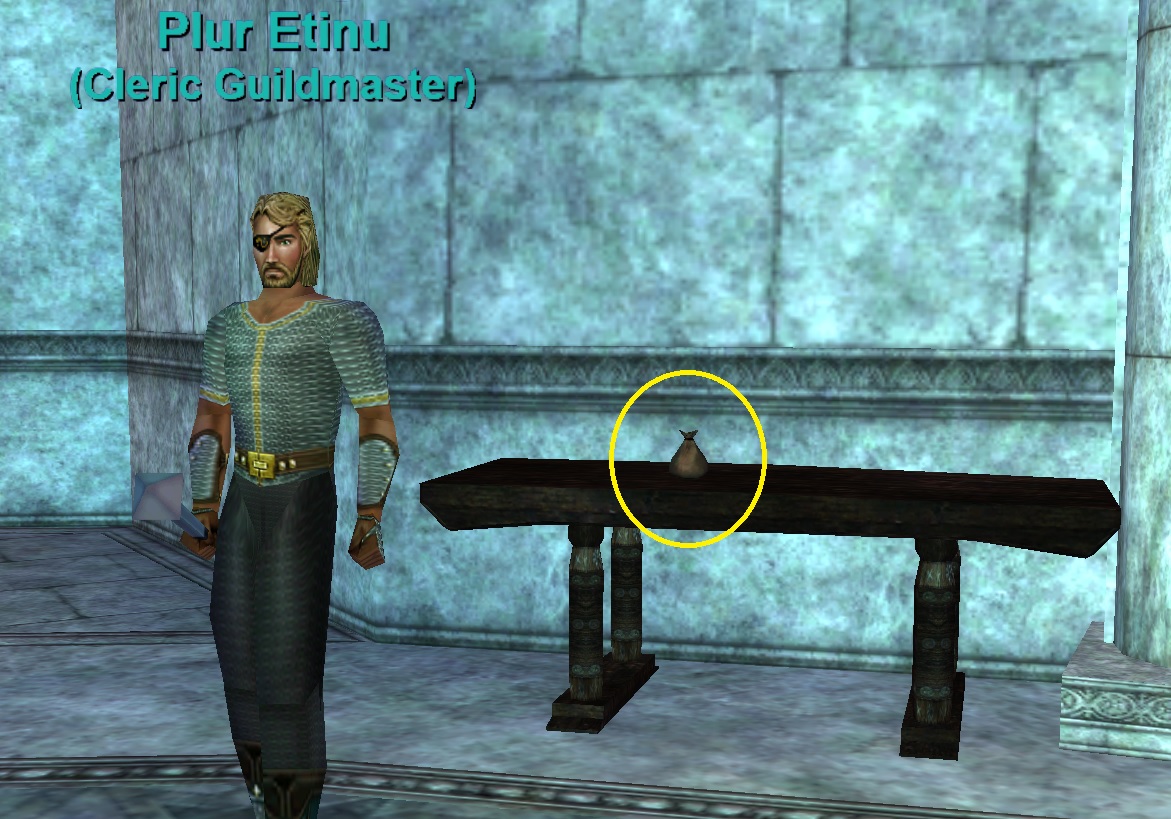
Next, go to the top level of the Temple of Marr. Loot ![]() Freeport Prayer Bead (looks like a bag) off the table behind Plur Etinu.
Freeport Prayer Bead (looks like a bag) off the table behind Plur Etinu.
Step 18
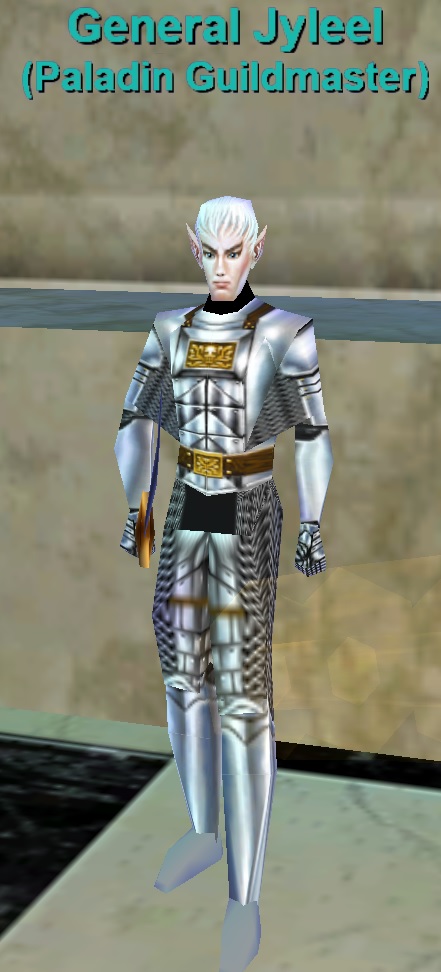
– Go to North Felwithe and find General Jyleel (+10, -200) Use Find.
– Give him ![]() 1000pp, then give him
1000pp, then give him ![]() 500pp. You’ll receive
500pp. You’ll receive ![]() Felwithe Prayer Bead.
Felwithe Prayer Bead.
Step 19
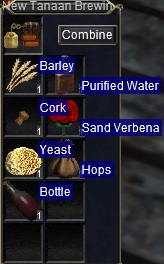
Craft ![]() Bottle of Double Brewed Double Dry Stout with Brewing (Trivial 226). It’s tradable so someone else can make it for you.
Bottle of Double Brewed Double Dry Stout with Brewing (Trivial 226). It’s tradable so someone else can make it for you.
Ingredients:
1x Barley – Bought- Plane of Knowledge – Bargol Halith – Near Brewing Barrel in Eastern Trade Building
1x Bottle -Bought – Plane of Knowledge – Bargol Halith – Near Brewing Barrel in Eastern Trade Building
1x Cork – Bought – Plane of Knowledge – Tabben Bromal (Tinkering Vendor). SE Trade building. Top floor.
1x Hops – Bought- Plane of Knowledge – Bargol Halith – Near Brewing Barrel in Eastern Trade Building
1x Yeast – Bought – Plane of Knowledge – Bargol Halith – Near Brewing Barrel in Eastern Trade Building
1x Purified Water – Crafted (Brewing, No Fail) – This is a drink! Don’t Drink me!
2x Water Flask – Bought from many vendors
1x Celestial Essence – Crafted (Baking, Trivial 15, Mixing Bowl, Makes 3)
1x Concentrated Celestial Solvent – Bought (Darius Gandril, Western Trader Building, PoK | Loc: +55, +1520)
3x The Scent of Marr – Bought (Loran Thu’Leth, Western Trader Building, PoK | Loc: -114, +1415)
1x Sand Verbena – Foraged or Dropped – From North Ro LDON missions.
Step 20
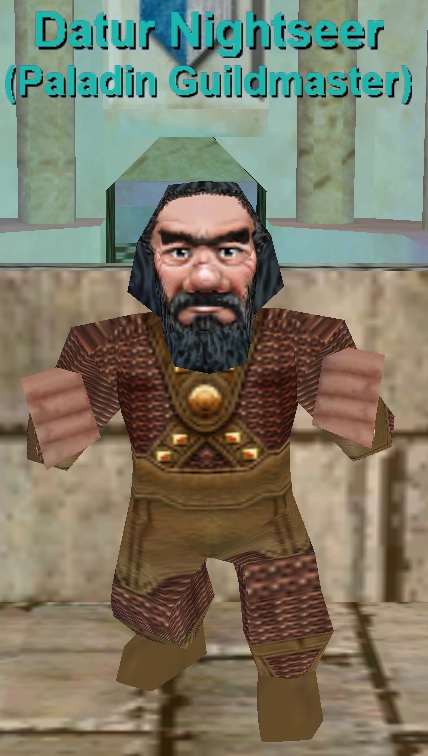
Go to North Kaladim and find Datur Nightseer (Use Find). Give him ![]() Bottle of Double Brewed Double Dry Stout to receive
Bottle of Double Brewed Double Dry Stout to receive ![]() Kaladim Prayer Bead.
Kaladim Prayer Bead.
Step 21
Have a Magician summon you ![]() Quiver of Marr with the Level 53 Spell: Quiver of Marr.
Quiver of Marr with the Level 53 Spell: Quiver of Marr.
Step 22
Go to Rathe Mountains and find Shin Master Grubbus. Give him ![]() Quiver of Marr (make sure it’s empty first — he wont’ take it with the Arrow inside) to receive
Quiver of Marr (make sure it’s empty first — he wont’ take it with the Arrow inside) to receive ![]() Gukta Prayer Beads.
Gukta Prayer Beads.

Step 23
Buy ![]() 2x Iron Ration and
2x Iron Ration and ![]() 2x Mead. You can buy both of these in Plane of Knowledge from the vendors around the Barrel Barrel in the Eastern Trade Building.
2x Mead. You can buy both of these in Plane of Knowledge from the vendors around the Barrel Barrel in the Eastern Trade Building.
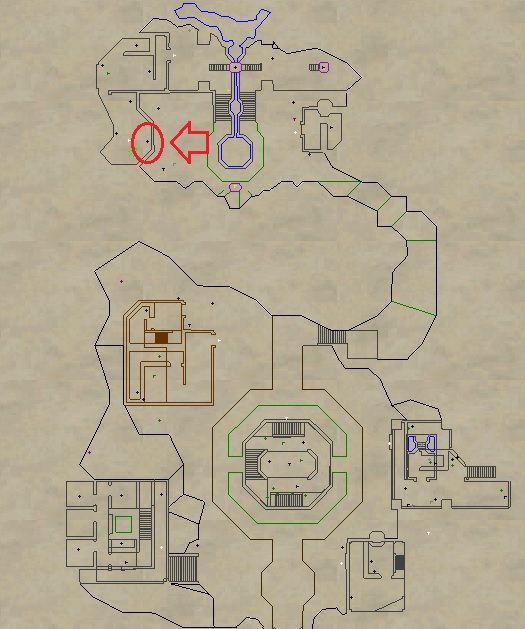
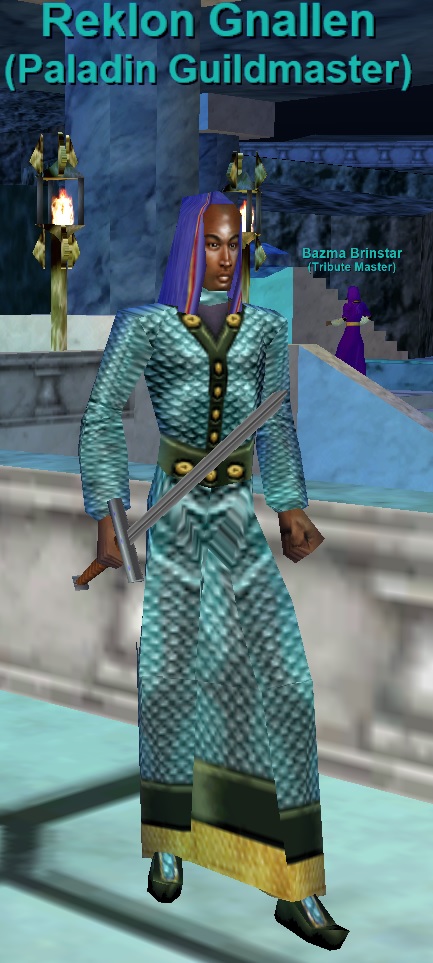
Step 24
Go to Erudin and find Reklon Gnallen (Use Find). Give him ![]() 2x Iron Ration and
2x Iron Ration and ![]() 2x Mead to receive
2x Mead to receive ![]() Erudin Prayer Bead.
Erudin Prayer Bead.
Step 25
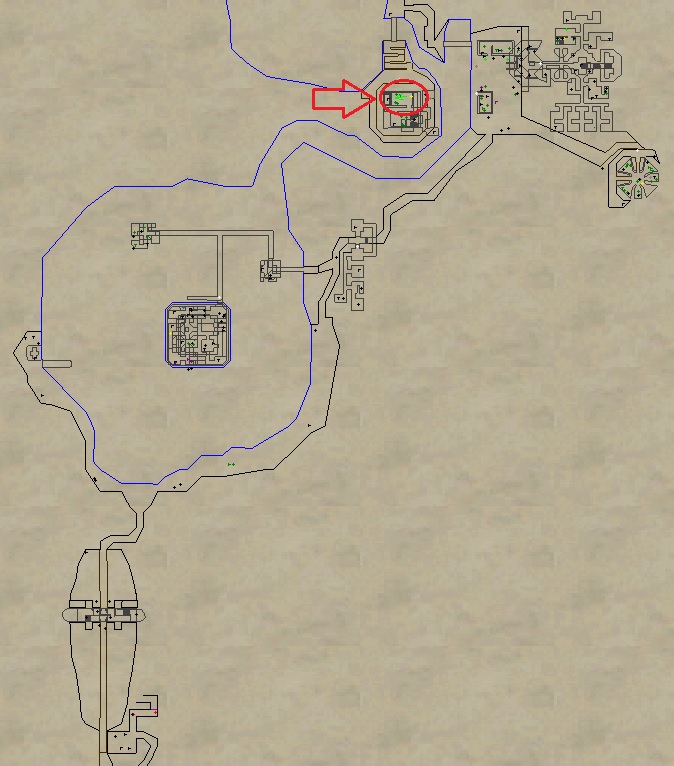
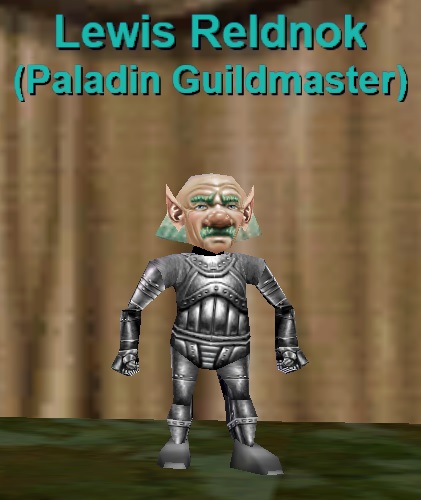
Go to Ak’Anon and find Lewis Reldnok (Use Find). Say “blessed gem”. Then sit in front of him. He will give you ![]() Ak’Anon Prayer Bead.
Ak’Anon Prayer Bead.
Step 26
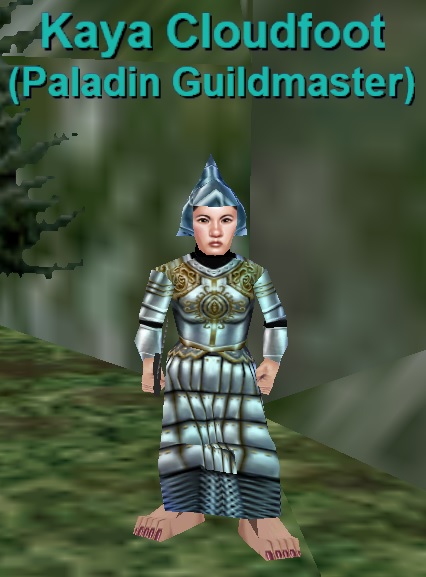
– Go to Rivervale and find Kaya Cloudfoot (Use Find). Say “different about it” to receive ![]() Note from Kaya.
Note from Kaya.
– While still in Rivervale find Deputy Cheel. He is inside the bank. Give him ![]() Note from Kaya to receive
Note from Kaya to receive ![]() Rivervale Prayer Bead.
Rivervale Prayer Bead.

Step 27
Combine all ![]() 8 Beads into
8 Beads into ![]() Unfilled Set of Prayer Beads to create
Unfilled Set of Prayer Beads to create ![]() Set of Prayer Beads.
Set of Prayer Beads.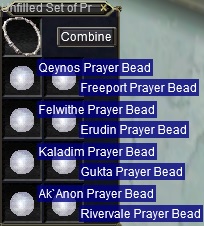
Step 28
Go back to Natimbi, the Broken Shores locate Kemik Arulon (-900, -1600). Give him ![]() Set of Prayer Beads. He will hand it back and you’ll see emote:
Set of Prayer Beads. He will hand it back and you’ll see emote: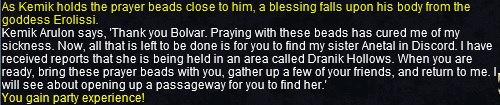
Step 29
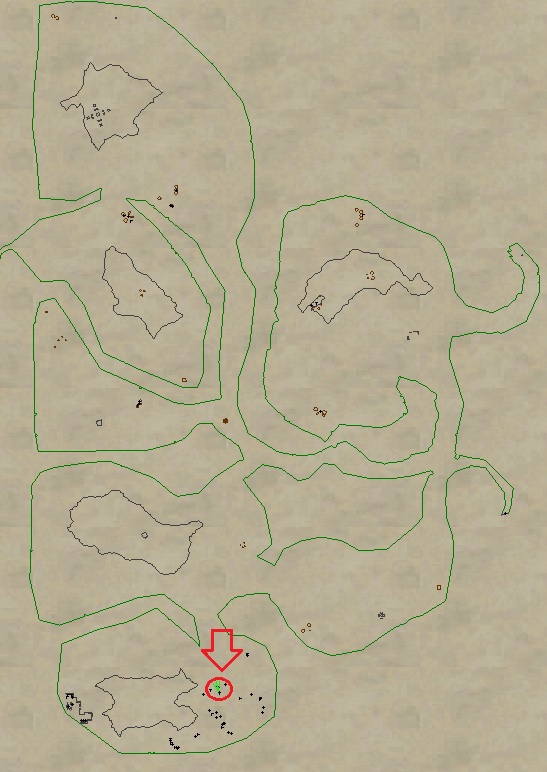
1) Go to Dranik’s Scar with a group and locate Grand Historian Gersh (+400, -1550). Hail him, then say “caves” to receive instance Murkglider Hive. I requested this with 3 people, so a full group is not required to request it. Follow the Marker on your compass to zone in.
**Note: I had to request this twice before he gave me the right one** You should see:

2) Once inside clear your way to Muridae the Plagued. Kill it and behind him you’ll find Anetal. Give her ![]() Set of Prayer Beads to receive emote:
Set of Prayer Beads to receive emote:


Step 30
Go back to Natimbi, the Broken Shores locate Kemik Arulon (-900, -1600). Hail him to receive ![]() Token of Compassion.
Token of Compassion.
Step 31
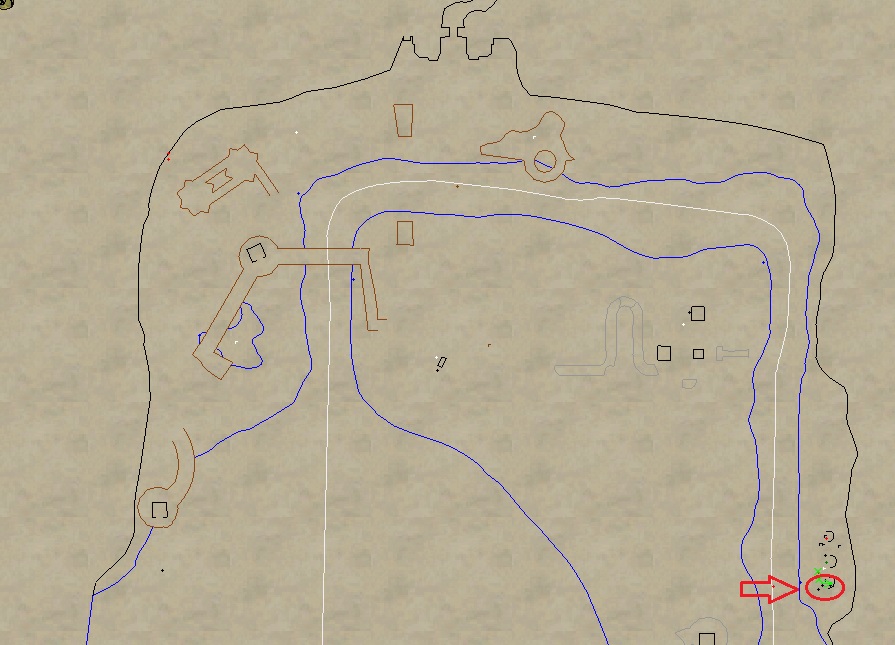
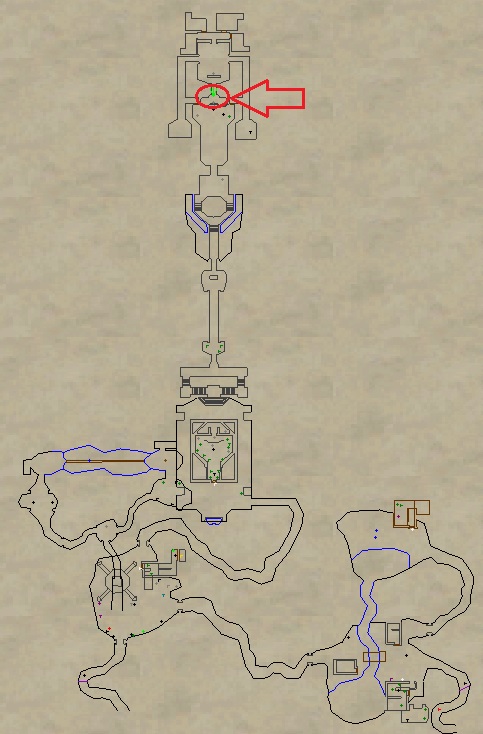
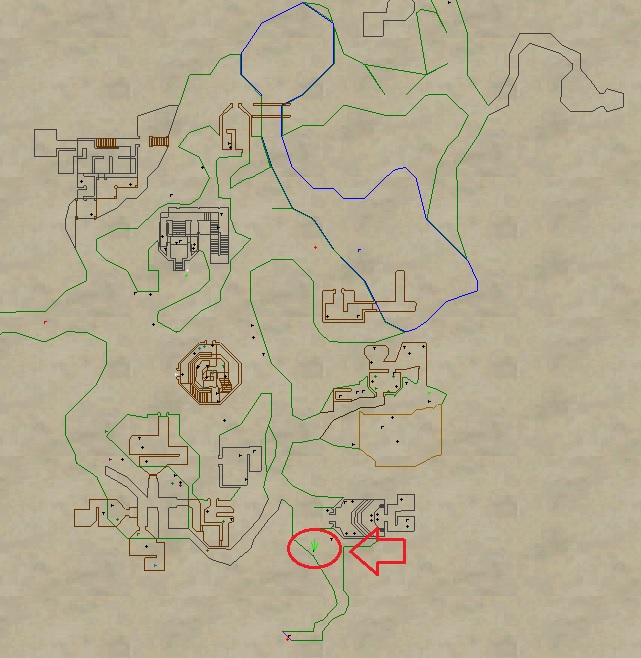
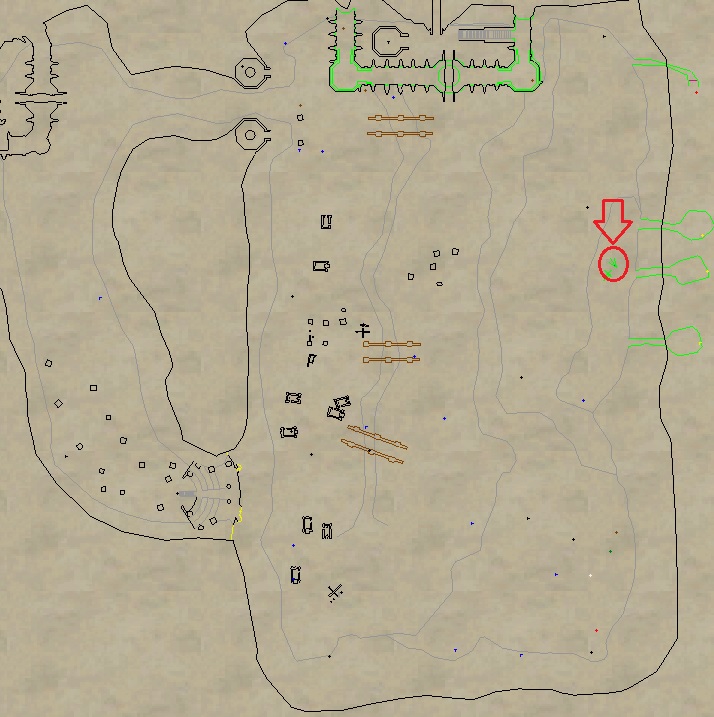
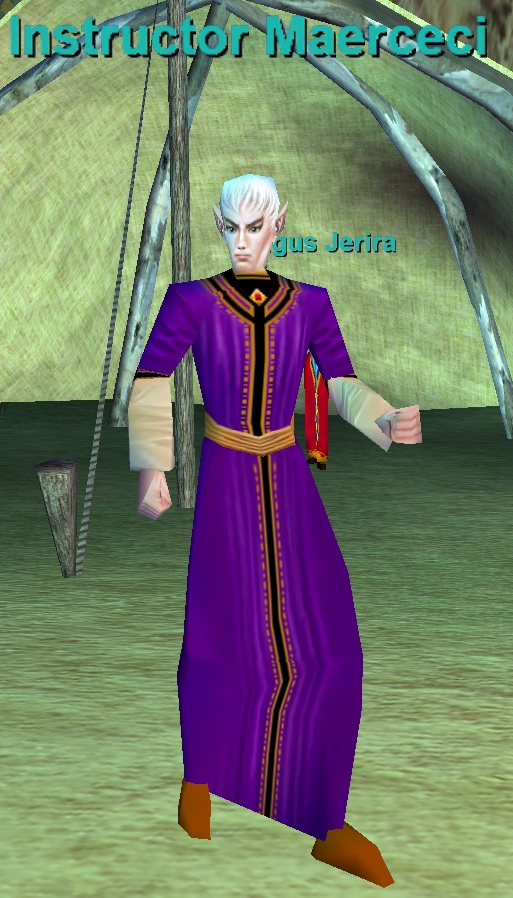
1) Go to South Ro with a small raid and locate Instructor Maerceci. He is at the LDoN camp.
– “Hail” him
– Say “happened” to receive emote:

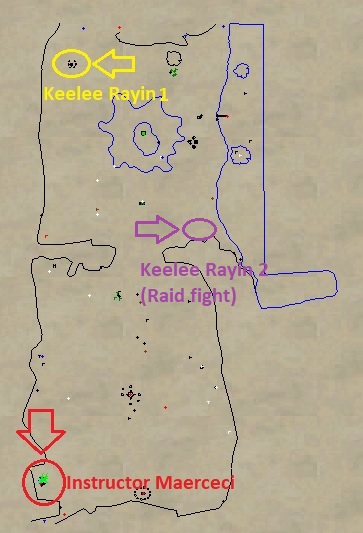
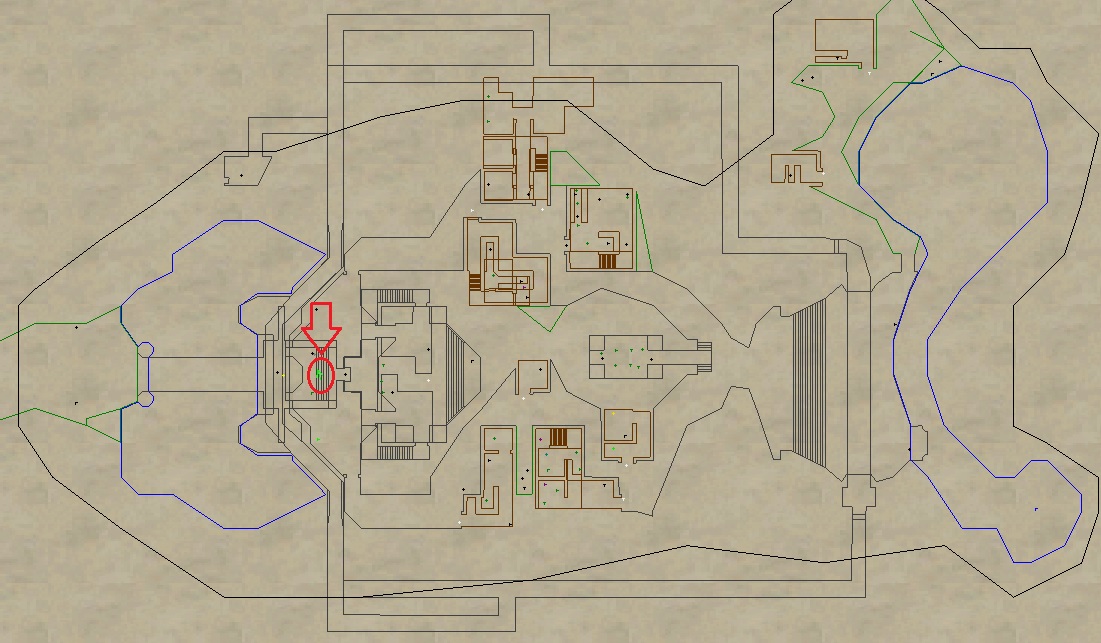
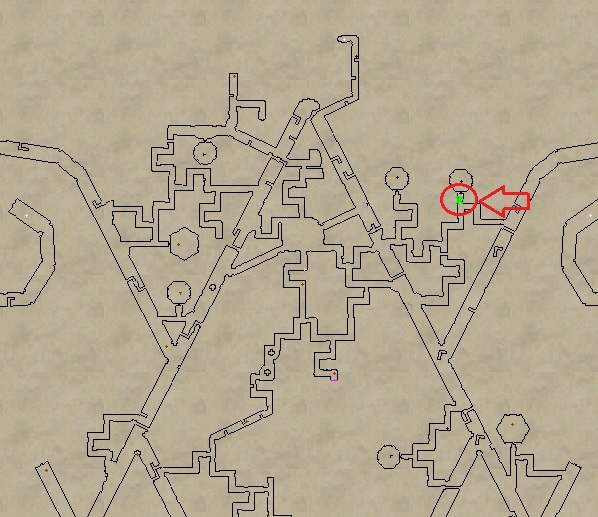
2) Now head to the Northwestern side of the zone and locate Keelee Rayin. Hail her. This will start a mini event that you must solo. Anyone nearby will get punted across the zone into the water.
4x waves of 4 orcs will spawn (make sure to check all sides of the pillar). Next to them will be Remel the Black. For now you cannot fight him. After you clear all 4 waves Keelee Rayin and Remal the Black will port across the zone (see map location 2).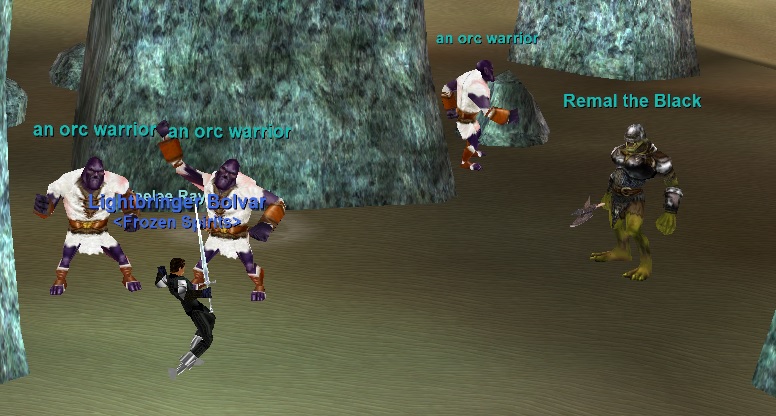
3) At this point you will fight Remal the Black. This is the raid boss. Kill him and “Hail” Kelee Rayin nearby to receive ![]() Keelee’s Brooch.
Keelee’s Brooch.
– Casts Black Plague (PBAE snare + 700 DoT, Diease Based)
– Resistant to Fire
– Hits for approx. 2,000
4) While still in South Ro head back to Instructor Maerceci and give him ![]() Keelee’s Brooch to receive
Keelee’s Brooch to receive ![]() Token of Chivalry.
Token of Chivalry.
Step 32
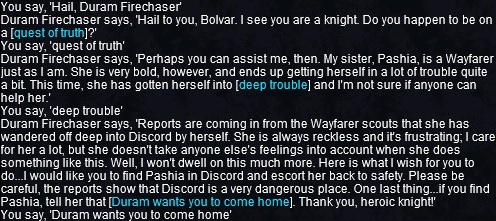
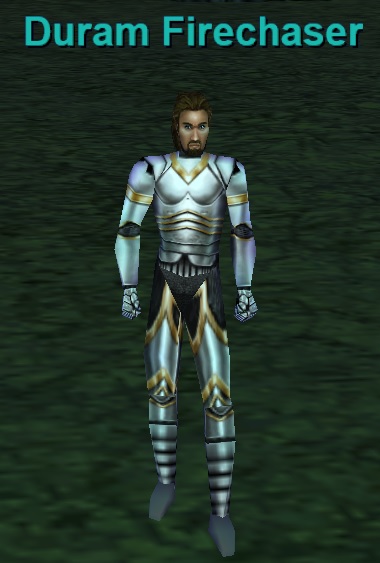
Go to Nedaria’s Landing and locate Duram Firechaser (+1400, -266).
– “Hail” him
– Say “quest of truth”
– Say “deep trouble”
Step 33
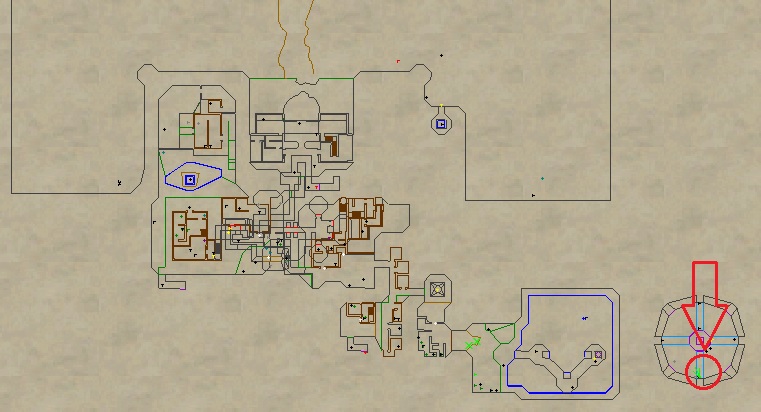
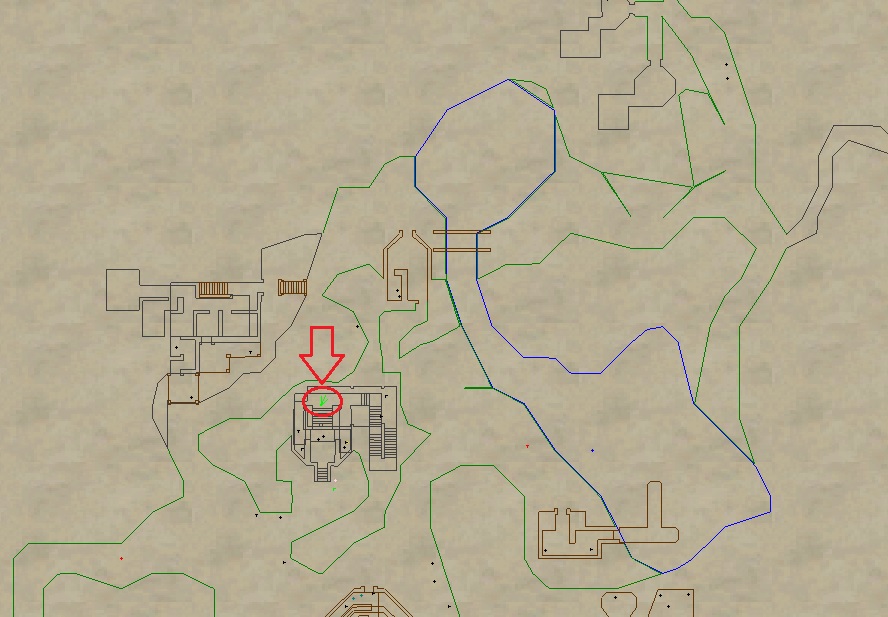
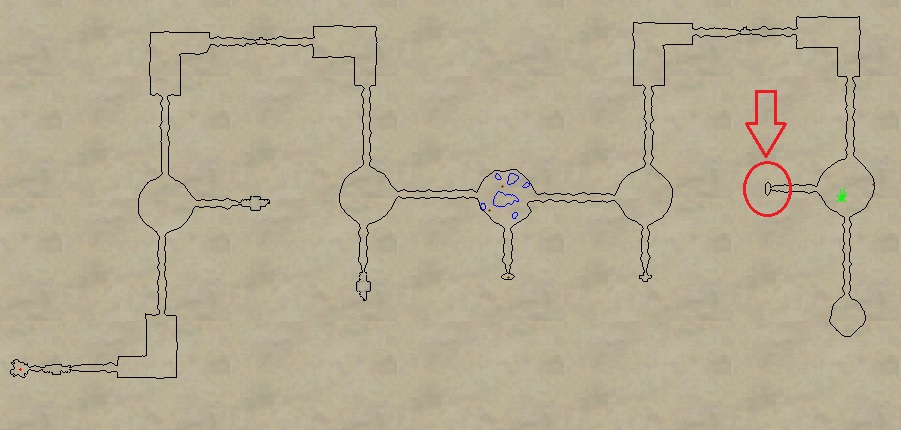
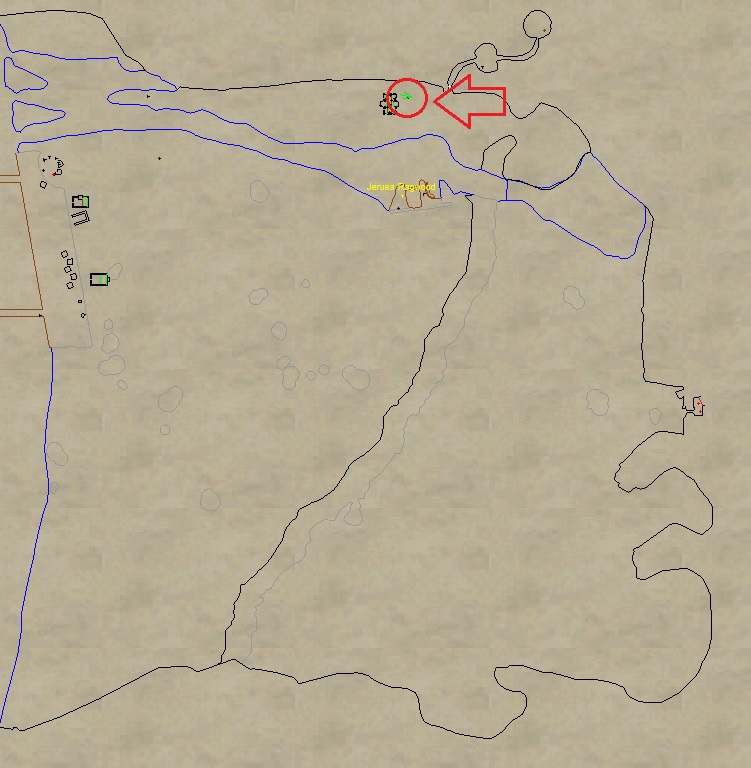
1) Bring a group to Muramite Proving Grounds and find Pashia Clouddancer in the Northeast side of the zone. Clear the room behind her.

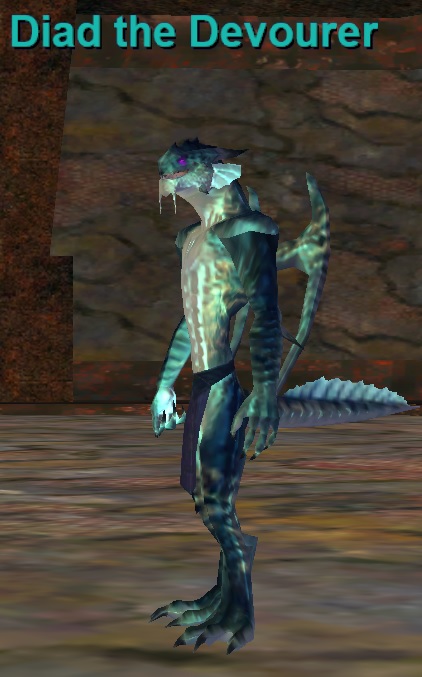
2) Once the room is clear, say “duram wants you to come home” to Pashia Clouddancer. This will spawn Diad the Devourer in the room you just cleared. Kill him and loot ![]() Pashia’s Sword.
Pashia’s Sword.
3) This part is somewhat gimmicky. Give the sword to Pashia Clouddancer, then say “follow”.
She will stand up and you’ll need to escort her to the Wall of Slaughter zone line. She runs pretty quickly and will follow you wherever you go.
If you have problems getting her to follow you drag some mobs on her, kill them, and run away a little bit until she follows. Keep spamming “follow” to her also. Going invisible can possibly cause her to stop following.
Once you’re at Wall of Slaughter she will emote. Say “note” to receive ![]() Note from Pashia.
Note from Pashia.

Step 34
Go back to Nedaria’s Landing and locate Duram Firechaser (+1400, -266). Give him ![]() Note from Pashia. to receive
Note from Pashia. to receive ![]() Token of Heroism.
Token of Heroism.
Step 35
Raid Anguish and obtain a ![]() Globe of Discordant Energy.
Globe of Discordant Energy.
Drops from the following events:
Keldovan the Harrier/Jelvan (only one of the two based on who you kill last)
Warden Hanvar/Ture (only one of the two based on who you kill last)
Arch Magus Vangl
Overlord Mata Muram
Step 36
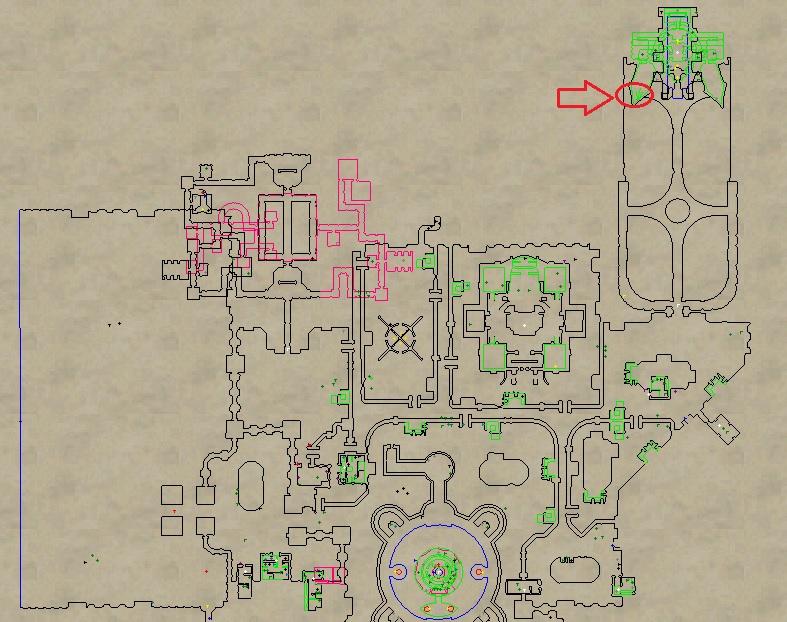
This part will require two people so grab a friend and head to Plane of Sky. Make sure your friend has ![]() 500pp. You will also need to be keyed for Island 4; only you need to be keyed, your friend doesn’t. Have your friend go to the Quest Room. They can buy
500pp. You will also need to be keyed for Island 4; only you need to be keyed, your friend doesn’t. Have your friend go to the Quest Room. They can buy ![]() Efreeti’s Key from Key Master on Island 1 to access it. Meanwhile you should head to Island 4. Island 4 (Pegasus Island) is the island with a big Windmill in the middle. Stay inside the Windmill.
Efreeti’s Key from Key Master on Island 1 to access it. Meanwhile you should head to Island 4. Island 4 (Pegasus Island) is the island with a big Windmill in the middle. Stay inside the Windmill.
Have your friend say “I wish to be tested by Dirkog” to Dason Goldblade in the Quest Room. Dason Goldblade will give your friend ![]() Walk with Evil. Give
Walk with Evil. Give ![]() Walk with Evil back to Dason Goldblade to spawn Dirkog Steelhand. Give Dirkog Steelhand
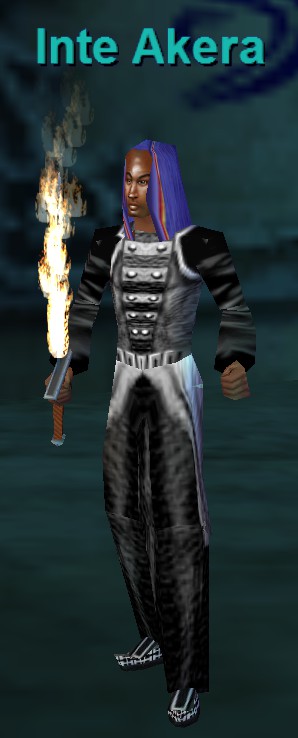
Walk with Evil back to Dason Goldblade to spawn Dirkog Steelhand. Give Dirkog Steelhand ![]() 500pp. Doing so will spawn Inte Akera in the Windmill on Island 4. Inte Akera only stays up for a few minutes which is why you need someone else to spawn him from the Quest Room.
500pp. Doing so will spawn Inte Akera in the Windmill on Island 4. Inte Akera only stays up for a few minutes which is why you need someone else to spawn him from the Quest Room.
Give Inte Akera your ![]() Globe of Discordant Energy.
Globe of Discordant Energy.
You’ll receive:
![]() Scabbard of the Righteous,
Scabbard of the Righteous, ![]() Token of Conviction,
Token of Conviction, ![]() Token of Loyalty.
Token of Loyalty.


Step 37
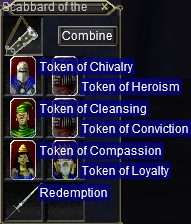
Combine all 6 tokens and your ![]() 1.5 Epic: Redemption into
1.5 Epic: Redemption into ![]() Scabbard of the Righteous to receive your
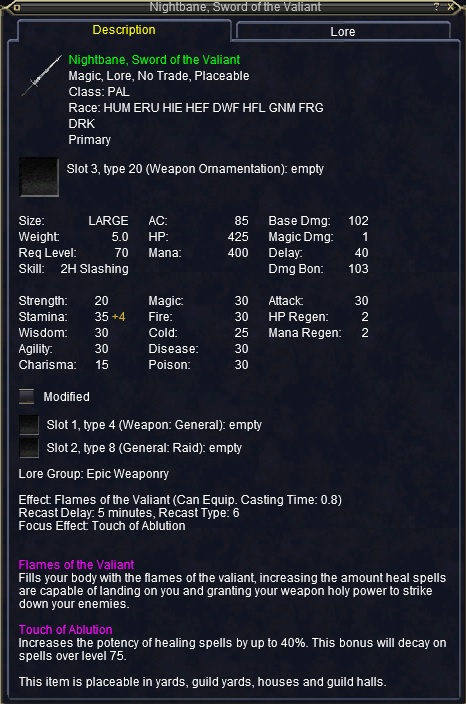
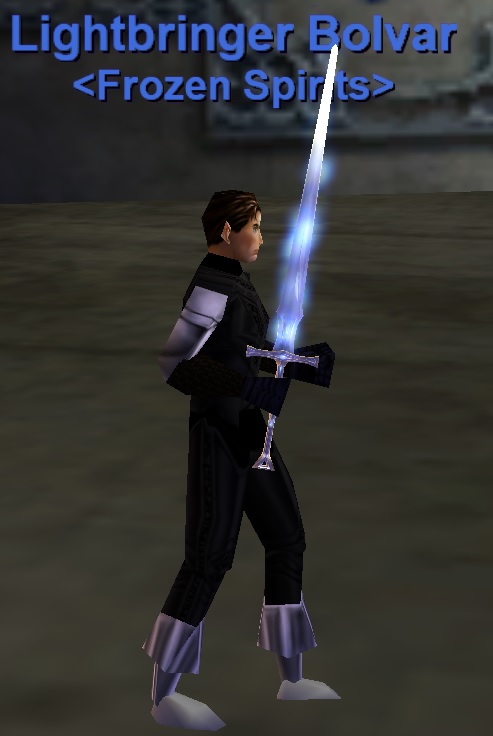
Scabbard of the Righteous to receive your ![]() 2.0 Epic: Nightbane, Sword of the Valiant!
2.0 Epic: Nightbane, Sword of the Valiant!

Thanks for using EQProgression!

